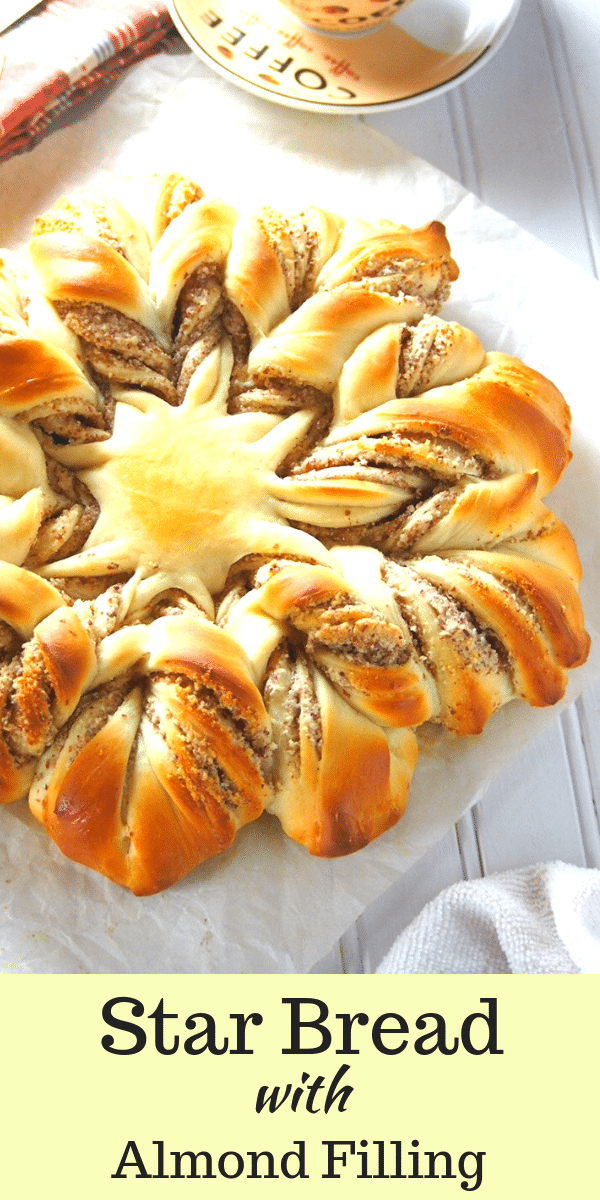
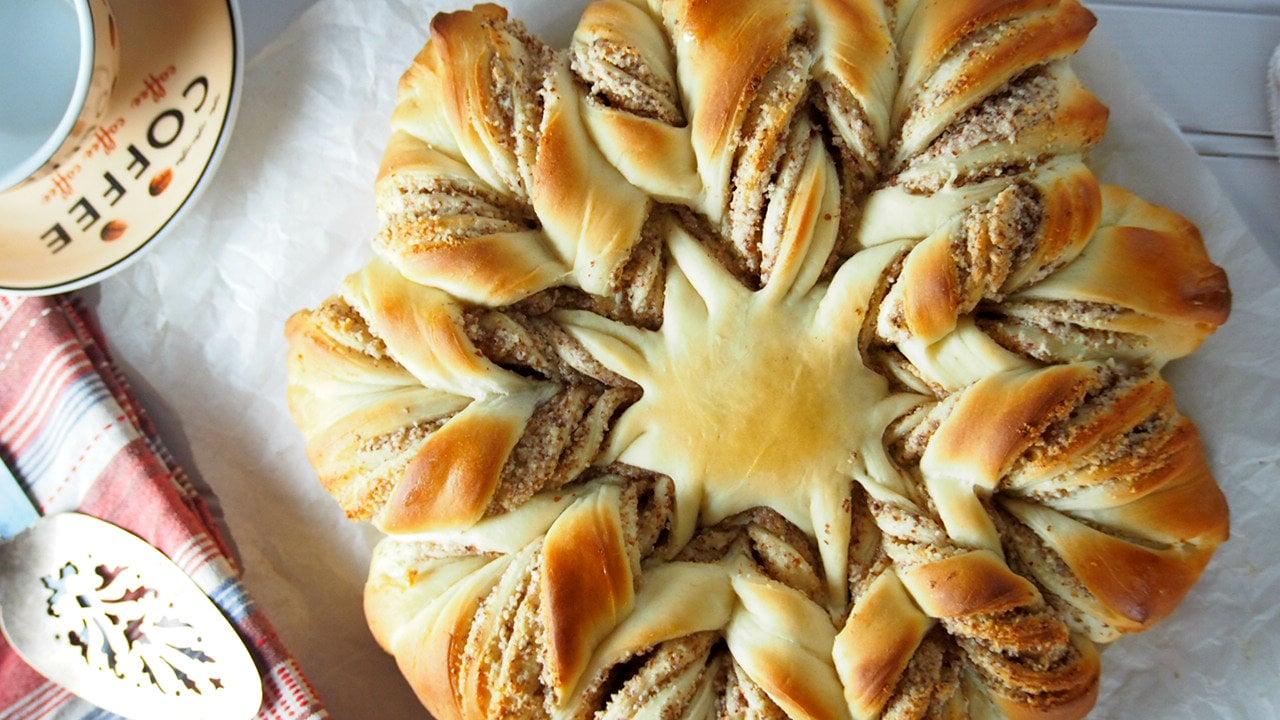
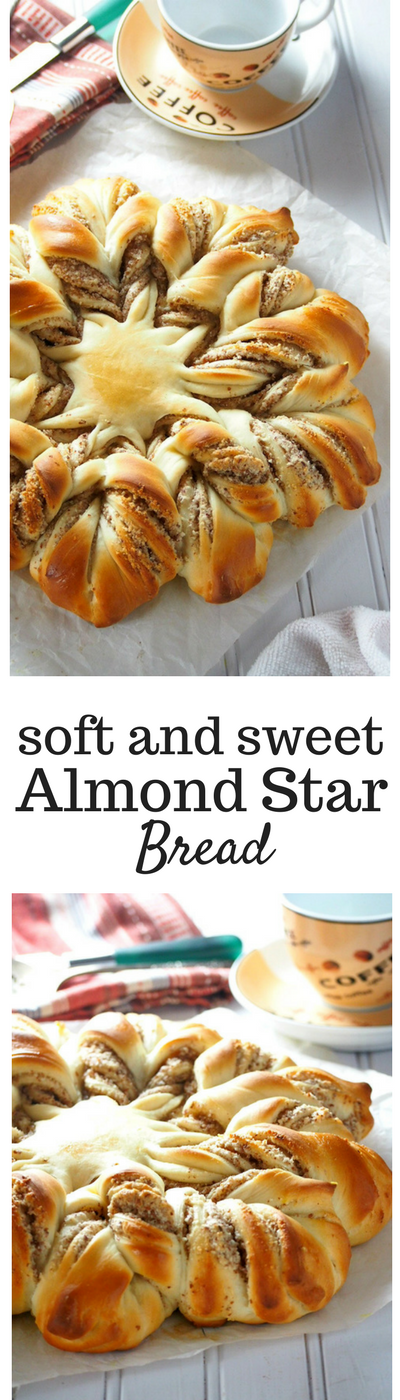
Almond Star Bread is a stunning piece of soft, tasty bread filled with sweet almond paste filling. This star bread is a grand piece but it will be gone pretty fast!
Bread-bakers! Baking buddies! Bread lovers! Knead-mates! Whatever it is you want to be called as, I am excited to finally share this delicious almond bread recipe with you.
When I shared a sneak photo of this star bread on my Instagram a few weeks ago, I was hoping I could share it to you in the following week but life happens, things got in the way and posting this recipe on the blog took longer than expected.
But here we are now, we have warm, soft and sweet almond star bread to behold. This may look like a grand piece of bread fitted to serve to a crowd, but be warned because no matter how big it seems, this will be gone fast.
I had fun assembling the dough together. Fancy as it looks, it does not require artistic talent to achieve this star bread. All you need is a bit of patience and you will actually enjoy the process.
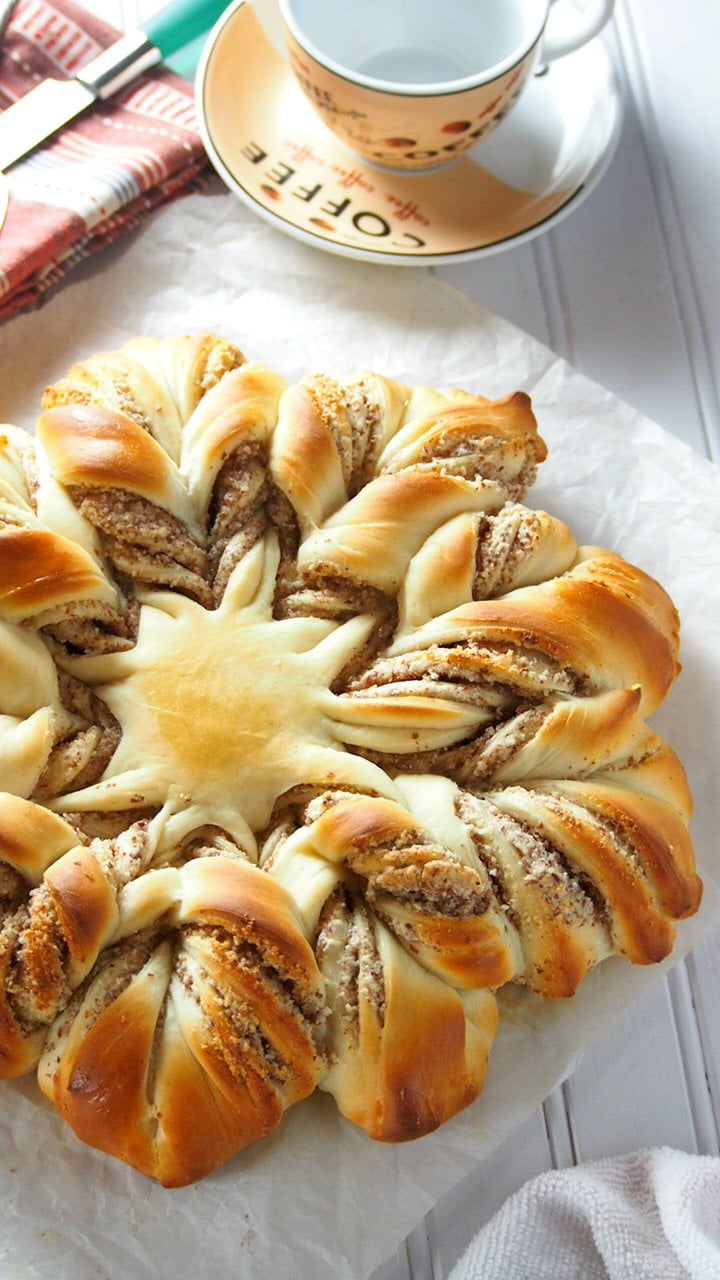
In the end, you will have this delicious, pretty and sweet almond bread that will take your breath away.
Almond Star Bread: The Process
In a small bowl, dissolve the yeast in warm water and let stand for about 5 minutes until the mixture is foamy.
In another large bowl, combine the butter, milk, egg, sugar and salt. Add the yeast mixture. Then, add 3 cups of all-purpose flour.
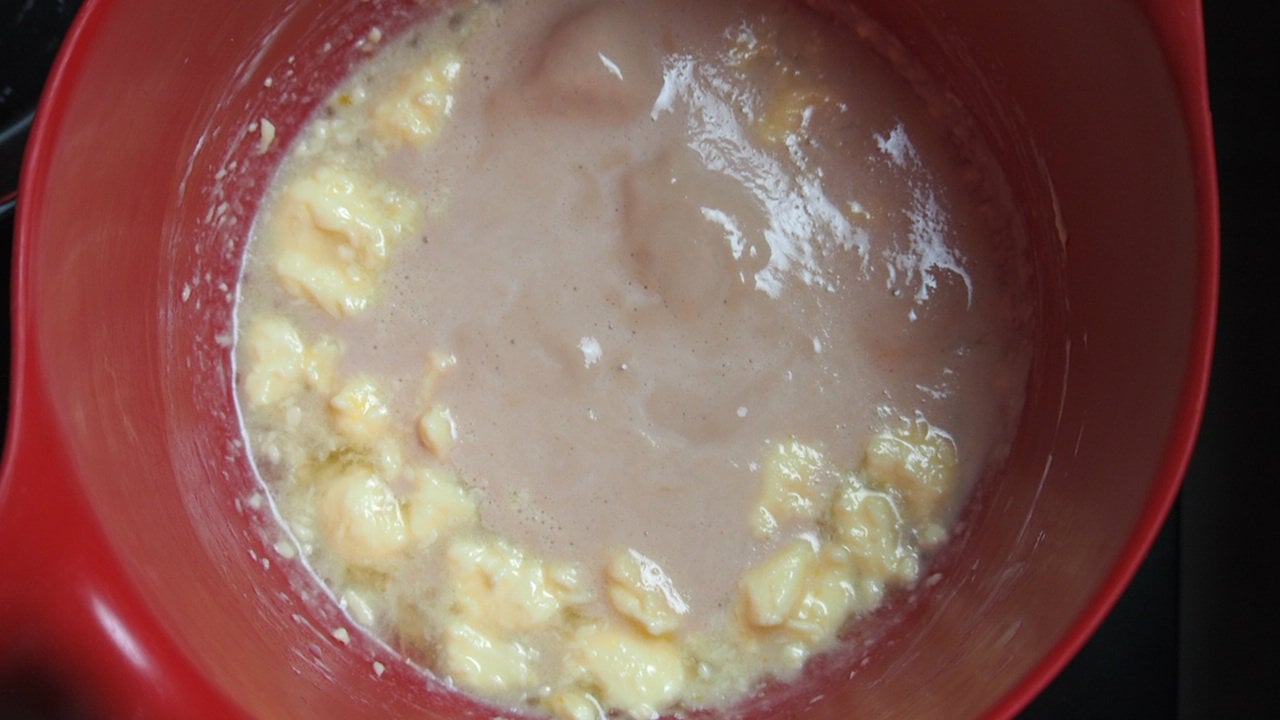
Use a wooden spoon to incorporate the ingredients and stir everything until mixture is smooth. Then, just add enough remaining flour and keep mixing just until the mixture turns into a soft dough that gathers in the center of the bowl.
As you can see in the second photo below, the dough has gathered in the center but it is not too dry. Stop adding any more flour once you achieve this consistency.
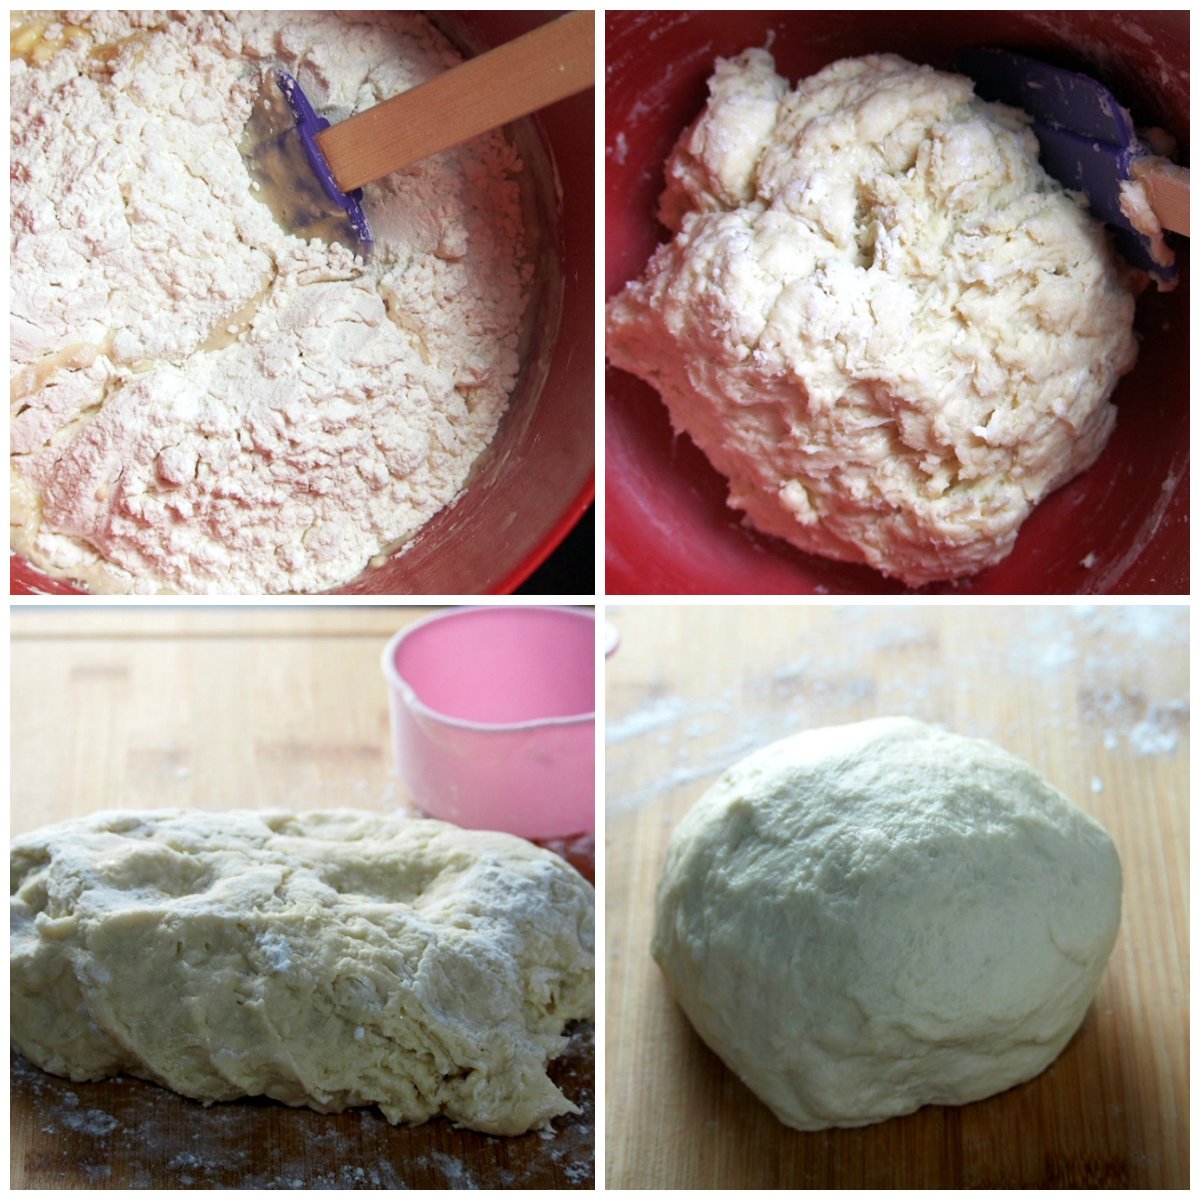
Turn the dough onto a floured surface and knead for 6-8 minutes, until the dough is smooth and elastic.
You will know that you kneaded the dough adequately by looking for these signs:
- The dough will turn from shaggy to smooth.
- The dough will lose a lot of its stickiness but will remain slightly tacky.
- When you poke a finger in the dough, the indention that you create will immediately fill back up because of the dough rising again after the pressure exerted.
- The dough can stretch thinly when you take a portion out and pull it apart with your fingers as if to form a square. There should be a thin, translucent window that forms at the center as you stretch.
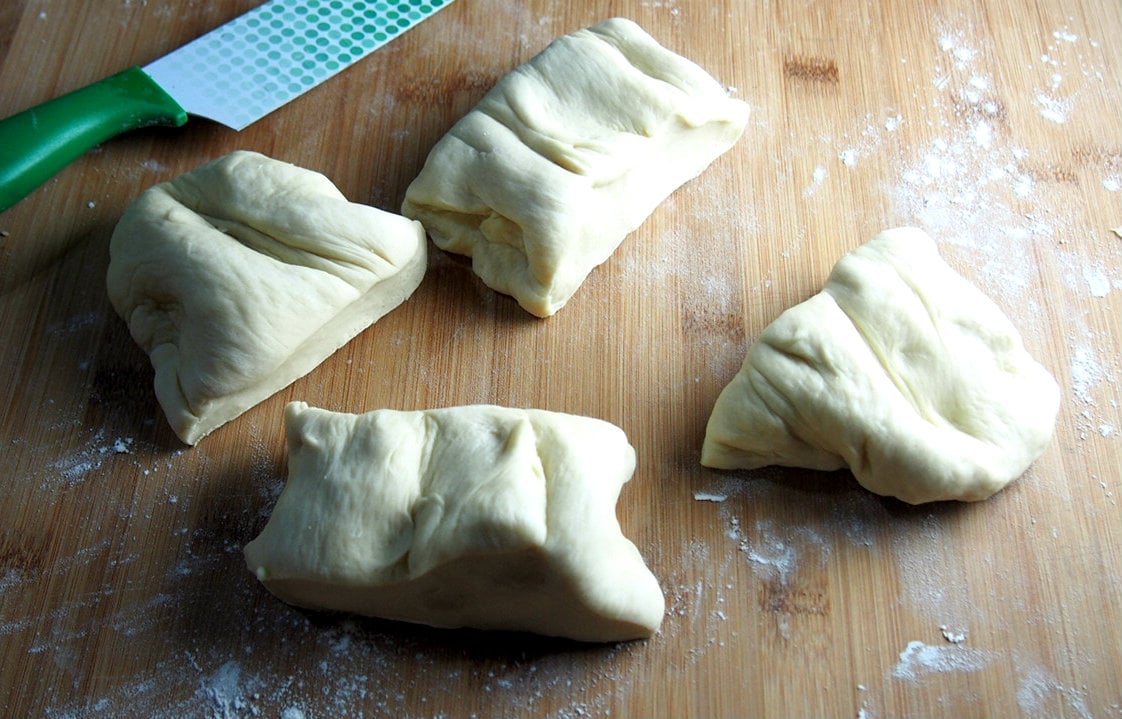
Shape dough into a ball and place in a bowl. Cover the bowl with plastic wrap and let rise in a warm place for 1 hour. After rising, punch the dough down and divide it into four equal portions.
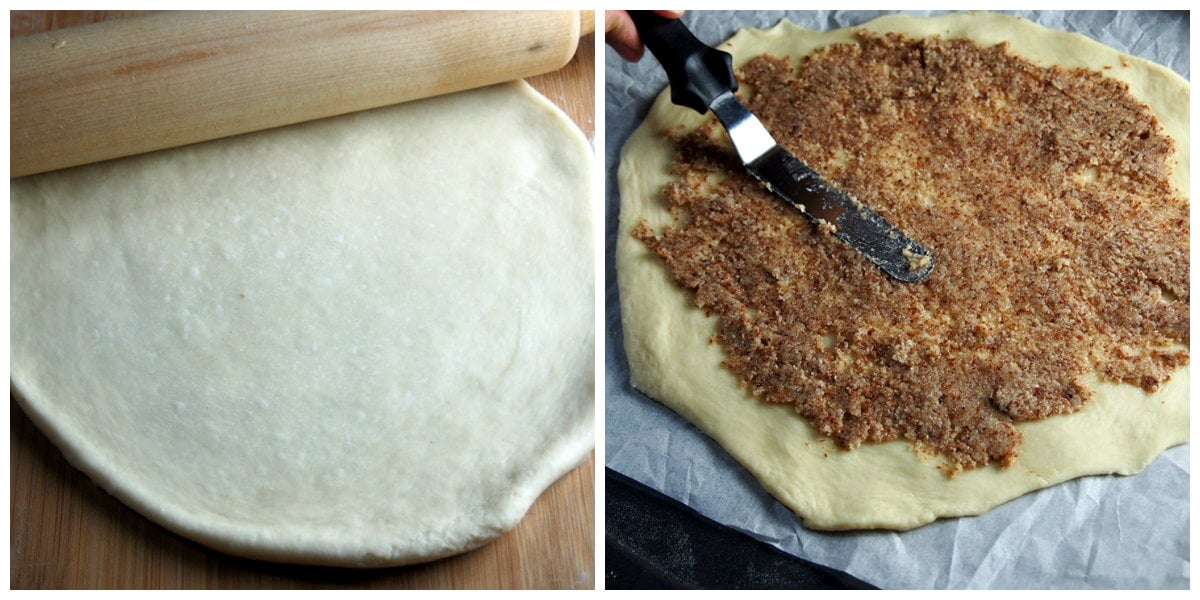
Using a rolling pin, roll one portion into an 11-inch circle. Place it on a 14-inch pizza pan that is lined with parchment paper. Spread 1/3 of the almond filling onto the surface leaving about an inch border on the edges.
Tip: Take the filling out of the fridge about half an hour ahead of the time you are ready to assemble the bread so that it is easier to spread.
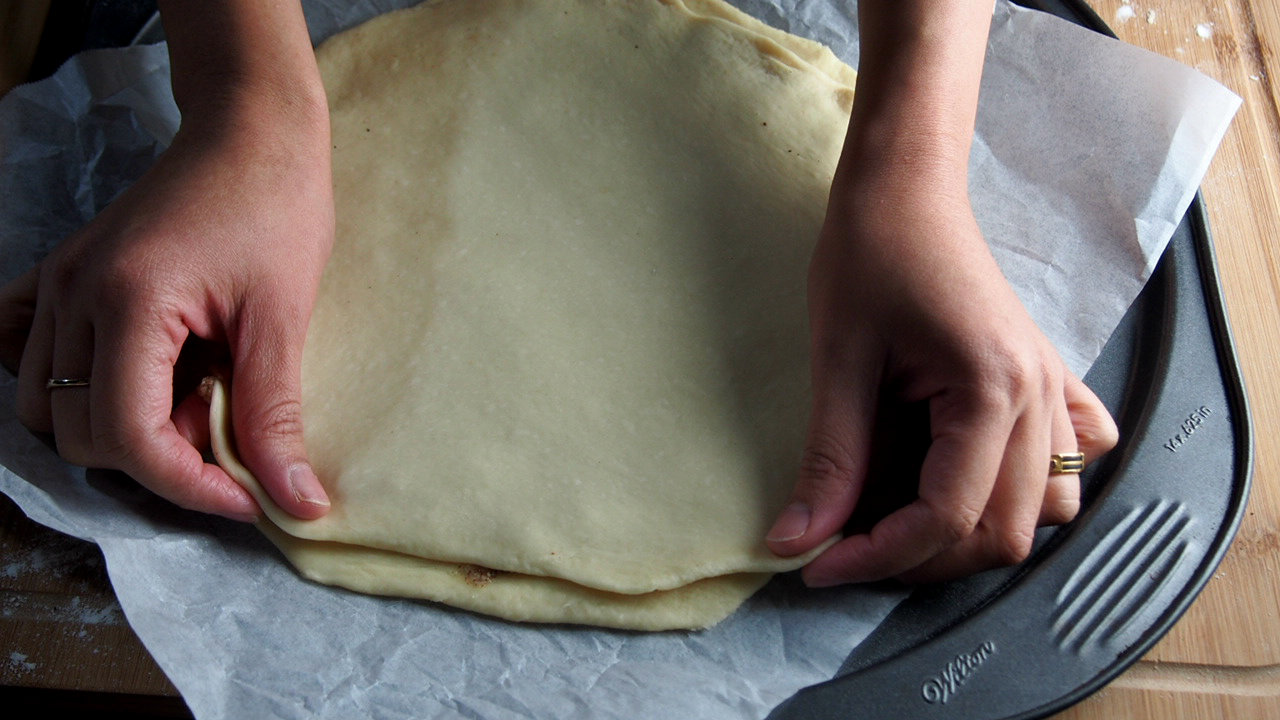
Roll a second portion into an 11-inch circle again. Place this over the first circle, slightly stretching the ends to make them even. It does not need to be perfectly aligned, though.
Now repeat the process, spread 1/3 of the filling, roll a third portion of dough into an 11-inch circle and place it over the second circle, covering the filling.
Then, spread all the remaining filling,
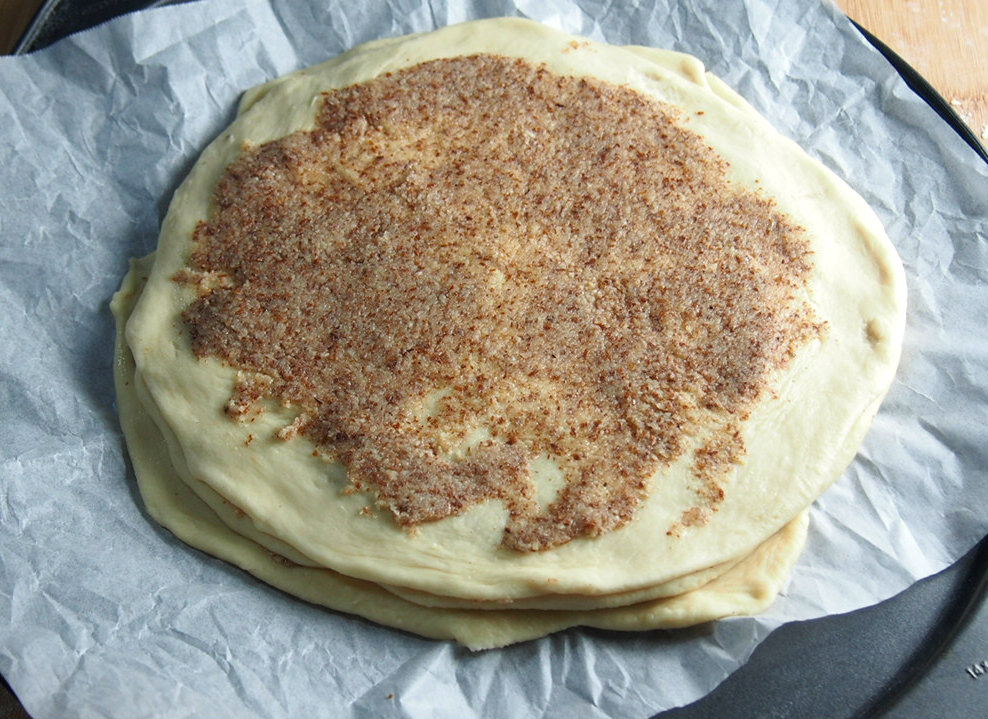
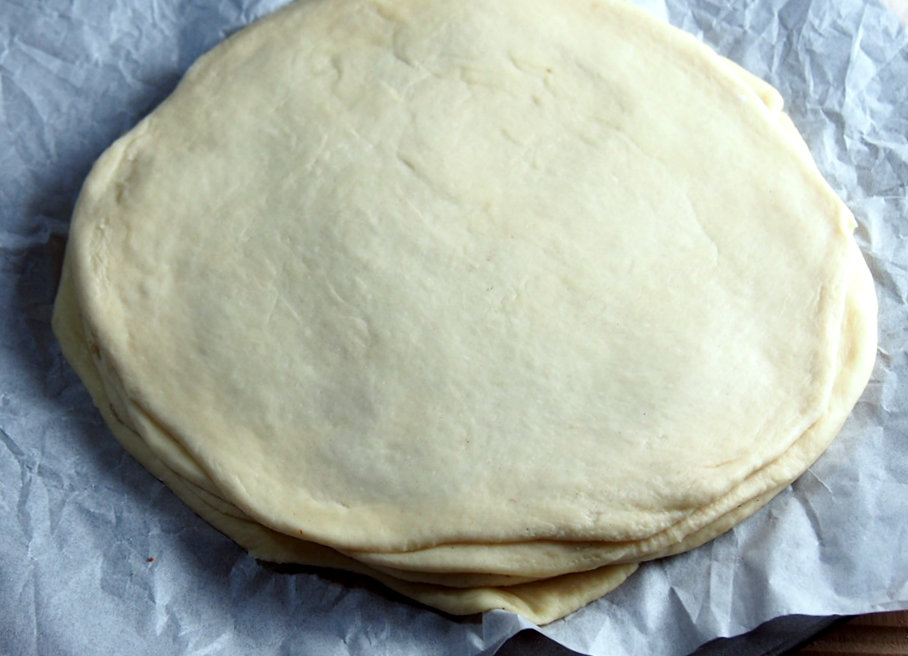
and finally, cover the filling with the last circle of dough.
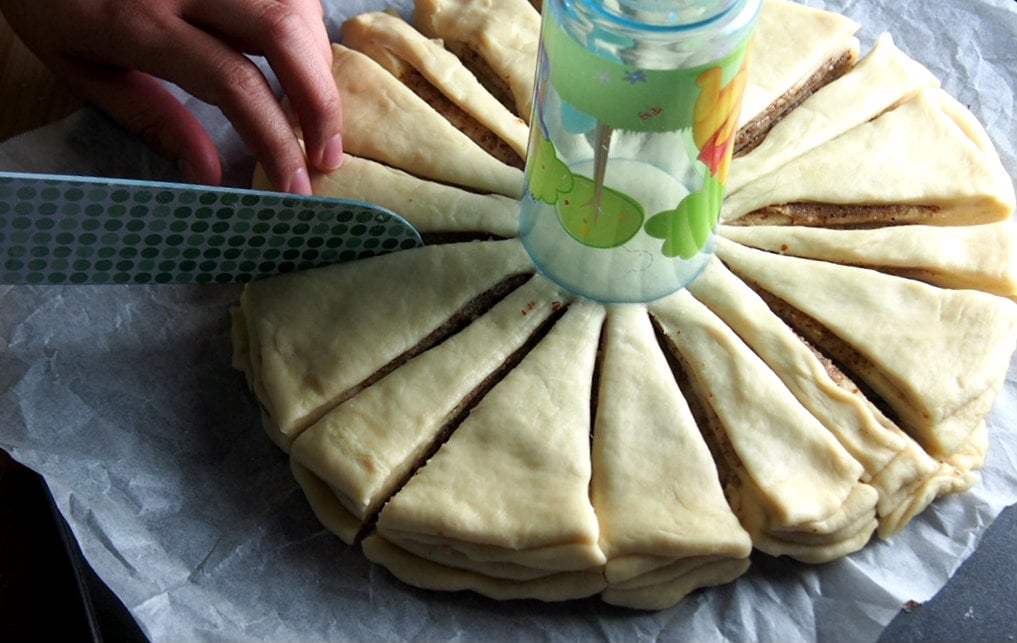
Place a round cutter that is 2 and 1/2 inch in diameter in the center of the circle. You can use anything that is round. You can see that I used a kiddie glass. We are only going to use it as a marker. Do not press it down the dough.
Cut 16 equal strips of the dough, starting from the circle marker down to the edge. I know mine are not equal strips. You should have seen me trying to figure out how to create those 16 equal strips. It is the hardest part if you ask me. I was geometrically challenged.
Now using your fingers, take two adjacent strips and twist them away from each other, rotating twice. Pinch the ends together to seal them. Repeat with the other remaining strips.
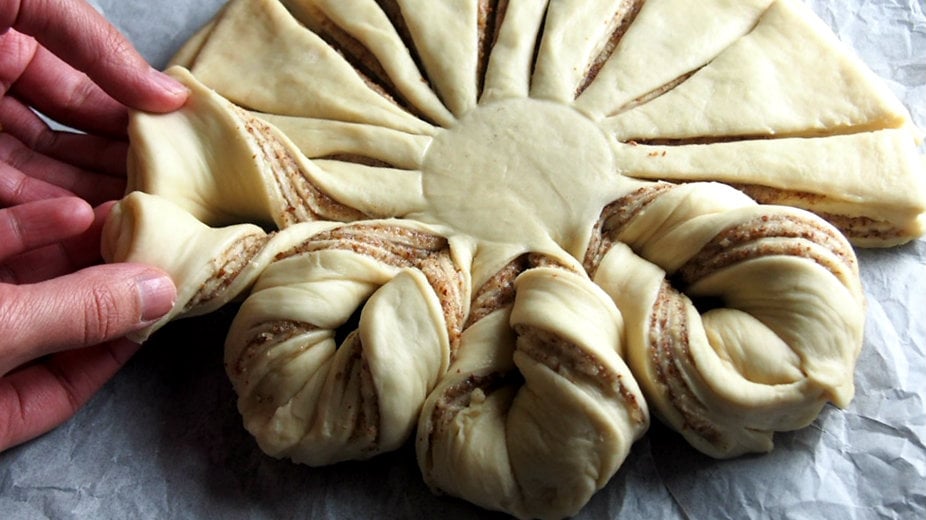
I made a short video to show you how to create those twists on the strips.
Cover the assembly with a clean kitchen towel and let it rise for about 30 minutes. Preheat oven to 375 F. Bake the star bread for 18-22 minutes or until the surface is lightly golden. Brush bread with melted butter and sprinkle sugar on top.
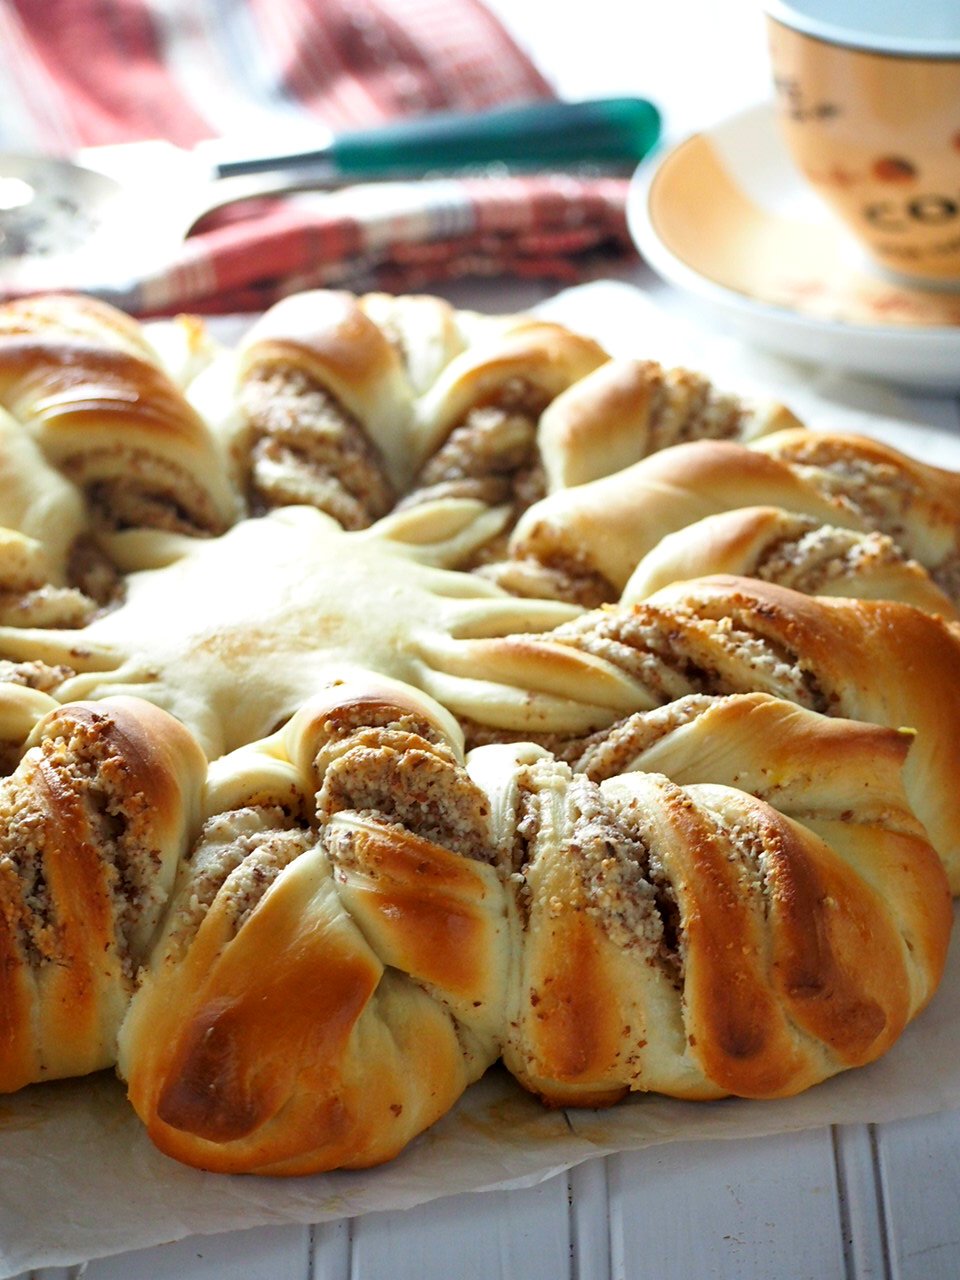
Then, lo and behold, step back. Give yourself a pat on the back. Before your eyes is a wonderful piece of bread, made lovingly by you.
Pull out a piece and bite. Warm, sweet, fresh bread. One of the beautiful things in life.
Love baking read? Also, try these recipes:
- Milk Bread
- Japanese Milk Buns
- Sugar Buns
- Coconut Bread with Milky Sweet Filling
- Brioche Braid
- Brioche Bread Ring

Almond Star Bread
Ingredients
For the Bread
- 1/4 cup warm water 110-115 F
- 1 package active dry yeast
- 3/4 cup warm milk 110-115 F
- 1 large egg
- 1/4 cup unsalted butter softened
- 1/4 cup sugar
- 1 tsp salt
- 3 and 1/4 cups to 3 and 3/4 all purpose flour
For the Almond Filling
- 1 cup ground almonds
- 1/2 cup icing sugar
- 2 tbsp softened butter
- 1/2 tsp almond extract
- 1 large egg white beaten
For Finishing
- melted butter for brushing on the baked bread
- sugar for sprinkling on top
Instructions
- In a small bowl dissolve the yeast in warm water and let stand for about 5 minutes, or until foamy. In a large bowl, combine milk, butter, sugar, egg, and salt. Add the yeast mixture and 3 cups of the flour. Use a wooden spoon to stir the ingredients until everything is incorporated.
- Add enough of the remaining flour just until the mixture is cleaning the sides of the bowl and is gathered in the center, forming a soft dough.
- Turn dough over onto a floured surface and knead for 6-8 minutes, until the dough is smooth and elastic. Place dough in a bowl, cover it with a clean towel and let rise n a warm place for 1 hour.
- Punch the dough down. Divide it into 4 equal portions. On a floured board, roll one portion into an 11-inch circle and place it on a 14-inch pizza pan that is lined with parchment paper. Spread 1/3 of the almond filling to the surface of the circle but leave about an inch of border on the edges. Roll a second portion into an 11-inch circle and place it on top of the first circle, covering the almond filling. Repeat the steps by spreading 1/3 of the almond filling again, topping it with another circle, spreading all the remaining filling and finishing everything with a bare circle of dough (the fourth one) on top. You can pass the rolling pin a few times to even the edges of the circles.
- Place a 2 and 1/2 inch cutter on the center of the circle. Do not press it down. cut 16 equal strips starting from the cutter down to the edge of the circle. remove the cutter. Now using your fingers, grab two adjacent strips and rotate them twice away from each other's direction, then pinch the edges together.
- Cover the star dough loosely with plastic wrap or a clean kitchen towel. Let rise for about 30 minutes, until puffy. Preheat oven to 375 F. Bake for 18-22 minutes or until the surface is lightly golden. Brush bread with melted butter and then sprinkle with sugar, if desired.
To Make the Almond Filling
- Combine ground almonds, sugar and melted butter in the bowl of stand mixer. Beat on medium speed until combined and add the almond extract and the beaten egg white. Transfer paste to a container and store in the fridge until ready to be used. This can be stored up for up to two days in advance.
Notes
Nutrition
Items for the recipe:
Affiliate links in the post.


Leave a Reply