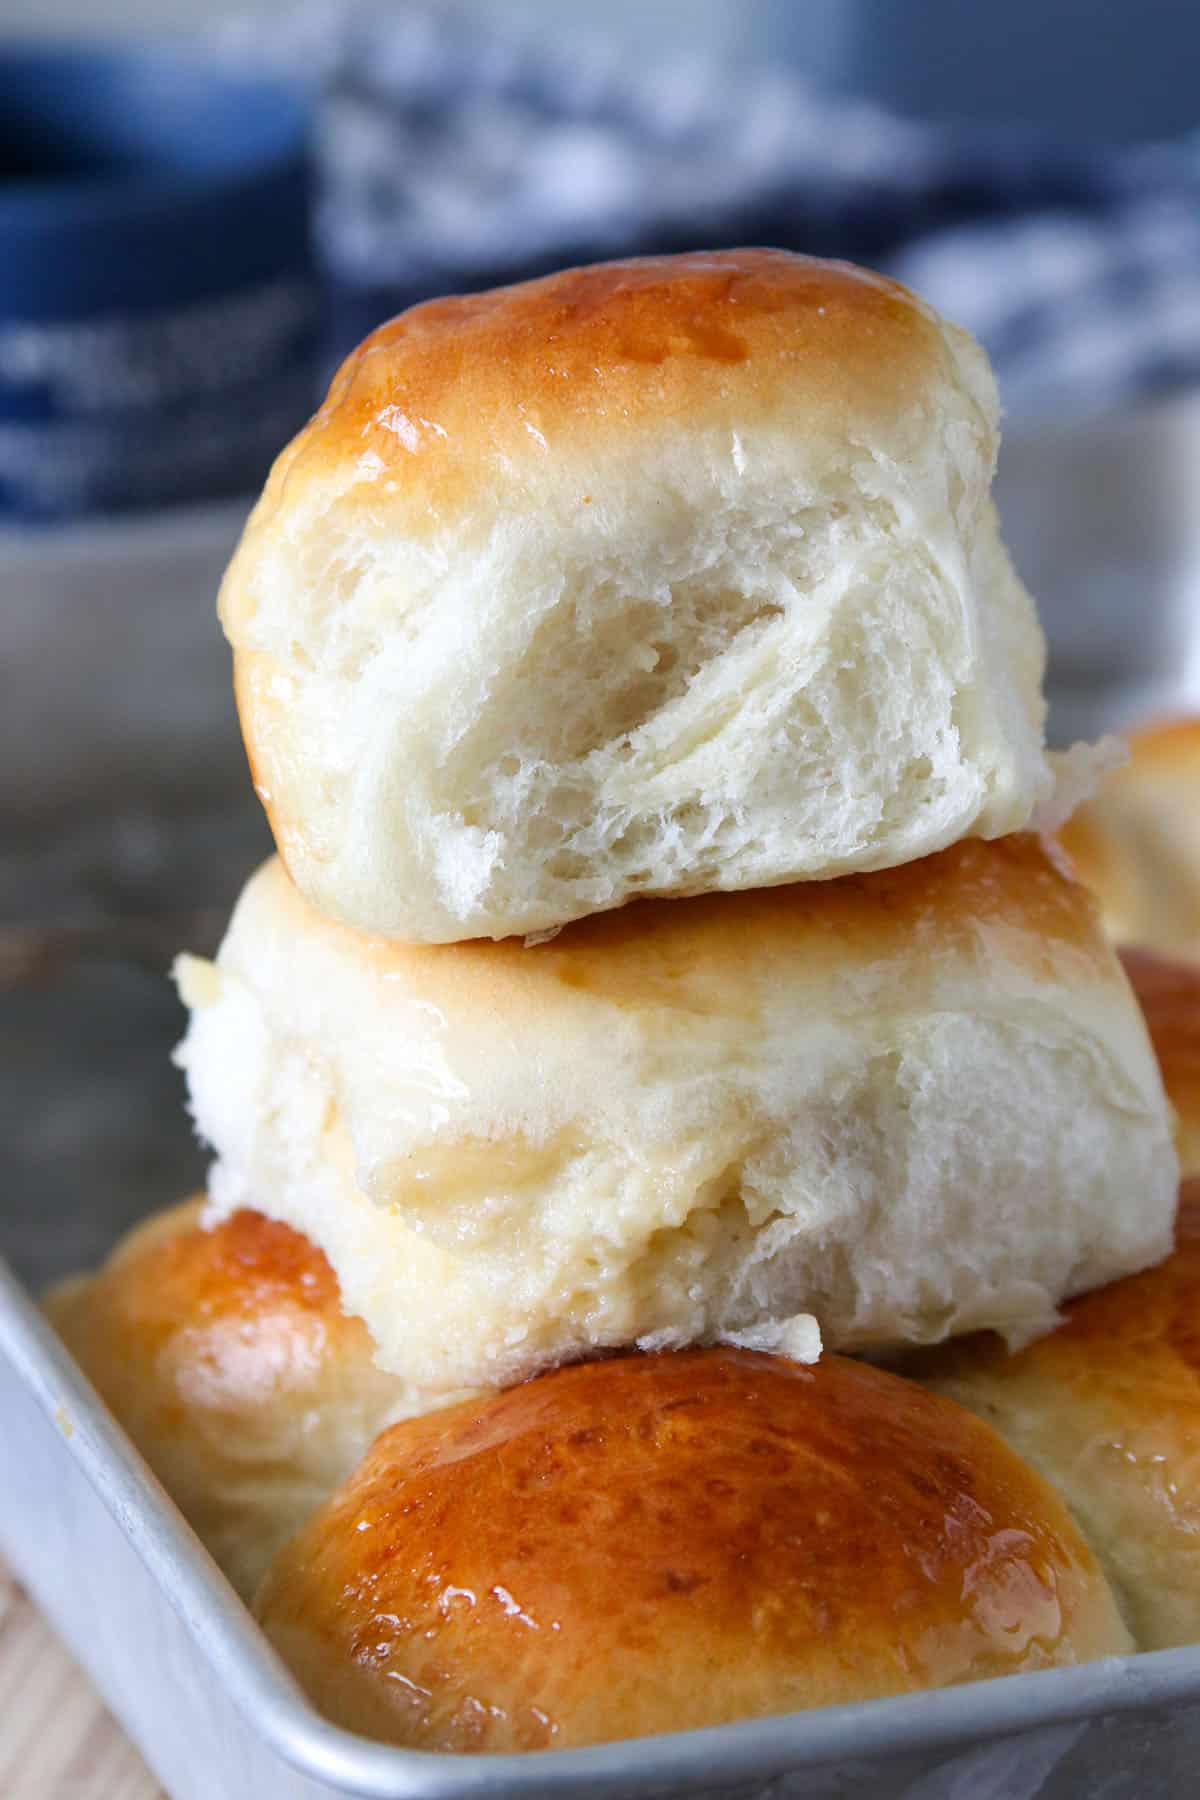
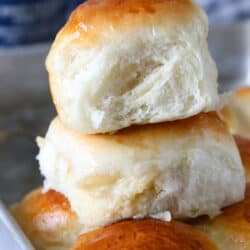
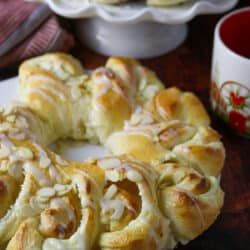
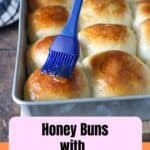
These Honey Buns with honey cream filling are ultra soft and fluffy. The honey cream filling in the centers is buttery and just perfectly sweet!
This recipe is updated to show a video of making the honey cream filling, which some of you had some trouble making. Make sure to check the honey cream pointers and video if you had difficulty before).
Soft and warm honey buns are surely a delight, and when they are filled with something pleasantly sweet on the inside, that is a next-level delight. Remember Sweet Beehive Buns that are filled with honey cream cheese? Filled breads are just amazing treats!
For today’s recipe, honey takes the limelight. Honey fills our delicious soft buns and gives us an ultimate bread treat.

I have had a couple of baking fails this week. But after some extra patience and testing, from those failures emerge something delicious and something that you can rely on. These Honey Buns are one of them.
Also, check out 20 Everyday Bread Recipes, if you like something on the more plain side.
Honey Buns
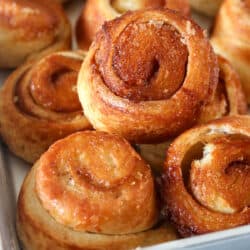
- Made of soft, pillowy and huge buns that are filled with a honey cream in the centers.
- The honey cream filling? It is something I can eat out of a spoon- so creamy, and just mildly sweet. It is a made with a mixture of honey, butter and evaporated milk cooked together with flour to yield a delicious paste.
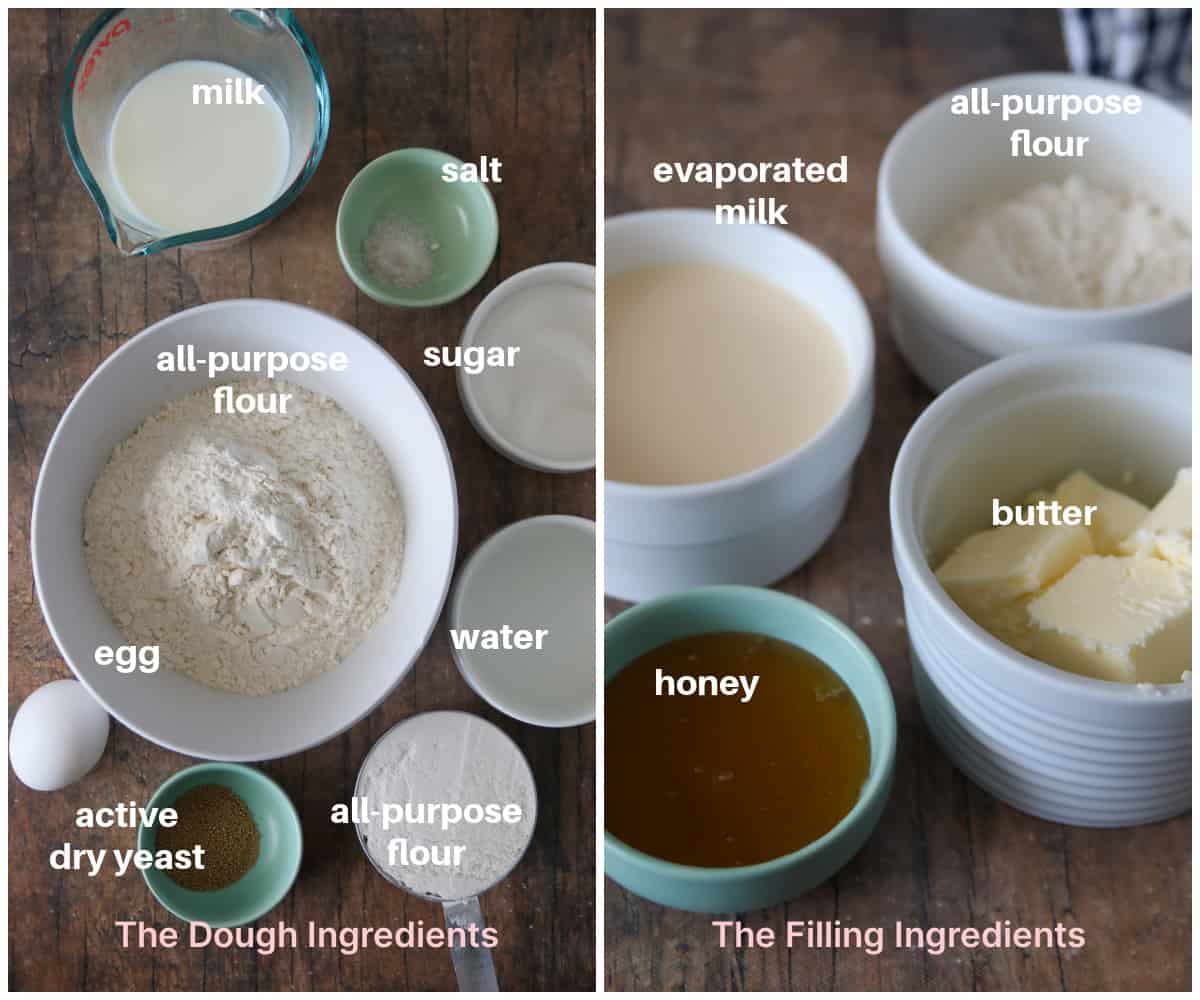
The Honey Buns Ingredients
Pointers and Tips
- Kneading the Dough in the Mixer. If the dough does not come together at all about 8 minutes into the kneading in the mixer, sprinkle up to ¼ cup of all-purpose flour until the dough begins to gather in the center.
- Handling the Dough after Kneading. Dust the dough with flour after kneading so you can easily handle it and transfer it into a bowl.
- The Curdling of the Honey Cream. The honey cream will start to curdle once evaporated milk is added. This is okay, just continue to stir and until the mixture is thick and smooth.
- You can make the honey cream for up to 2 days ahead. Transfer it to a container and press a plastic film directly to the surface of the mixture to prevent a skin from forming. Refrigerate.
Honey Buns with Honey Cream Filling: The Process
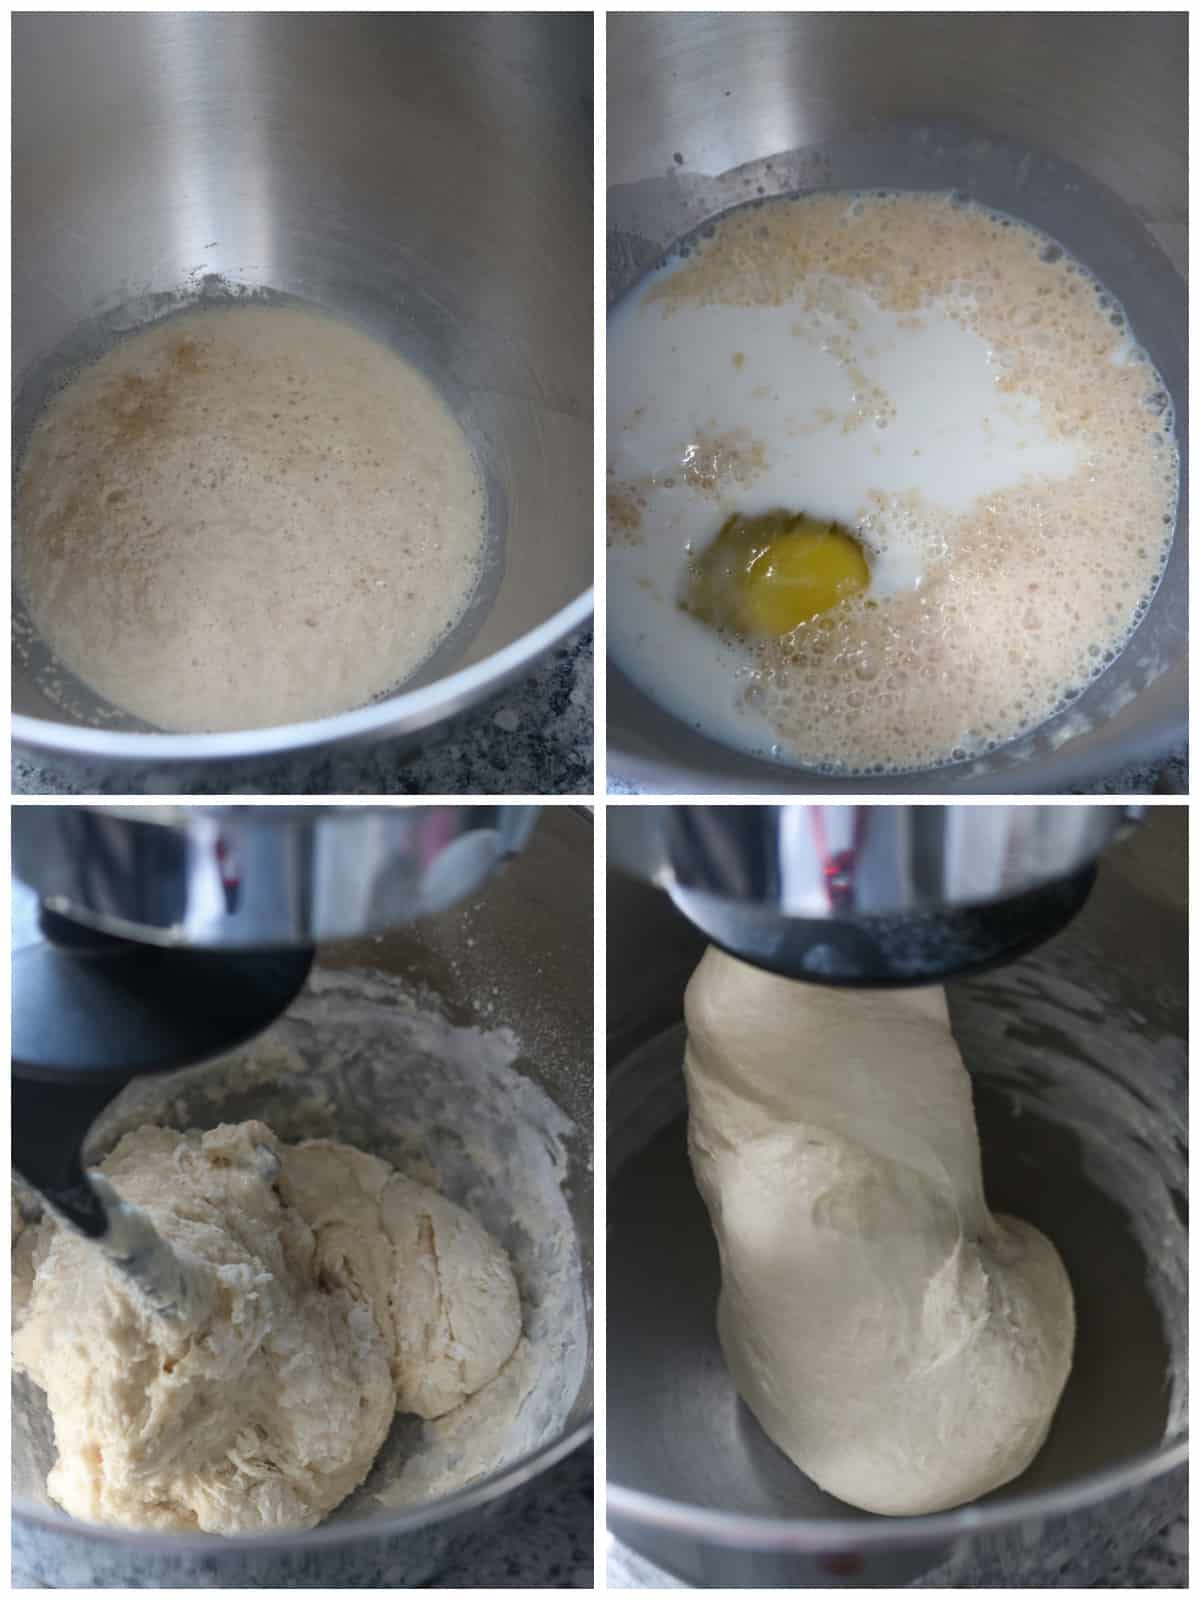
Make the Dough
- In the bowl of a stand mixer, combine yeast, about a teaspoon of the sugar and warm water. Let this stand for about 5 minutes, until the mixture looks creamy. Add milk, the melted butter, egg and sugar to the bowl and stir with wooden spoon until combined.
- Add the flour, one cup at a time, stirring well after each addition. Once all the flour has been added, the dough will be shaggy and soft. Attach the dough hook to the stand mixer. Knead the dough on medium-high for about 10 minutes or so, until the dough is smooth and is cleaning the sides of the bowl.
- Tip: If you are not sure, do a quick Windowpane Test to a small portion of the dough.
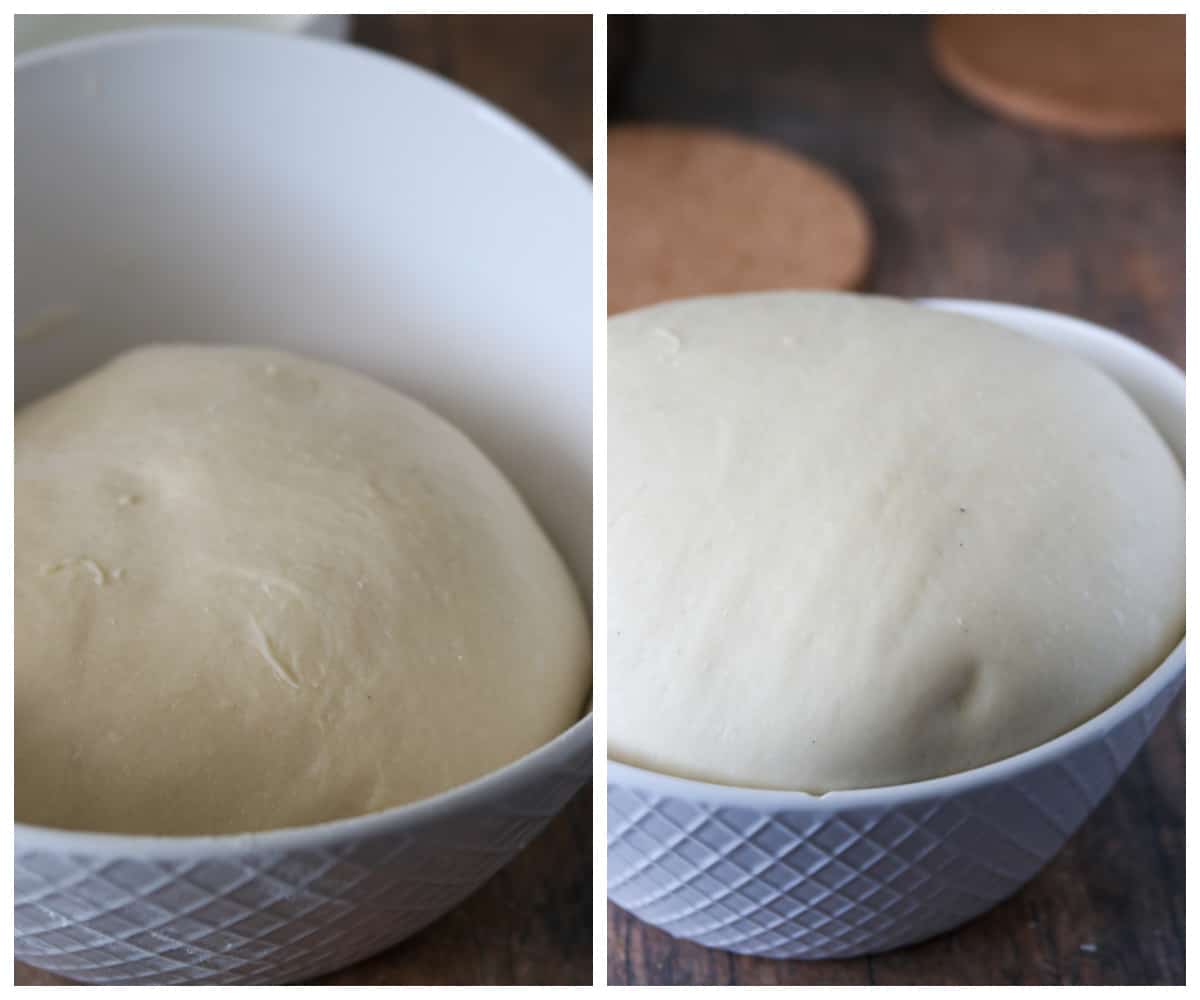
Let the Dough Rise
- Sprinkle some flour to the dough for easier handling. Shape it into a ball and place it in a lightly floured bowl. Cover it with a clean kitchen towel. Let this rise for 1½ hour, or until doubled in bulk.
An Important Note on Making the Honey Cream
Okay, so some of you have been having trouble making the honey cream. Some have feedbacks that theirs become curdly, runny and separated.
While I have not experienced this, I want to address this issue to avoid trouble for those who are having difficulty.
First, make sure you are using evaporated milk. Note that this is different from condensed milk. The consistency of evaporated milk is like a regular milk while a (sweetened) condensed milk is thick. Using condensed milk instead of evaporated milk will produce a very different result.
Next, I made a video to illustrate the actual process of making the honey cream, to help you in making it if you are unsure. I do hope this solves the problem for those who were having trouble.
Make the Honey Cream
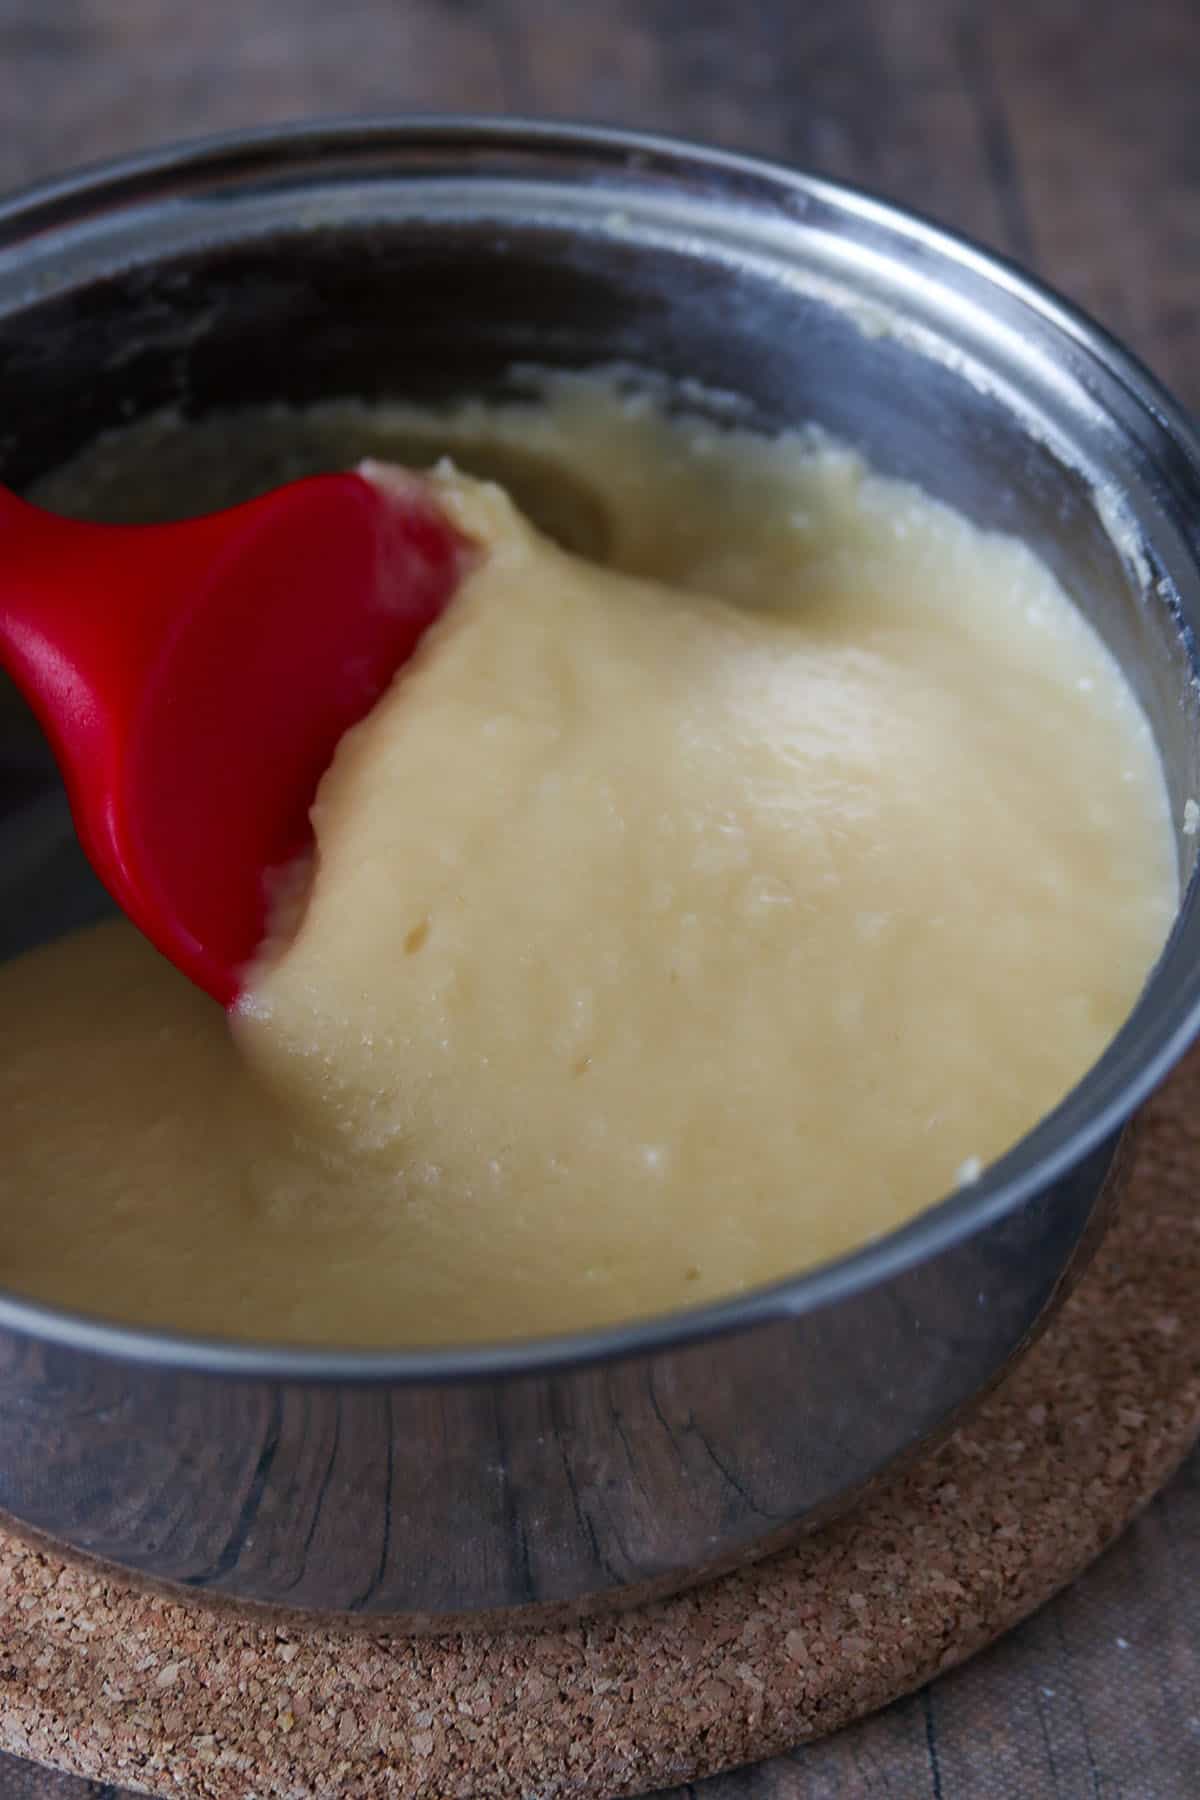
- In a saucepan over low heat, melt the butter until bubbly. Add the flour and stir together using a whisk until the mixture is lightly golden.
- Add the evaporated milk slowly while stirring constantly. The mixture will begin to curdle, but don’t worry! Just continue stirring until mixture becomes smooth and thick. Add the honey. Stir mixture vigorously. Again the mixture will curdle but it will start to become a smooth paste as you stir. Turn off heat.
- The mixture will have the consistency of condensed milk or a curd. It will thicken up as it cools down. Put a plastic film directly on the surface of the mixture to prevent it from forming a skin. Store it at room temperature while the dough rise.

Shape the Dough and Let Rise Again
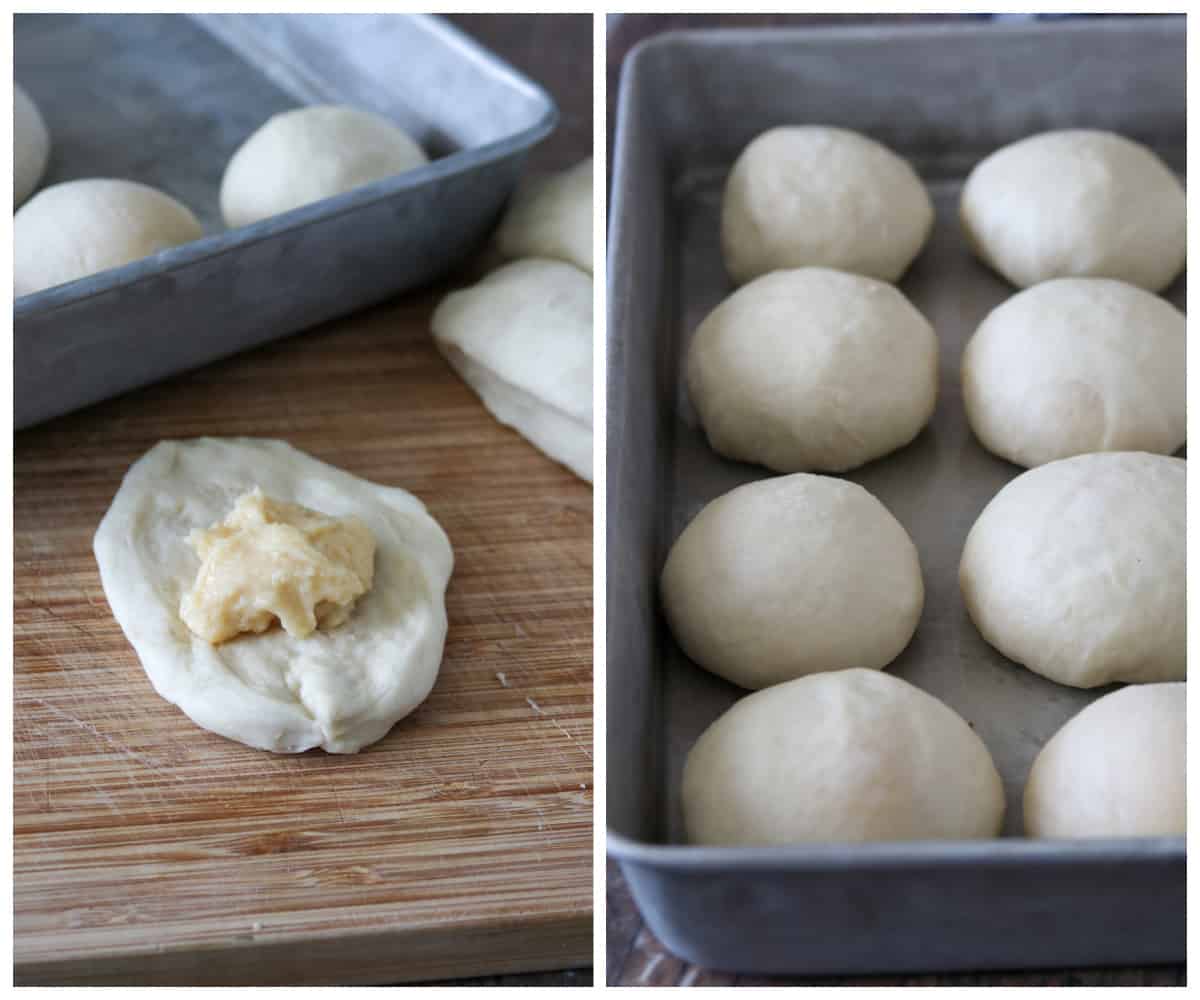
- Once the dough is puffy and has doubled in size, punch it down and divide it into 12 equal portions.
- Flatten each portion with your palms until it is about ¼ inch thick. Spoon about 1 ½ tablespoon of the honey cream in the center of the dough.
- Pull the edges of the dough over the filling to cover it and twist all the ends together to seal, forming a smooth ball.
- Arrange the balls of dough in a parchment lined 9×13 inch baking pan. Let them rise once more, covered for about 40 minutes to 1 hour. The balls should be puffy and have doubled in size.
Bake!
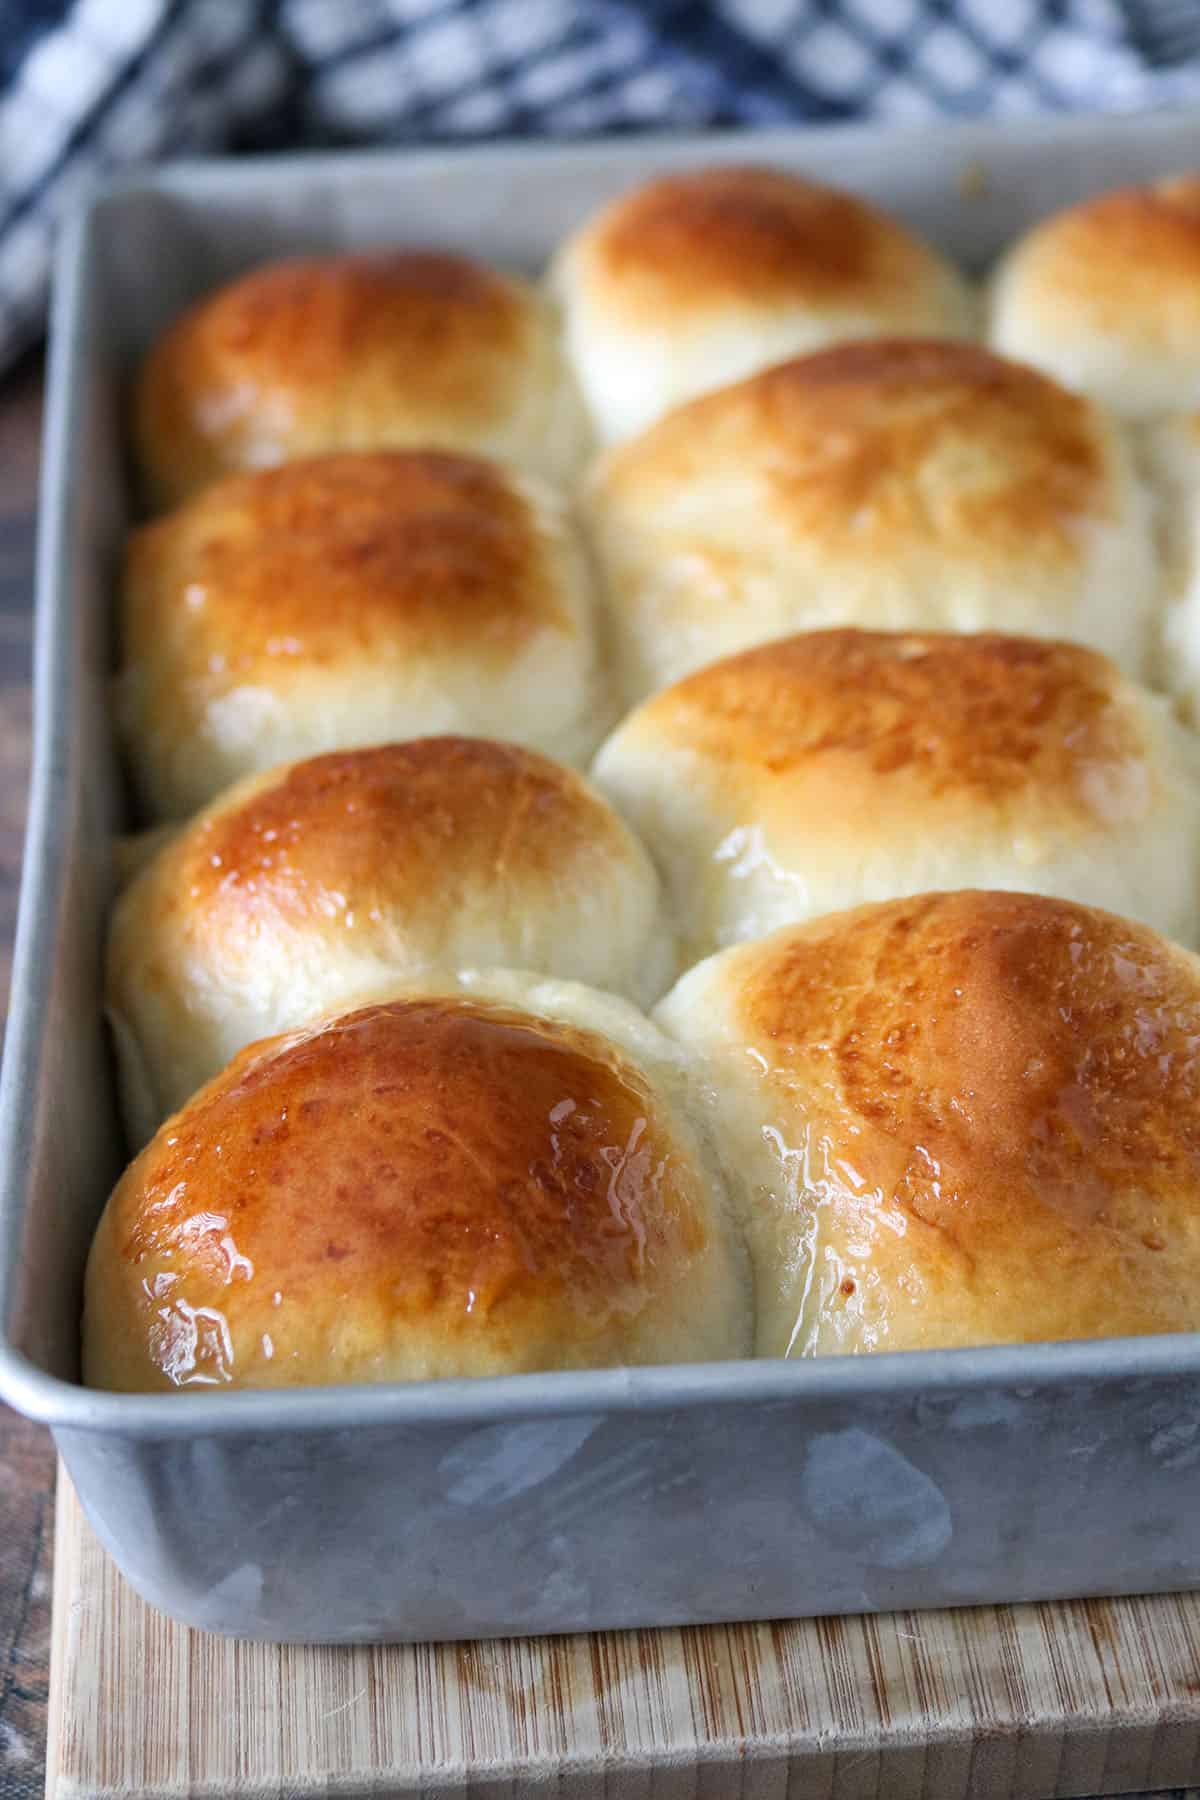
- Preheat oven to 350 F. Brush the surface of the buns with the egg wash. Bake at 350 F for 15-20 minutes. The tops of the buns should be golden.
- Brush the honey butter glaze on the buns as soon as they are done baking.
Frequently Asked Questions
After all the flour has been added, the mixture will turn into a shaggy, soft dough. As you start to knead, the dough will start to gather in the center within 5-7 minutes in the mixing.
However, if your dough stays shaggy and does not come together, sprinkle up to ¼ cup of flour gradually while the mixer is running. It should help to shape the dough into a formed mass that cleans the side of of the bowl.
Yes. You can freeze the dough after the first rise. Gently deflate it, wrap it in plastic film then in foil. Freeze for up to a 2 weeks.
Unfortunately, I find that not all recipe can be directly adapted for use in the bread machine. You can try and tweak some amount for sure, and see what works in the bread machine. For a bread macind ready dough, try Bread Machine Cinnamon Rolls or Bread Machine Pandesal.
Enjoy these buns warm. You will be tempted to eat one as soon as possible (like I was). The filling will be hot so have that little patience. Let it cool down a bit!
The honey butter glaze elevates the deliciousness of the buns. I suggest you don’t skip that. Lastly, happy baking! Let these honey buns be your baking joy any day!
Do you need more bread recipes? Worry not, we have lots!
- Chelsea Buns
- Milk Bread
- Sweet and Buttery Sugar Buns
- Japanese Condensed Milk Bread
- Mini Cinnamon Rolls with Coffee Icing
- Chocolate Hazelnut Rolls
- Choco Walnut Bread
- Japanese Milk Buns
Honey Buns with Honey Cream Filling
Ingredients
- 2 ¼ tsp active dry yeast
- ¼ cup warm water 105-115℉
- 2/3 cup warm milk 105-115 F
- 5 tbsp sugar
- 1 large egg lightly beaten
- 1/2 tsp salt
- 3 cups all purpose flour
- 3 tbsp unsalted butter melted
- 1 egg for brushing on the bread
- 1 tbsp milk
Honey Cream Filling
- ½ cup unsalted butter
- 3 tbsp flour
- 2/3 cup evaporated milk
- 1/4 cup honey
Honey Butter Glaze
- 2 tbsp softened butter
- 1 tbsp honey
Instructions
- In the bowl of a stand mixer, combine yeast, about a teaspoon of the sugar and warm water. Let this stand for about 5 minutes, until the mixture looks creamy. Add milk, the melted butter, egg and sugar to the bowl and stir with wooden spoon until combined.
- Add the flour, one cup at a time, stirring well after each addition. Once all the flour has been added, the dough will be shaggy and soft. Attach the dough hook to the stand mixer. Knead the dough on medium-high for about 10 minutes or so, until the dough is smooth and is cleaning the sides of the bowl.
- Sprinkle some flour to the dough for easier handling. Shape it into a ball and place it in a lightly floured bowl. Cover it with a clean kitchen towel. Let this rise for 1½ hour, or until doubled in bulk.
- Meanwhile, make the honey cream filling (instructions below). Once the dough has risen, punch it down gently and divide to 12 portions. Flatten one portion with your palms until it is about ¼ thick. Scoop about 1 ½ tablespoon of the filling in the center. Pull the edges of the flattened dough over the filling to filling. Twist the ends together to seal the dough, forming a smooth ball.
- Repeat with the rest of the portions. Arrange the balls of filled dough in a greased 9x13 inch baking pan that is lined with parchment paper. Let them rise, covered for 40 minutes to 1 hour, until puffy and doubled in size.
- Preheat oven to 350 F. To make the egg wash, beat one egg with 1 tbsp milk. Brush the tops of the buns with the egg wash. Bake the honey buns for 15-20 minutes or until the buns are golden.
Make the Honey Butter Glaze
- In a small bowl stir together the softened butter and honey until smooth. Brush on top of the buns after baking. Serve and enjoy!
Honey Cream Filling
- In a saucepan over low heat, melt the butter until bubbly. Add the flour and stir together using a whisk until the mixture is lightly golden. Add the evaporated milk slowly while stirring constantly. The mixture will begin to curdle. Just continue stirring until mixture becomes smooth and thick. Add the honey. Stir mixture vigorously. Again the mixture will fall apart but it will start to become a smooth paste as you stir. Turn off heat.
- The mixture will have the consistency of condensed milk or a curd. It will thicken up as it cools down. Put a plastic film directly on the surface of the mixture to prevent it from forming a skin. Store it at room temperature while the dough rise or refrigerate if you are making it ahead.
Video
Notes
- The honey cream will start to curdle once evaporated milk is added. This is okay, just continue to stir and until the mixture is thick and smooth.
- You can make the honey cream for up to 2 days ahead. Transfer it to a container and press a plastic film directly to the surface of the mixture to prevent a skin from forming. Refrigerate.
- Store bread in a tightly covered container at room temperature for up to 2 days.


This recipe, thankfully I only tried to make the honey cream. That portion of the recipe is 1 star Like others note (and are responded to with brain dead comments from the author of this recipe), the cream never comes together. The fat separates from the solids and you’re left mixing with no progress. Since I was using a can of evaporated milk anyway and it would otherwise go down the drain, I just added more to see if that would help. It did, but the end product tasted like flour. And I cooked the flour butter mixture forever. I found if you continue to add evaporated milk, it will come together. Mine ended up too liquidy, but also too floury. and less honey flavored than desired. In conclusion, use less flour and more evaporated milk and maybe yours will come out right. But only maybe because the honey flavor wasn’t there enough for me.
Hello Sam,
Thank you for your comment. I understand your frustation. And If I am in your position, I will be frustated too. I apologize that the recipe has not work the way it was supposed to. Even though this has gone through thorough testing and some has made the recipe with success, having one or more feedback like yours (and others) should be reason enough to test it again. Thanks for bringing this to my attention and I will be sure to update the recipe as needed.
How long do you have to mix before the filling becomes a paste? Mine never did. The butter just separated. I may have to try it with less. 1/2 a cup of butter seems like a lot
Hi Kaz! I am sorry you had trouble. I hope it worked for you the way it was stated in the recipe.
Can the finished rolls be frozen and re-heated later?
The cream filling i made seems not how it it’s supposed to be. The butter is separating from the rest of the ingredients 🙁
Hi Christine! I am sorry this did not work out. I hope you will be able to try it again with success.
Question about the filling before I make it: 1/2 cup of butter is 8 tablespoons, which seems like a lot to combine with only 3 tablespoons of flour. Just wanted to make it is the correct amount. Thank you!
Hi Cindy! Yes, those amounts are correct. Good luck!
I’ve made these a few times and everyone loves them. Thank you!!
I am so happy to know that, Karina
Just curious about the honey cream filling can it be used in other applications? Because I’m working on a homemade vanilla chai based cupcake… The idea is to make vanilla sponge cake with this honey filling in the center and then a vanilla chai Italian or swiss buttercream on top garnish with powder cinnamon. Would it work if I add the honey cream filling after baking the cake or should I put it in the batter and then bake?
Hi Aremis! I would suggest that you bake the cake first, then fill the cake with honey cream. This cake you are making sounds very delicious!
This is such a grandma recipe in all the best ways. It’s both surprisingly simple and complex at once – each step in itself isn’t difficult but there’s a lot of them and some require a bit of elbow grease. They taste simple and homely and just the right amount of sweet. Also, the filling is absolutely ingenious. I wouldn’t even have tried because butter and honey would usually melt and just seep into the dough but prepared this way, it all comes together nicely.
Although I’m rather experienced at baking, not having an exact amount of flour to use scared me a bit at first, but in the end, they came out perfect right on the first try. Thank you so much for this amazing recipe!
Hello, Ruth! I am so glad you loved this recipe. Thanks for your feedback!