
Simple Pie Crust Recipe
This is my simple pie crust recipe made with all butter and just a few basic ingredients. In here you will learn how to make a pie crust, how to roll it out and how to place it on your pie dish. There is also instructions on how to blind bake a pie shell as well as other helpful tips to ensure your success.
Okay, pie crust. In the early days I would move away from baking pies and focus more on other stuff like cakes, muffins, bread etc. I love pies, the flaky and buttery pastry is my all time favorite. However, making pies is another story.
In this post let me show you that making pie crust can be regarded as doable, even if you are a home baker, a novice baker or you have never made pie crust before. And also, let me tell you, homemade pie crusts are eternally better than store-bought ones. The flavor, the texture and the freshness out of the oven- nothing beats it!

Making A Simple Pie Crust: Process Overview
If you arrive here and have always thought that making pie crust is a smooth, tailored and exact process- then that may be the reason why you are hesitant to try homemade pie crust again, maybe after a fail or two in the past.
Making pie crust is not a perfectly tailored process. In the middle of the process you will ask yourself, Am I doing this right? Why this feels wrong? Why is this dough not coming together? My sister, my brother, making pie crust is that way. You will feel like you are messing it up, but that is how it is! You will still end with a perfect pie crust even if it seems the process was not smooth or exact.

- Whisk together dry ingredients.
- Cut the cubed butter into the flour mixture until it looks like crumbs with some bits of butter in it.
- Add water and incorporate that water using you pastry cutter or a wooden spoon. The flour will start to moisten.
- Add more water but in small amounts. Once the dough gathers together when pressed, it is ready. However, if you see more dry crumbs, add just a bit more until the dough holds its shape. This is where you would think that you messed up. Just keep adding small amounts of water, and your dough will just perfectly gather, without being wet.
- Turn it over into a floured working surface. Knead gently just to gather, then divide into 2 portions. Pat and shape each portion into a disc, then wrap well in plastic film. Pat and flatten a bit more to pack the disc of dough inside the plastic.
- Chill the dough in the fridge for at least 4 hours. After that, your pie crust is ready for your recipe.


How to Roll Out Pie Dough?
Allow the Dough to Rest for a Bit at Room Temperature, about 5 minutes.
On a floured surface, use a rolling pin to gently roll out the dough beginning from the center of the disc then out. Rotate the dough and repeat that manner of rolling, that is, starting from the center then going out. If parts of the dough is cracking or tearing up, that’s okay, simply patch it up together. If you come across some sticky parts that is tearing, simply pat some flour in that portion to fix it.
Once the dough is about 2-3 inches larger the pie dish, then it is ready.

How to Place the Pie Dough into the Pie Pan?
Lift the edge of the dough and hang it over the rolling pin. Roll the rolling pin so that the dough wraps around it. Position the pin on top of your pie pan, gently unroll the pie dough on top. Rearrange and center the dough as needed.
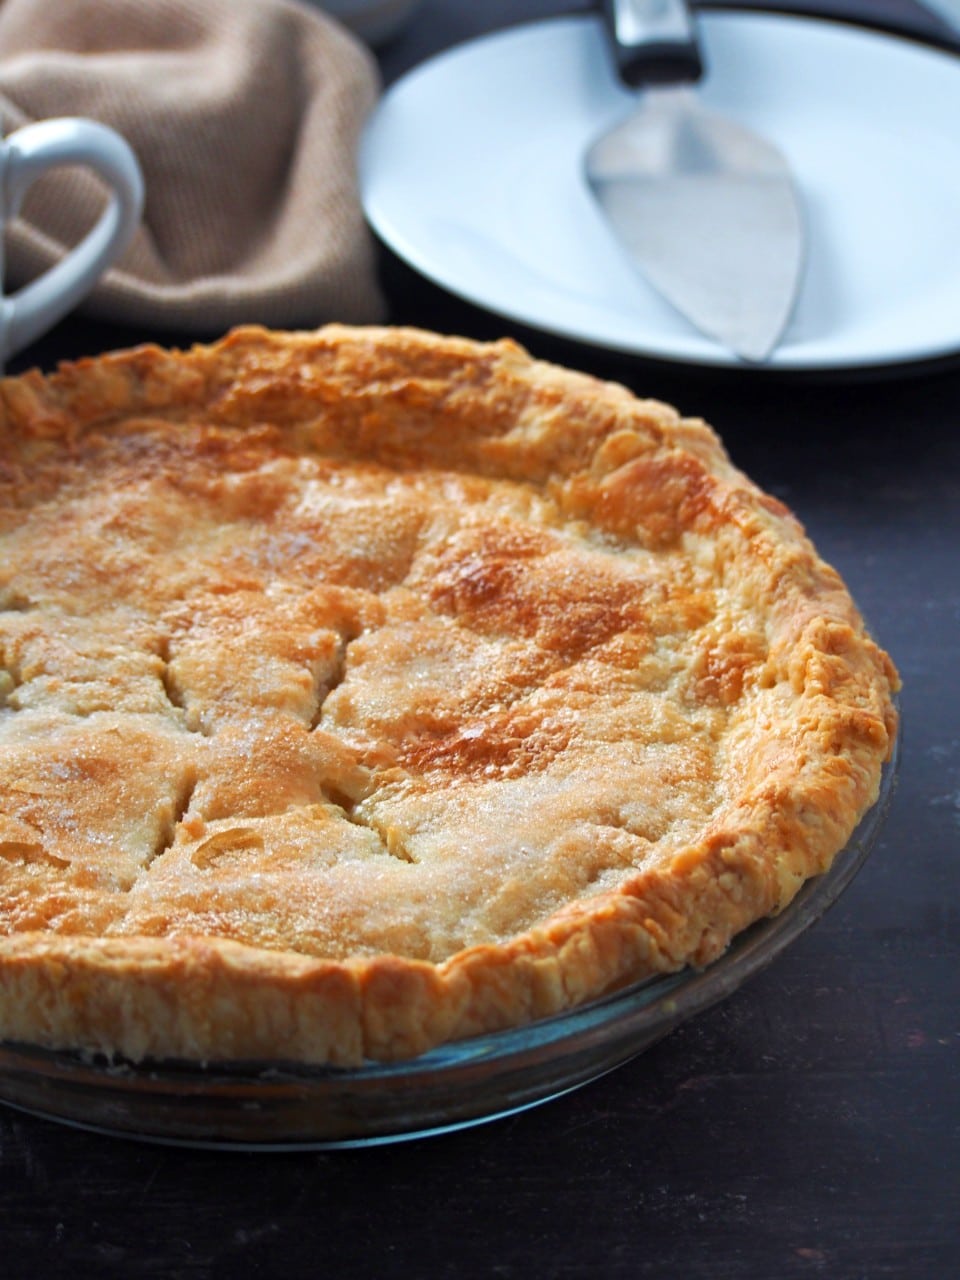
Now you can shape the edges of your pie crust. If some edges are shorter, cut some dough from the longer edges and patch it up towards the edges that needs more dough. You can make some indentions with your pointer finger to add some decorative touch to your pie shell.

Blind Baking the Pie Dough
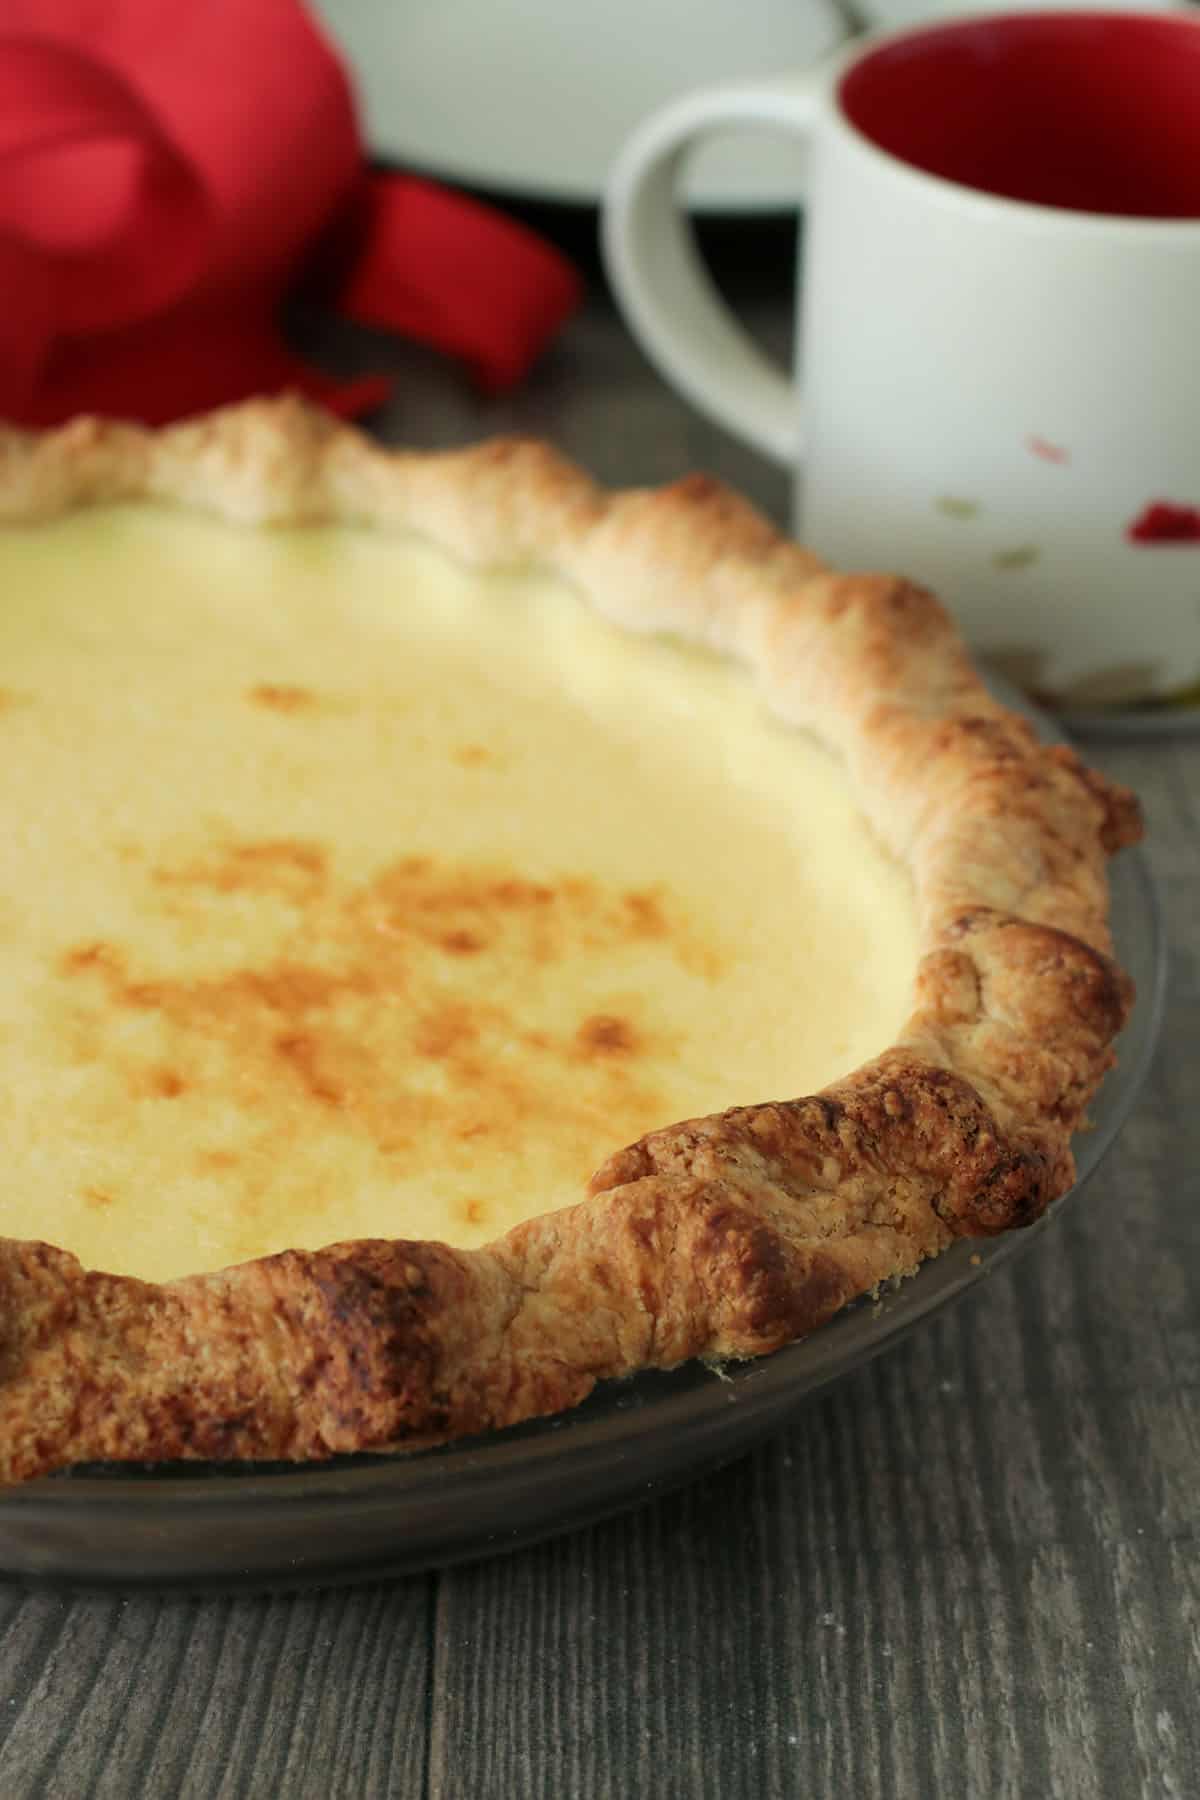
If the recipe calls for blind baking the pie crust, that means you need to pre-bake your pie shell without any filling in it. This might be necessary if the filling is already cooked before hand and it just needs to go straight to a cooked pie shell.
It can also be that the filling cooks faster then the crust or the filling is too wet or liquid that the crust needs to be cooked first to ensure it remains crisp and not soggy.
- Poke holes all over the bottom and sides of the dough using the tines of a fork. Cut a piece of parchment paper that is a bit larger than your pie shell. Place it on top so that the pie crust is covered.
- Add some weights on top of the parchment. It can be uncooked rice or beans. Make sure the weights are evenly spread across the bottom of the crust as well as the sides. This will ensure the dough does not puff up or rise as it bakes.
- The temperature and time depends on your recipe. The recipe may require a fully baked crust, or sometimes halfway, so follow that.

More Tips for Success
- Butter and Water Should be Cold. Any warmth in the ingredients can cause the butter to melt while still working with the dough, and this will inhibit the layering of the crust as it bakes.
- Work Fast and Minimally. Again if you overwork the dough, you introduce heat, and it will also form more gluten as needed, resulting in a non-flaky, and tough crust.
- Pastry Scraper is Your Friend. Even if you dust your surface, there can still be a degree of stickiness and also, we are rolling out a dough into thinness, so to help you with lifting up that thin dough, a pastry scraper is a good tool to have.
Try These Pie Recipes

Simple Pie Crust Recipe
Equipment
- 1 rolling pin affiliate link
- 1 pastry scraper affiliate link
- 1 pie dish affiliate link
Ingredients
- 2½ cup all-purpose flour
- ¾ tsp salt
- 1 tbsp. sugar
- 1 cup butter cut into little cubes, chilled
- ⅓-½ cup ice cold water plus more as needed (see note 1)
Instructions
- In a large and wide bowl, whisk together flour, salt and sugar. Add the cubed butter. Using a pastry cutter, cut the butter into the flour mixture until the mixture resembles coarse crumbs with bits of butter here and there.
- Pour the ice water into the bowl. Using the pastry cutter or a wooden spoon, incorporate the liquid until the flour starts to moisten and long strands of dough forms.
- Add more water, one tablespoon at a time, working it in the dough until the mixture is just wet enough to gather when pressed together. If you still see more dry crumbs, add water little by little. The result should be a dough that holds together, but is not too wet (see note 2).
- This recipe makes enough crust for two 9 inch pies, or one pie with a top crust. Turn the dough into a lightly floured surface. Knead gently just to gather. Divide it into two portions. Pat and shape each portion into a disc. Wrap it in plastic film.
- Pat and flatten the dough a bit more until it is a somewhat an inch thick disc. Repeat the process with the other portion. Chill the dough in the fridge for at least 4 hours.
- After chilling, the dough is now ready for your pie recipe. Allow it to rest for about 3-5 minutes before rolling it out. Work in a floured surface, and remember to dust your rolling pin and your dough lightly as needed to prevent sticking.
- Rolling the Pie Dough: On a floured surface, use a rolling pin to do a gentle rolling stroke from the center of the disc then going out. Rotate the disc and repeat all around. This manner of rolling ensure the dough gets rolled out in a circle-ish shape. Make use of a pastry scraper to lift the dough each time you rotate as it can get sticky (see note 3).
- Placing the Dough into the Pan. Once your circle is about 2-3 inch larger than your pie pan, lift one edge of dough and place it in the rolling pin. Roll the rolling pin so that the dough wraps around it. Position the pin over the pie pan, and unroll the dough out on top (see photo in the post).
Notes
- Cold Water. The water in the recipe is a starting guideline. You will have to add more as needed until the dough gathers nicely with minimal dry crumbs. However add little by little as you do not want a wet dough, just a dough that hold its shape together.
- Working the Dough. Work with the dough as fast and as minimally as you can. Overworking the dough can make it tough and can introduce heat that can warm the ingredients (the butter), and that can be a hinder to making a flaky texture.
- Dough Tearing/ Sticking/ Cracking. If at anytime the dough tears, or cracks, simply patch them together. If a portion is so sticky that it tears, dab some flour to patch that portion.
- Freezing the Pie Dough. To freeze, wrap the disc well in plastic then in foil. Freeze for up to three weeks, Thaw in the fridge to use.


My go- to pie crust recipe!