
Special Filipino Ensaymada
A Special Filipino Ensaymada with a soft and buttery dough topped with a creamy buttercream and garnished with lots of grated cheese! If you love this, make sure to check out another variation, the Dulce de Leche Ensaymada and Ube Ensaymada. Or if you want the plain bread varieties, try Basic Sweet Buns, Pandesal and Japanese Milk Buns.
Originally published Dec 1, 2016. Republished to improve the recipe and photo.

When these ensaymada came out of the oven, and when I took my first bite, my glee was immeasurable. Like a little baker’s victory. A special Filipino Ensaymada has always been my dream to recreate at home. I have fond memories of receiving these in boxes as pasalubong (gifts), all in yummy assorted flavors.
Now my assumption is that you are here because homemade ensaymada is your dream too. If that’s the case, then you are in a good place. In this post I will teach and show you how to make ensaymada, special Filipino style!
While the recipe is long and seems complex, it is really simple. It is just broken down into stages to better illustrate the process. And the process is nothing more than having the heavy-duty mixer work for you!

First, Pointers and Tips!
- The sponge is sort of a starter for the dough. Once this has risen, make sure to stir all the flour in before adding the rest of the ingredients.
- During kneading in the mixer, the dough may be too sticky at first. You can sprinkle a bit of flour gradually to help with this, but do not exceed ¼ cup.
- The butter will be added bit by bit as a last step in making the dough. Make sure your butter is cut into little cubes and softened to room temperature so that it blends easily with the dough.

Special Filipino Ensaymada: The Process
In the bowl of your stand mixer, add the 2 and 1/4 teaspoons yeast, 1/3 cup warm milk ( 110 F), 1 egg and 1 cup of flour. Use a rubber spatula to combine them.

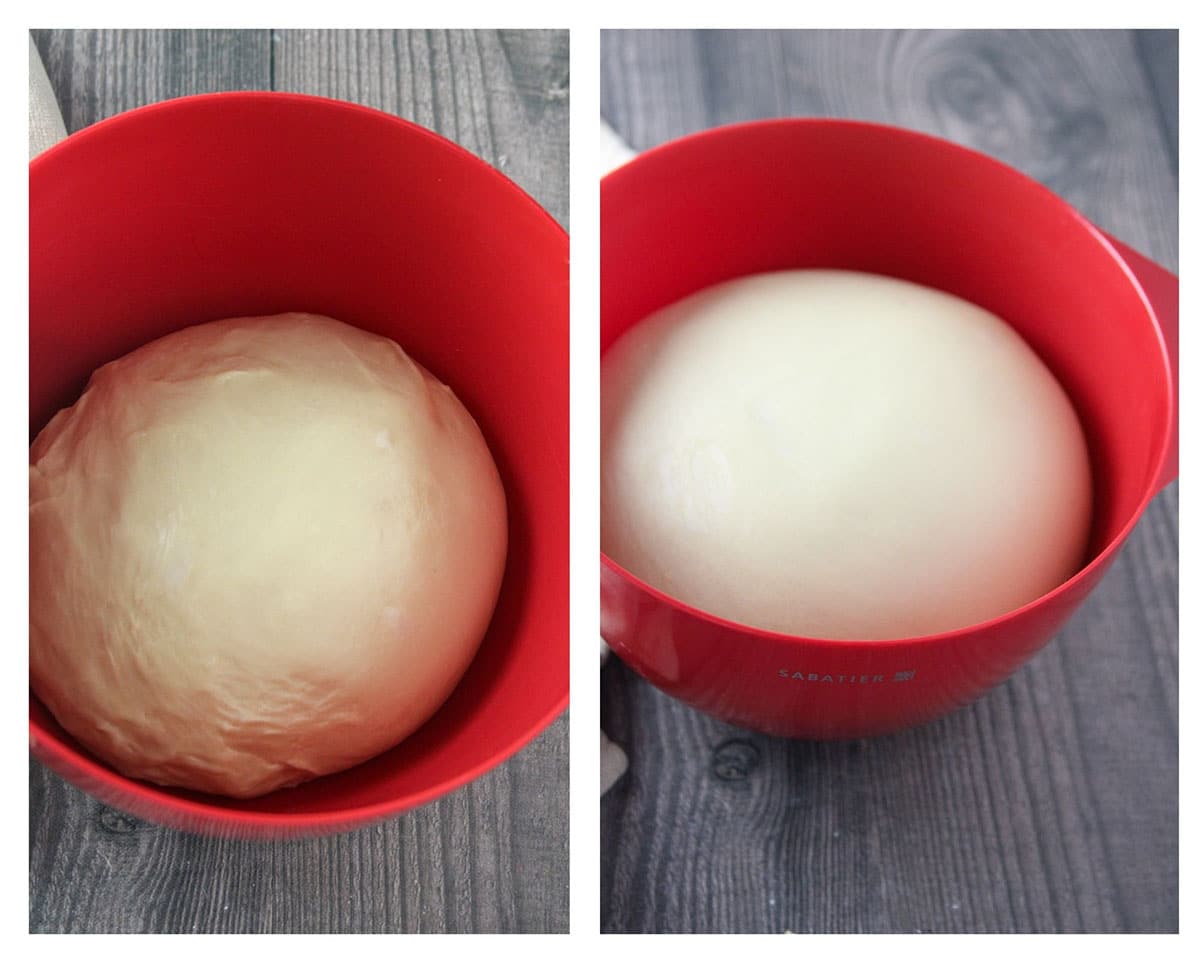
Once combined, sprinkle the remaining ½ cup of flour on top of the mixture (Do not stir) The cracks on these later will enable us to determing that the sponge has risen. Let this stand untouched for 40- 45 minutes. After that time, the flour should develop some cracks on the surface.
The photo below shows the flour cracks after 40 minutes of letting the mixture still. You now have successfully completed the first process which is making the sponge. Stir the flour in well so that no dry flour is left in the bowl.

Now add 3 lightly beaten eggs, ¼ cup sugar, and 1 teaspoon salt. Gradually add the flour, until the dough gathers in the center of the bowl. You may have a little bit of flour left.

Attach the dough hook to your mixer and beat the mixture on medium to high speed to knead for 3-5 minutes.
The dough is ready is when you see it gathering itself into the center, kind of slapping the sides of the bowl. If the dough is still so sticky and not gathering, sprinkle the remaining flour plus up to ¼ cup extra. This should help with the stickiness. The dough will star to gather nicely.

You are now ready to add the butter. Bit by bit, drop the softened butter into the bowl, letting them mix well after each addition. Now at this stage, the dough which has gathered beautifully earlier will start to fall apart again.
Just continue beating and you will see the dough gather again, about 5 minutes or so. At this stage, you will have a shiny, sticky but very smooth dough.
Place the dough in a large greased bowl, cover it with plastic wrap and let it chill in the fridge for at least 4 hours or overnight.
After the long chilling, the dough is now ready to use. Take the dough out of the fridge. Allow to rest for about ten minutes. Gently deflate the dough and divide it into 12 portions.
Shape each portion into a smooth ball and place them on lightly greased brioche molds, silicone muffin cups, or on a regular-sized muffin pan(s).

Cover the shaped dough loosely with plastic wrap and let them double in size for 2 hours. Preheat the oven to 350 F.
Brush the surface of the ensaymada with egg wash. Bake the ensaymada at 350 F for about 12-15 minutes. The tops should just be lightly golden.

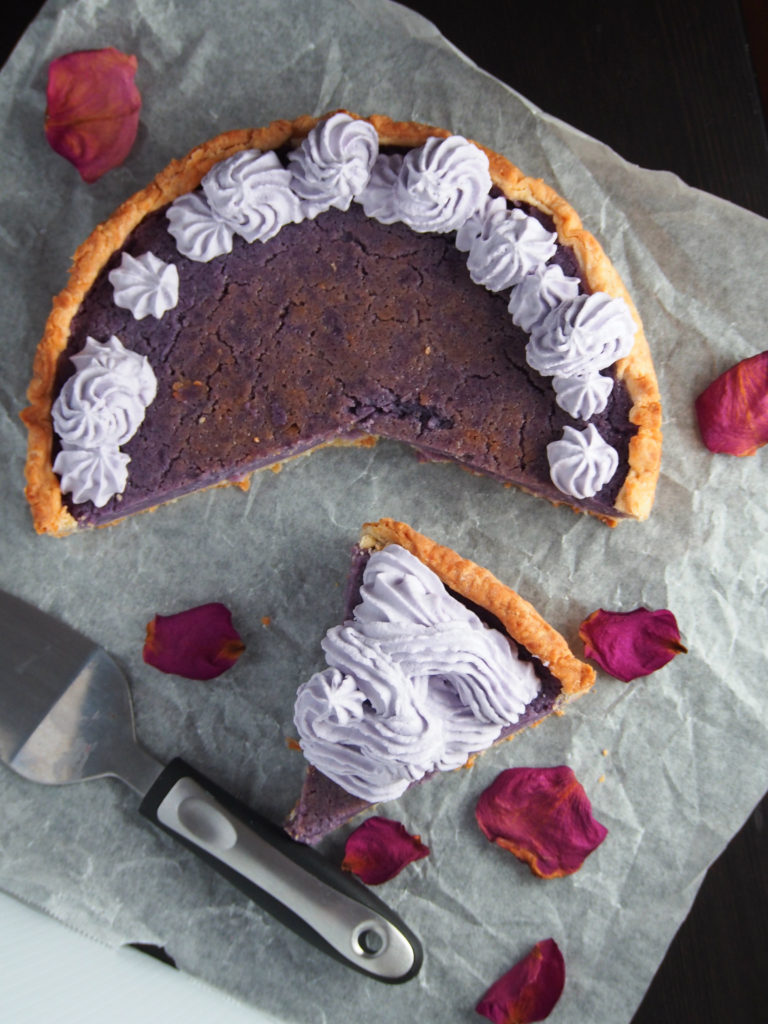
Spread the buttercream icing on top of each ensaymada, then sprinkle the grated cheese. Behold, your very own Special Filipino Ensaymada. Enjoy!
If the dough is still very sticky and wet, sprinkle a little amount of flour gradually until the dough starts to clean the sides of the bowl. Add flour gradually to avoid adding too much. the dough is ready once you hear the dough slapping the sides of your mixing bowl.
Once you added the butter, the dough, after gathering beautifully, will start to fall apart again but for a short while. Once you added all the butter, continue to knead until the dough gathers into a shiny, smooth and flowy dough.
Additional notes:
- To keep the ensaymada fresh and soft, store at room temperature in a tightly covered container for up to 3 days. Warm them in the microwave for 8-10 seconds before eating.
- You can also use just plain softened butter or margarine as the topping instead of making buttercream.
- Have you seen #ensaymada on Instagram lately? Lots of variety! People have topped them with many delicious things! Ham and cheese, chocolate, yema and so much more! They all look so good!
Freezing Ensaymada
- Freezing the Dough. After the dough has risen and chilled in the fridge for atleast 4 hours, you can freeze it. Gently deflate the chilled dough. Wrap it well in plastic film then in foil. Freeze for up to 3 weeks. To use, thaw in the fridge overnight. Then allow to rest at room temperature for 10-20 minutes until pliable. Shape and continue with the recipe.
- The Baked Ensaymada. You can freeze the baked ensaymada with buttercream and all for up to 2 weeks. First wrap inidvidual ensaymada in plastic film, then in foil.
Finally, here is the recipe! I hope you enjoy this!

How to Make Ensaymada
A special Filipino Ensaymada with a soft and buttery dough topped with a creamy buttercream and garnished with lots of grated cheese!
Ingredients
The Sponge
- 1/3 cup warm milk (105-115 F)
- 2 ¼ active dry yeast
- 1 large egg
- 1 ½ cup all purpose flour (180 grams)
The Dough
- ¼ cup sugar
- 3 large eggs
- 1 teaspoon salt
- 1 ½ cup all-purpose flour (180 grams)
- ¾ cup unsalted butter (170 grams)
Egg Wash
- 1 tbsp milk
- 1 large egg
The Buttercream
- ¾ cup unsalted butter (170 grams) softened
- ¾ cup powdered sugar
- 1 tsp vanilla extract
- granulated sugar ( sprinkling in top, optional)
- 1 cup grated cheese ( Filipino Processed cheese like Magnolia, Eden or Cheezee)
Instructions
MAKE THE SPONGE
- In the bowl of heavy-duty mixer, Add the yeast, milk, egg and 1 cup all-purpose flour. Mix with a rubber spatula or wooden spoon until combined. Sprinkle the remaining ½ cup of flour over the top as if to cover the mixture. Let this stand for about 40-45 minutes. There will be cracks on the flour surface at this point. Stir everything well, making sure there is no dry flour left.
MAKE THE DOUGH
- Add the sugar, salt, and eggs. Stir everything with your wooden spoon until incorporated. Add the flour gradually while stirring until the dough gathers in the center of the bowl. You may have a little bit of flour left, that's okay.
- Using a dough hook, run the heavy-duty mixer on medium high speed to knead the dough for 3-5 minutes. The dough should start to gather in the center of the bowl. If the dough is too sticky and not gathering, sprinkle the remaining flour gradually, and up to ¼ cup of flour extra as needed.
- Once the dough is cleaning and slapping the sides of the bowl, you are now ready to add the butter.
- Now add the butter bit by bit. Make sure that the butter is at room temperature, but not warm or oily. It should be pretty soft and malleable. It helps to enclose the butter inside a wax paper, press it down using your thumb or beat it with a rolling pin to give it a malleable consistency. When you add the butter, the dough will fall apart again for a moment. Continue to knead until the dough gathers nicely in the center again. This is a shiny, flowy smooth dough.
FIRST RISE:
- Place the ball of dough into a greased bowl and cover with a plastic wrap. Chill in the fridge for at least 4 hours, or overnight.
Shape the Dough
- Take the dough out of the fridge. Allow to rest for about ten minutes. Gently deflate the dough and divide it into 12 portions. Shape each portion into a smooth ball and place them on lightly greased brioche molds, silicone muffin cups, or on a greased regular-sized muffin pan.
- Cover the shaped dough loosely with clean kitchen towels and allow them to rise for 2 hours. Preheat oven to 350 F. Beat together 1 tbsp. of milk and an egg. Brush egg wash on the surface of the dough.
- Bake the ensaymada for 12-15 minutes, or until the tops are lightly golden. Allow them to cool until they are warm to the touch.
- Spread the buttercream icing on top of each ensaymada. Sprinkle white sugar over the buttercream if desired. Finally, sprinkle the grated cheese on top.
To Make the Buttercream Topping
- In a mixing bowl, beat together softened butter and powdered sugar until smooth and creamy. Beat in vanilla extract. To soften your buttercream, add a few teaspoons of milk until the desired consistency is achieved. If you don't use your buttercream right away after mixing, you may need to whip it again using the mixer to make it spreadable.
Notes
- Flour- For accuracy, spoon the flour into a measuring cup if you are not weighing. Use a knife to level it out.
- Butter- Take the butter out ahead ( 5-6 hours prior) You want it to be at room temperature. It should be soft, but not oily or melty.
- Toppings- You can use plain softened butter or margarine, in place of the buttercream topping. Top with sugar and grated cheese as usual.
- Cheese- Filipino processed cheese is best here. But if you can't find it, use just a little bit of Velveeta, as it may be too sharp.
- Storage- Store ensaymada on a covered container at room temperature for up to 3 days. For longer storage, refrigerate for up to a week. To serve, reheat in the microwave for 5-7 seconds.
Brioche method adapted from Nancy Silverton's Brioche Recipe in the Bakign with Julia Book by Dorie Greenspan.
Nutrition Information:
Yield: 12 Serving Size: 1Amount Per Serving: Calories: 385Total Fat: 22gSaturated Fat: 12gTrans Fat: 0gUnsaturated Fat: 9gCholesterol: 104mgSodium: 345mgCarbohydrates: 39gFiber: 1gSugar: 13gProtein: 7g


Hello there
I’m going to try this today. Is it possible,when making many batches, to store shaped dough in the freezer?
Hello Erika! Yes you can do that. Thaw and allow to rise nefore baking 🙂
Hi! I think I meesed up at one part which is making the sponge. I thought SPRINKLE some flour on the yeast mixture so I didn’t put the whole cup of flour in and I just kept going with the recipe. Now with the dough I’m letting it rest overnight. The dough is sticky and shiny. Should I do something? I don’t want to restart cause I am at school with hospitality and tourism class. Please help asap
Hi Athena! You keep going with the recipe. Is the dough smooth? Has it risen into double for the first rise? If yes, this is still worth continuing. Let me know how it goes.
I feel like something has been left out of the recipe. Where is the shredded cheese in the ingredients? I have no idea what kind of cheese to use or how much I would need…?
Hi Jena! I have updated the recipe. You can use Filipino processed cheese or regular cheddar cheese ( Best Buy brand, if you can find ,it is best)
Happy baking!
I do not have a bread mixer. Can I manually do this?
You can hand knead this too. Just look out for the characteristics of the dough to determine if you have kneaded enough. Good luck!
Can i use instant yeast instead of active dry yeast?