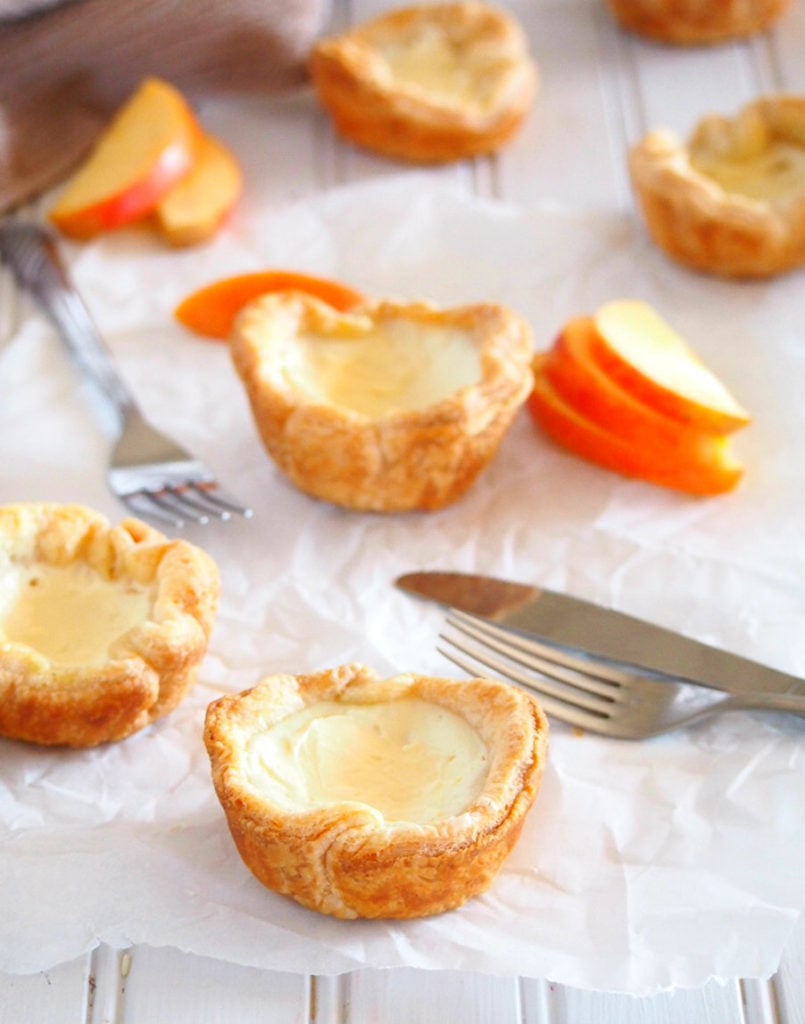
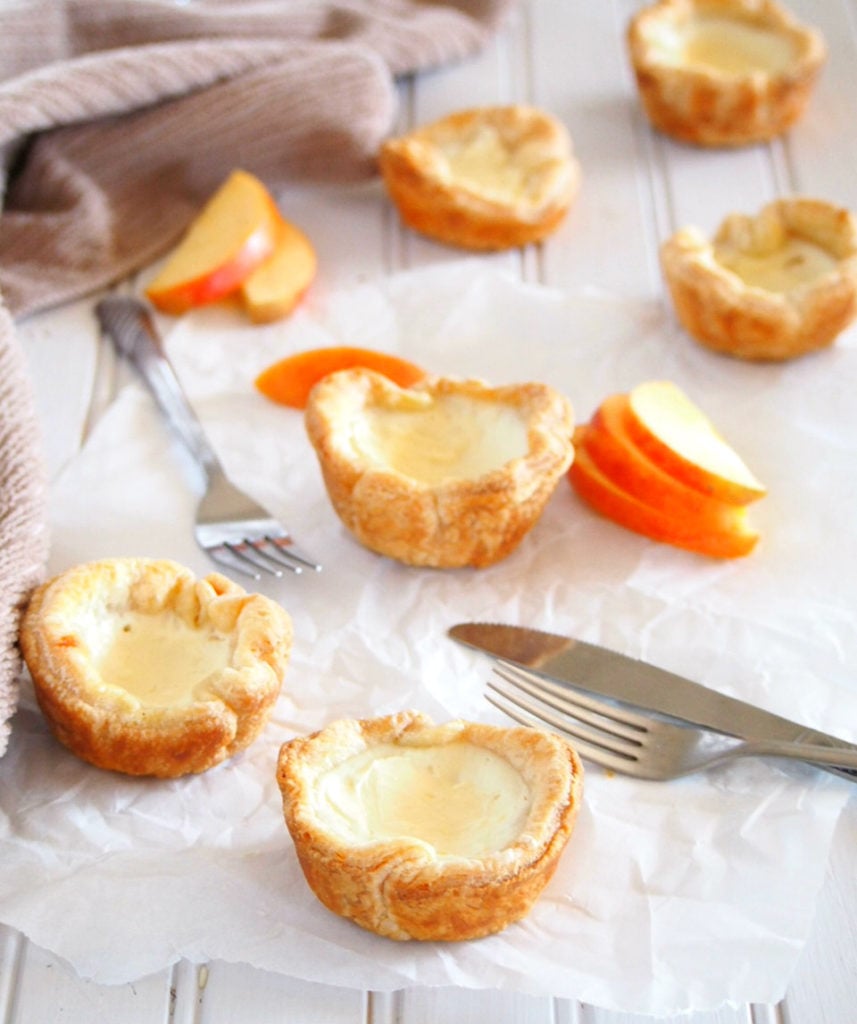
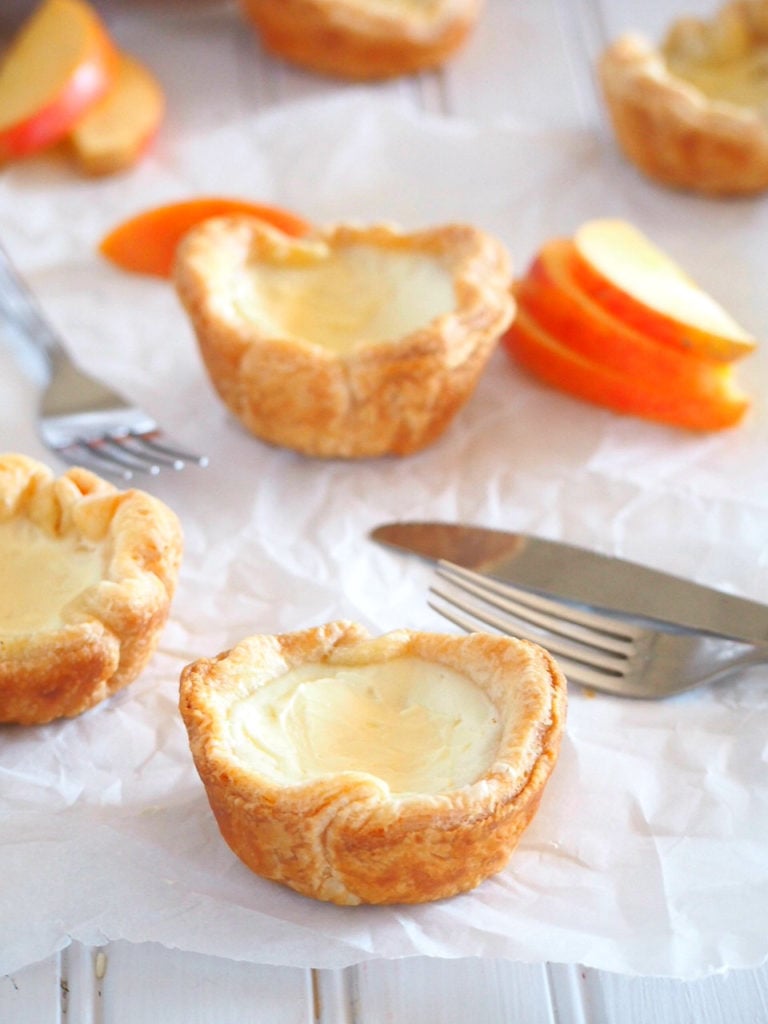
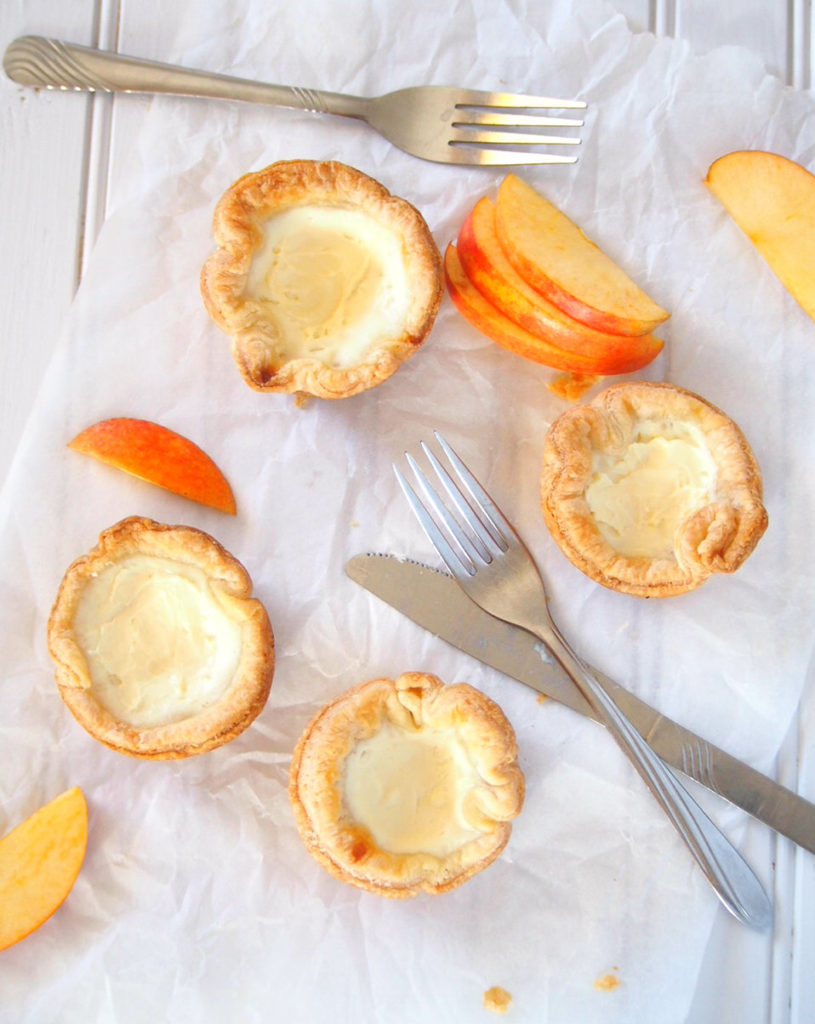
Egg Tarts In Puff Pastry Crust
These delightful egg tarts are made of cheesy and creamy egg whites custard and nestled into light, flaky and buttery puff pastry crusts. These little treats are delicate, melt in your mouth bites with a very buttery crisp touch from the puff pastry.
I felt deeply in love with puff pastry egg tarts when we went on vacation to California and I have had the chance to eat those delicious egg tarts from 85 degrees bakery. I was totally inspired to re-create them at home, and I knew it would be quite a challenge for me then because those egg tarts weren’t on regular pie crusts, they are on puff pastries.
Even so, I was excited and hyped, rolling puff pastries at home day after day.
The major struggle I had when making these before was that the crusts shrank so much that the fillings seeped down the sides of the crusts, then to the bottom of the pans. That made the egg tarts soggy upon baking.
It was a bit frustrating. You know, after rolling dough until my arms hurt, only to come face to face with soggy egg tarts in the end. Disheartening would be a perfect word, actually.
This time though, years after my first attempts at making them, I employed an additional process which eliminated the seeping of the custard filling, and the egg tarts now come out perfectly with flaky, crisp puff pastry crusts.
I used a pre-baking technique I got from a wonderful book, The Pie and Pastry Bible by Rose Levy Berenbaum. Sarah can be meticulous, yes, with all those timed in and outs of crusts from the oven, and with her extra steps of brushing the surface of crusts with egg whites prior to baking, but the results of her methods in this book are remarkably consistent.
Well, it can be quite a hassle to still do an additional step when making egg tarts is actually pretty simple, but I have to tell you that the extra step of pre-baking makes it all worth it in the end. I promise.
Puff Pastry Egg Tarts: The Process
The Puff Pastry
Now for the puff pastry that I used here, I did not go the traditional and long method like I used to. Instead, I used a rough puff pastry recipe, one that is quick and uncomplicated yet still produces flaky layers that you can be proud of.
Now as typical for any puff pastry recipe, we still do the business letter type of fold here. What makes this rough puff easier is that we don’t have to pound a whole square of butter to certain thinness and enclose it in a dough, then roll that together to a certain length.
- Whisk together flour and salt in a bowl. Break the butter into small pieces and add them in.
- Loosely rub them into the flour but leave them in tiny bits and pieces.
- Make a well in the center of the mixture, add the water and combine everything until the dough comes together nice and firm. If the dough still feels powdery add a little amount of water at a time. Chill the dough in the fridge for about twenty minutes.
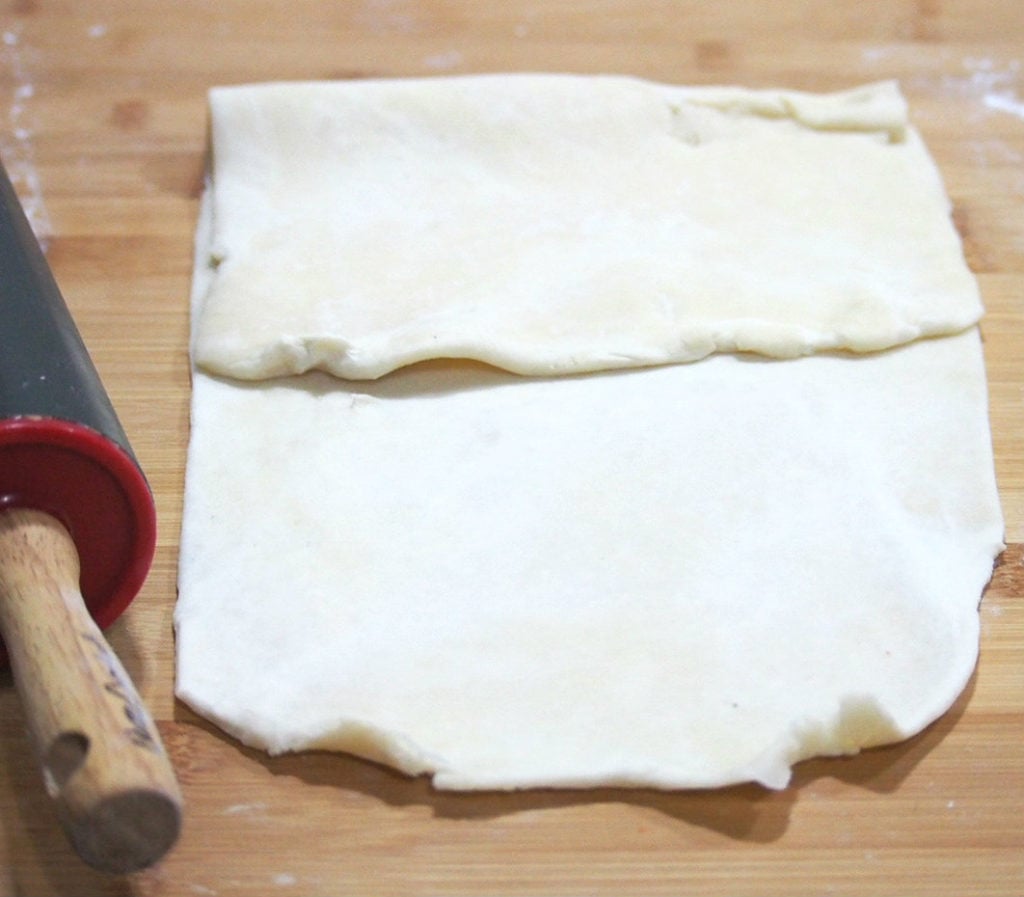
Turn the dough onto a floured board. Gently pat and knead it into a rectangle. Using a rolling pin, roll it into three times it size, about 8 by 18 inches. Then comes the folding.
Like a business letter, fold the upper third down the center,
then fold the lower third over the folded flap. Rotate the dough so that the short side is facing you.
Like in this photo.
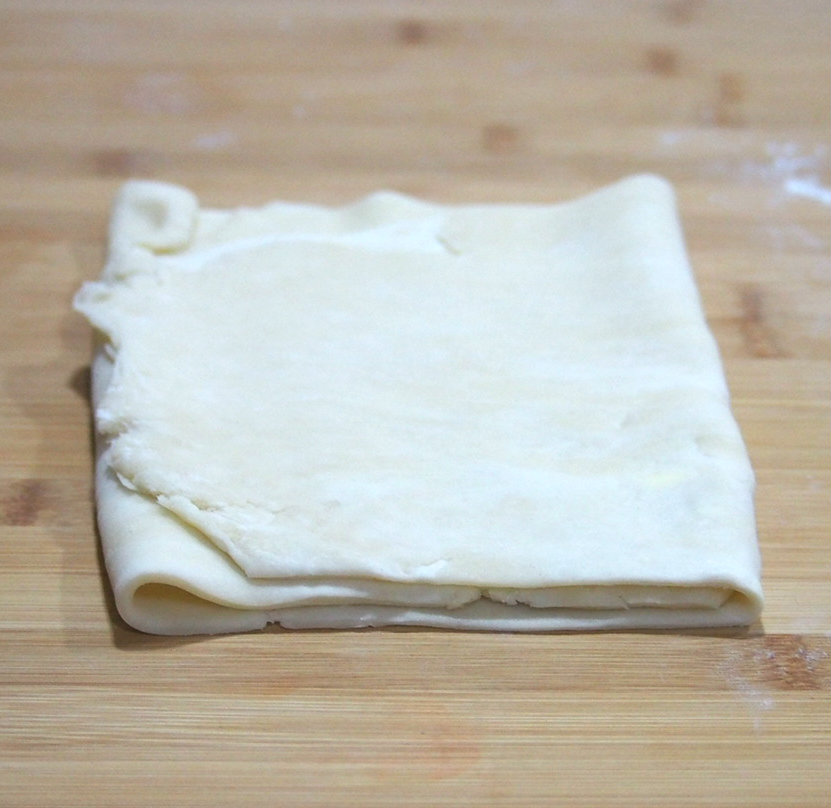
Now roll this again into 8 by 18 inches rectangle, and fold again , business letter style.
Chill folded dough in the fridge for at least 20 minutes. After that, cut dough in half across the shorter length. It is best to work with half the dough at a time, especially if you have limited counter space. And you don’t want to crowd the oven with so much pastry crusts at a time.
Assemble the Puff Pastry Crusts
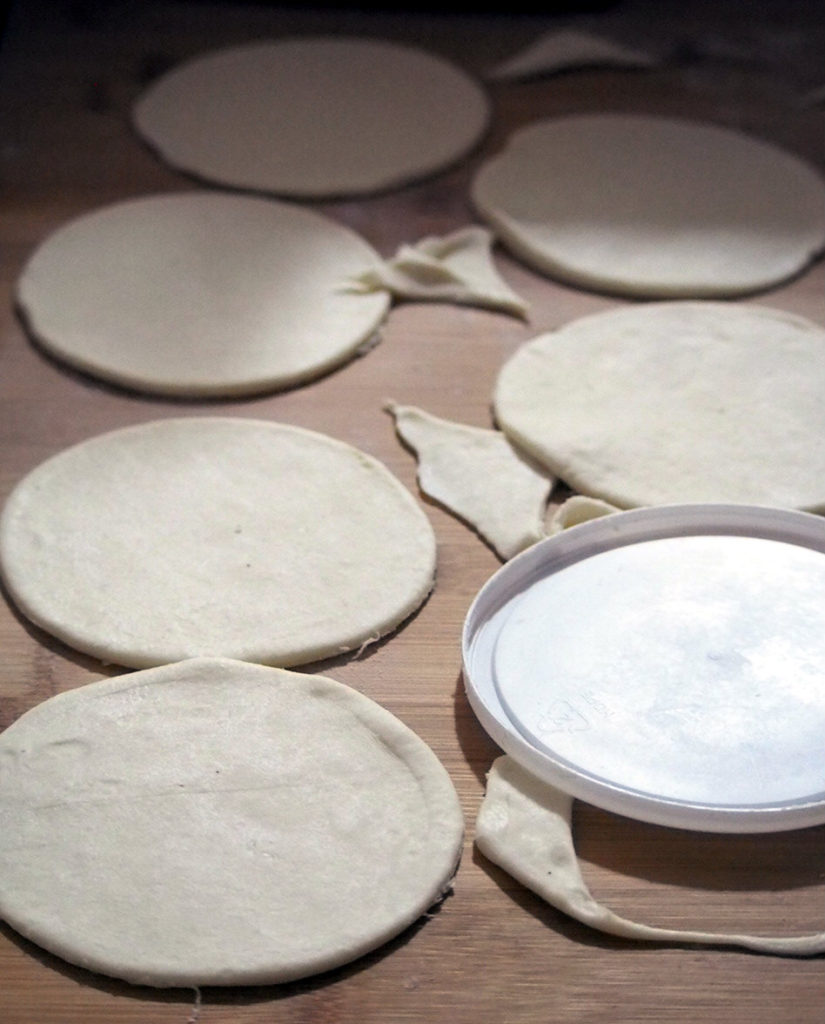
Place the oven rack in the lowest position of the oven and preheat oven to 400 F. Roll the folded half of dough ( do not unfold) into 1/8 to 1/4 inch thickness and cut circles. To fit the holes of a regular muffin pan with still some excess overhang of dough, a circle with a 5-inch diameter would be perfect.
I used a lid of the yogurt /ice cream pint quart containers. Each half of dough will fit up to 7 circles. For the excess dough from each half ( scraps), stack them together and wrap in plastic and chill in the fridge until you are ready to use them. These scraps can make up to 6 more egg tarts. So the entire dough can make up to 18-20 egg tarts in total. The filling is enough as well.
Fit the circles of dough into the holes of a regular muffin pan. There should 1/8 to 1/4 inch of dough overhang in each hole.

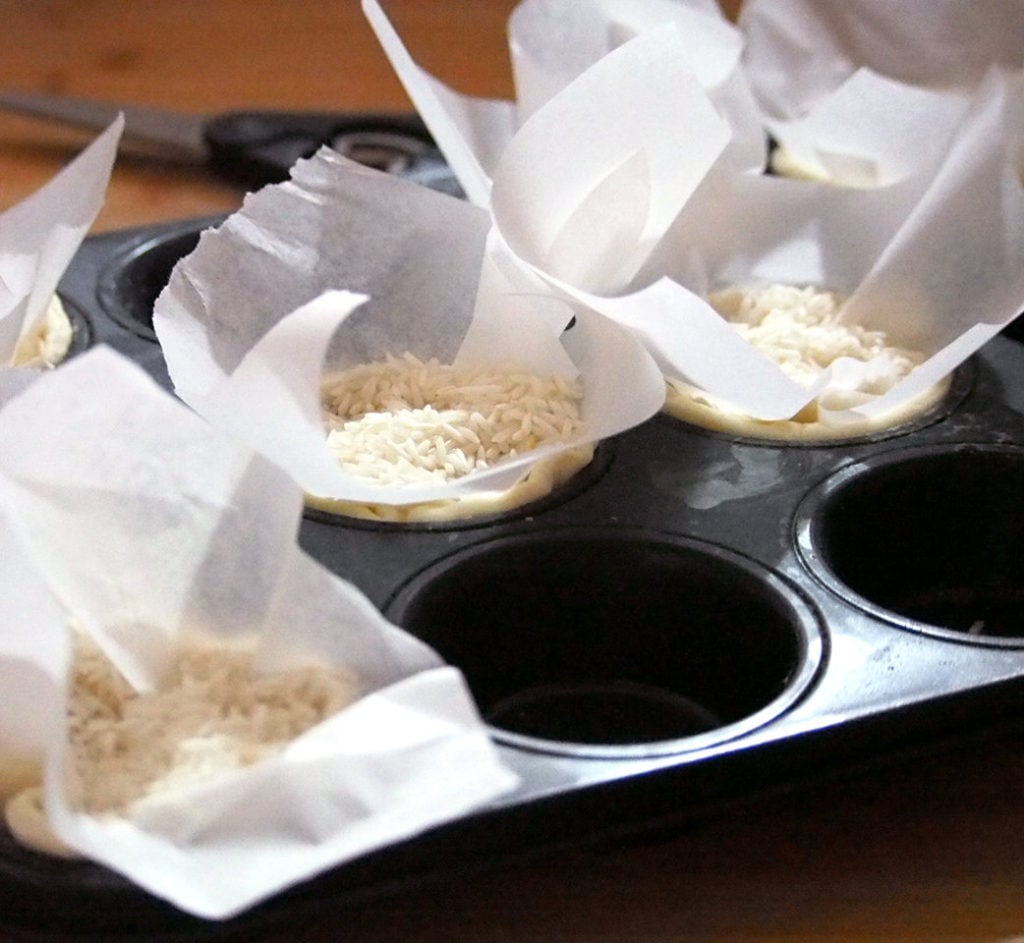
Now, cut some parchment paper and lay them over the crusts. Fill them with uncooked rice or beans.
Blind Bake the Crusts
Now let’s begin the process of pre-baking and I hope you stay with me here.
- Bake the crusts in the lowest rack of the oven for 17-20 minutes. You want the crust to set so the parchment won’t stick to them once you take them off.
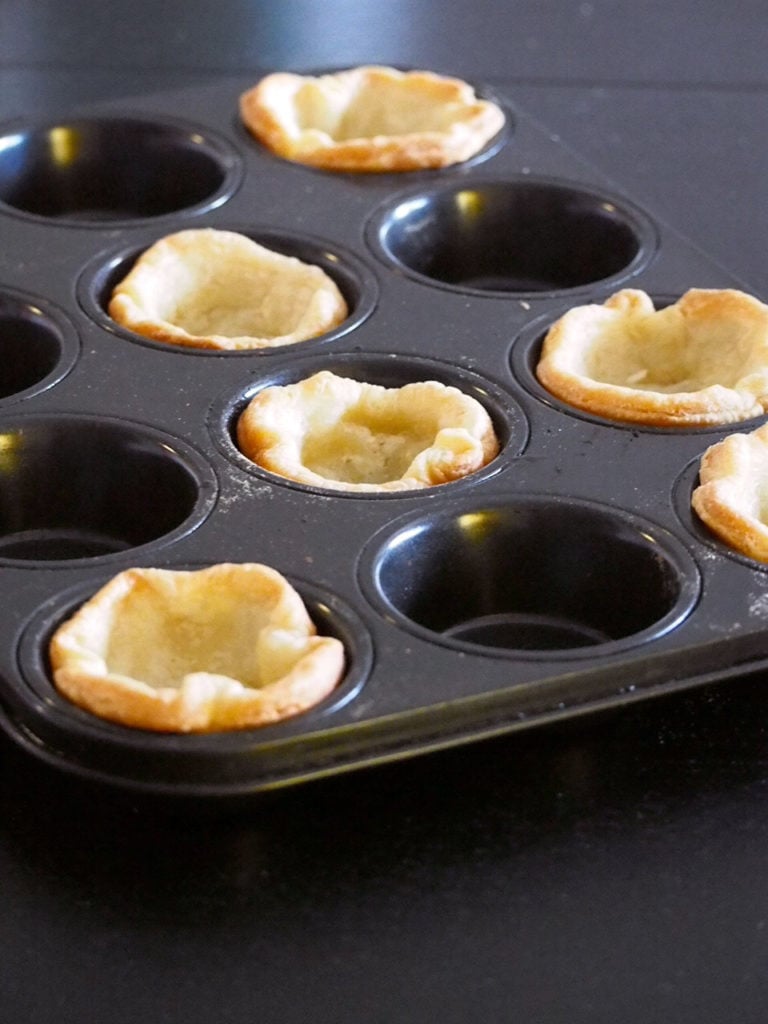
- Take muffin pan put of the oven, remove the parchment with the rice, and prick the surface of crusts all over with a fork. Bake the crusts for 5-7 more minutes or until the crust is lightly browned.
- Turn off oven but leave the crusts inside with the door open for 5 more minutes. Take out pan and dial oven temperature to 325 F. Brush the surface of the crusts with egg whites and bake in the oven for an additional 5 minutes. Let crusts cool completely.
At this point, you can repeat the entire assembly and pre-baking procedure with the other half of the puff pastry dough( including the scraps), so that all crust are pre-baked prior to baking the filling. Or you can go ahead and bake the filling and save the rest of the puff pastry dough and filling to bake for the next day.
The Filling
The easy part is the making of the filling. Just melt cream cheese together with cream and milk over low heat. Turn off heat then stir and incorporate egg whites, sugar and vanilla extract.
Note: The filling can be made 24 hours ahead, just cover and refrigerate. Stir before using.
These tarts will be baked in the center rack so before pre-heating the oven, return the oven rack to the center position, and pre-heat oven to 350 F. When the oven reaches 350 F, give the filling a quick stir and gently pour into the cooled crusts until 2/3 full.
Bake for 25-28 minutes or until the sides look set and the middles are slightly jiggly.
Additional Notes
- These tarts are best eaten the same day but will remain fresh and crisp until the next day.
- They can be kept refrigerated until the next day, but I find that keeping them in tight covered containers at room temperature makes them crispy for longer.
And again, I hope the lengthy instructions won’t discourage you. These egg tarts are divine that all these work involved are immaterial when you come to take the first bite.
So try it please, and see for yourself.

Puff Pastry Egg Tarts
Ingredients
FOR THE PUFF PASTRY
- 250 g All-purpose flour
- 1 tsp. salt
- 250 g butter at room temperature but not soft
- 150 mL cold water
- 1 egg white
FOR THE EGG CUSTARD FILLING
- 1/8 cup cream cheese or 30 grams
- 1/2 cup heavy cream
- 1/2 cup milk
- 3 egg whites
- 1/8 cup sugar
- 1/2 tsp. vanilla extract
Instructions
MAKE THE PUFF PASTRY
- In a large bowl, whisk together salt and flour. Break butter into small chunks and add them in. With your fingers, loosely rub the butter into the flour mixture until butter is in small bits and pieces.
- Make a well in the center of the mixture pour about 2/3 of the cold water. Mix everything until mixture has come together into a firm, rough dough. If the mixture is still crumbly and falling apart, you can add a little water at a time as needed. Cover the bowl with plastic wrap and chill in the fridge for at least 20 minutes.
- Turn mixture into a lightly floured board. Form a rectangle by gently kneading and patting the dough. Using a rolling pin, roll the dough to about 8 x 18 inches in size. Roll in one direction only and don't overwork the butter. The rolled dough should look like a marble because of the butter streaks. Keep the edges straight.
- Fold the upper third of the dough down the center, then fold the lower third over it ( like folding a business letter). Turn the dough so that the shorter edge is facing you. Roll the dough again to about 8 by 18 inches in size. Fold again like a business letter and chill in the fridge for at least 20 minutes.
MAKE THE FILLING
- In a sauce pan over low heat, melt cream cheese with milk and cream. Once cream cheese is melted ( a few small lumps of cream cheese is okay) , turn off heat and add the egg whites, sugar and vanilla extract. Stir everything gently with a fork or whisk until the egg whites are incorporated into the mixture. Transfer filling into a container with spout and keep chilled in the fridge while you prepare the crust. This filling mixture can be made ahead for 24 hours before using.
ASSEMBLE AND PRE-BAKE THE CRUSTS
- Without unfolding the dough, cut it in half. Leave the other half in the fridge while you work on the other. On a floured board, roll dough to about 1/8 inch thickness. Using a circle cutter of about 5 inches in diameter, cut circles from the dough. (You can use the rim of coffee mugs or lid of pint containers.)You can make about 7 circles from each half. Gather the scraps, stack them together and wrap in plastic to chill in the fridge.
- Place the oven rack in the lowest position and preheat oven to 400 F. Fit each circle of dough into the holes of a regular muffin pan, leaving one hole of space in between most of them. There should be about 1/8 to 1/4 inch overhang of dough on the edges. Lay a piece of parchment paper on each crust, fill with uncooked rice or beans.
- Bake the crusts in the lowest rack of oven for 17- 20 minutes. Remove pan from oven, take off the parchment paper with the rice and prick the surface of the crusts all over with a fork. Bake the crusts for 5-7 more minutes or until the crust is lightly browned. Turn off oven but leave the crusts inside with the door open for 5 more minutes. Take out pan and dial oven temperature to 325 F. Brush the surface of the crusts with egg whites and bake in the oven for an additional 5 minutes. Let crusts cool completely.
- Note: at this point, you can repeat the entire assembly and pre-baking procedure with the other half of the puff pastry dough( including the scraps), so that all crust are pre-baked prior to baking the filling. Or you can go ahead and bake the filling and save the rest of the puff pastry dough and filling to bake for the next day.
BAKE THE TARTS
- Position the rack in the middle of the oven. Preheat to 325 F. Once the oven has reached the desired temperature, quickly stir the filling and gently pour into each of the cooled crust up to 2/3 full. Bake for 25-28 minutes or until the edges of the filling look set and the middle is slightly jiggly.
- The scraps, when stacked together and rolled, can still make up to 6 circles of dough for an additional 6 egg tarts. The filling should be just about enough for the entire puff pastry dough 18-20 tarts.)
Notes
Nutrition
Subscribe to Woman Scribbles newsletter to get recipe updates via email here.
Do you want to improve your food photography? Check out my Food Photography Resources page.
This post contains affiliate links.