
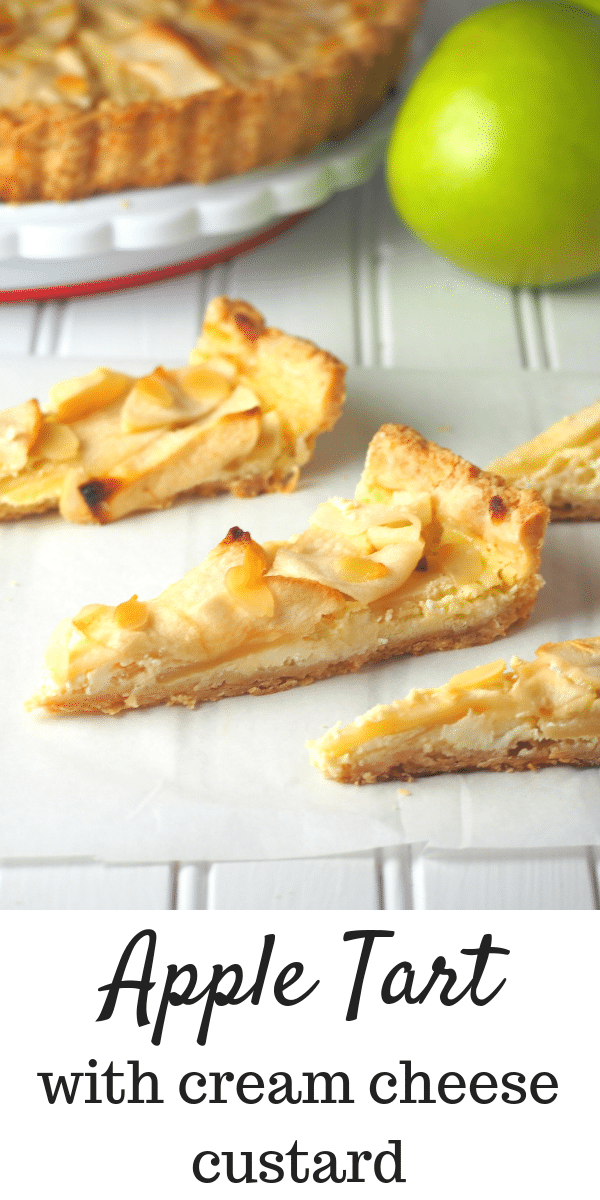
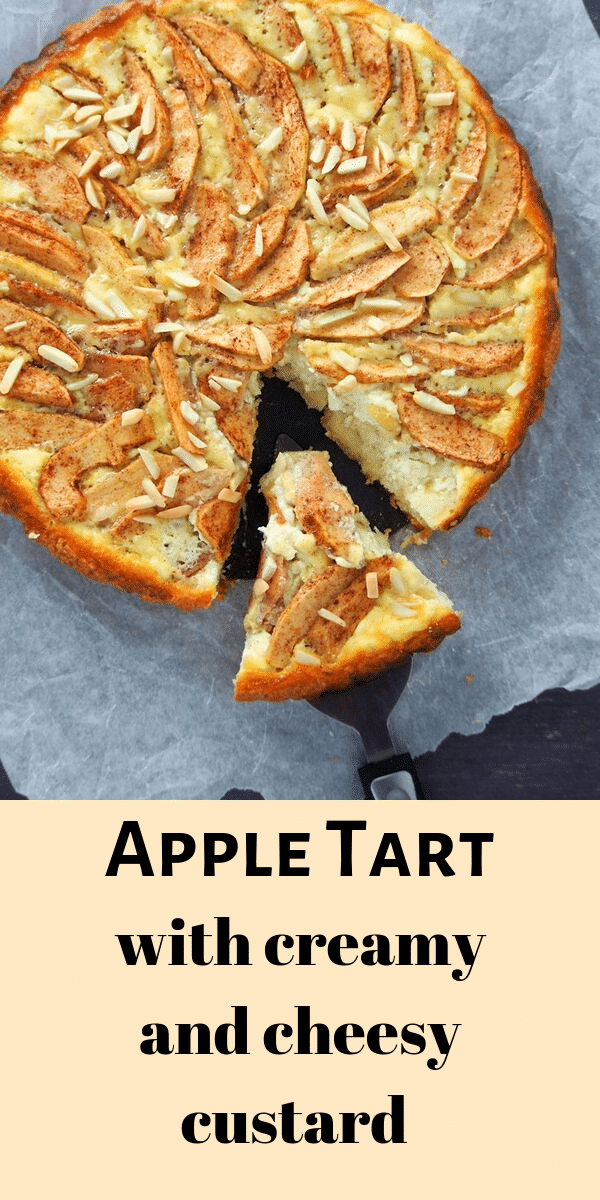
Apple Tart Recipe
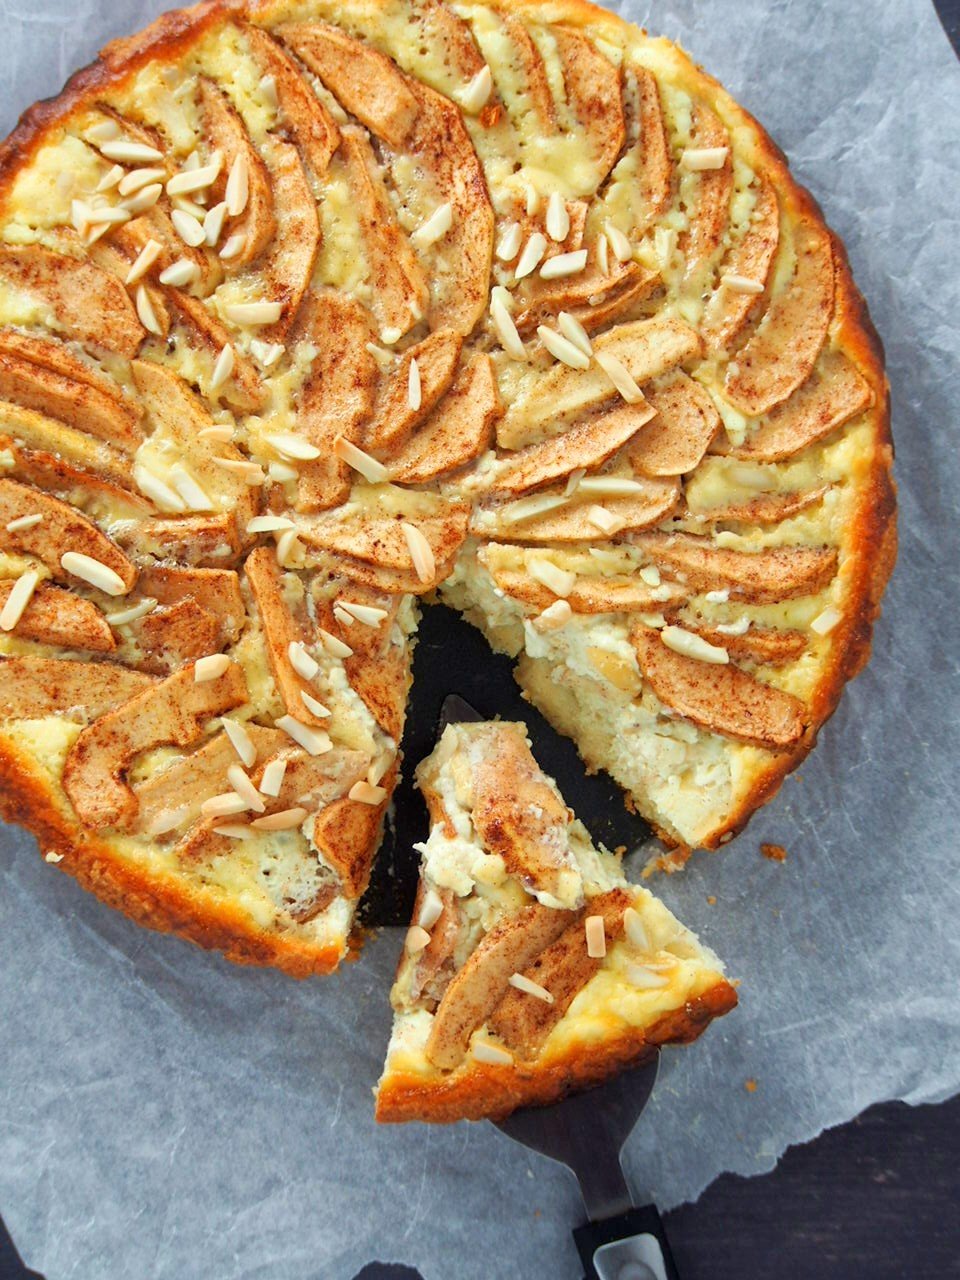
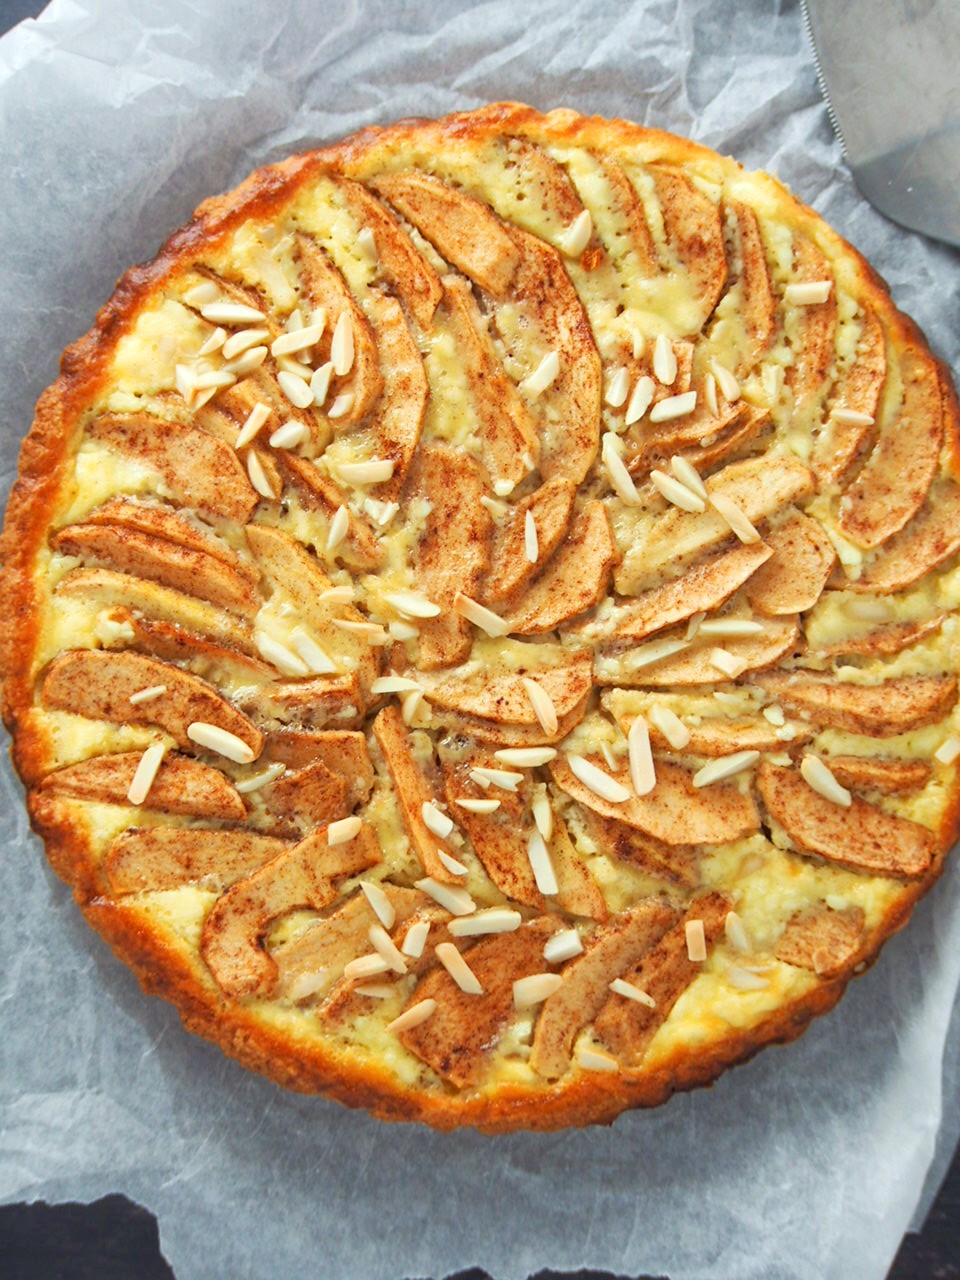
Tender-crisp apple slices layered over a bed of a creamy and cheesy vanilla custard, this apple tart is a wonderful pastry to serve this Fall and the holiday season.
I never really had a thing for apple pies or even any desserts made with apples. I would go for berries in a cake or in pastries, but apples? Just give it to me in fruit form, please.
Until one day, one unforgettable bite of apple pie swerved my stand for apples in pastries. When I was invited for a menu preview for a restaurant, me and other Winnipeg bloggers were served apple pie for dessert.
Paired with vanilla ice cream, that first bite of the apple pie was something I can’t forget. I took a mental note that day that someday, I am gonna bake an apple pie. Or apple tart. Or apple turnovers. Or apple cake.
In other words, I began to look at apples in a different light that day.
And here for you today, Apple Tart. Tender-crisp apples are arranged over a cream cheese custard, all nestled on a sweet tart crust.
Not much to say except that apples are meant to be in desserts.
Apple Tart: The Process
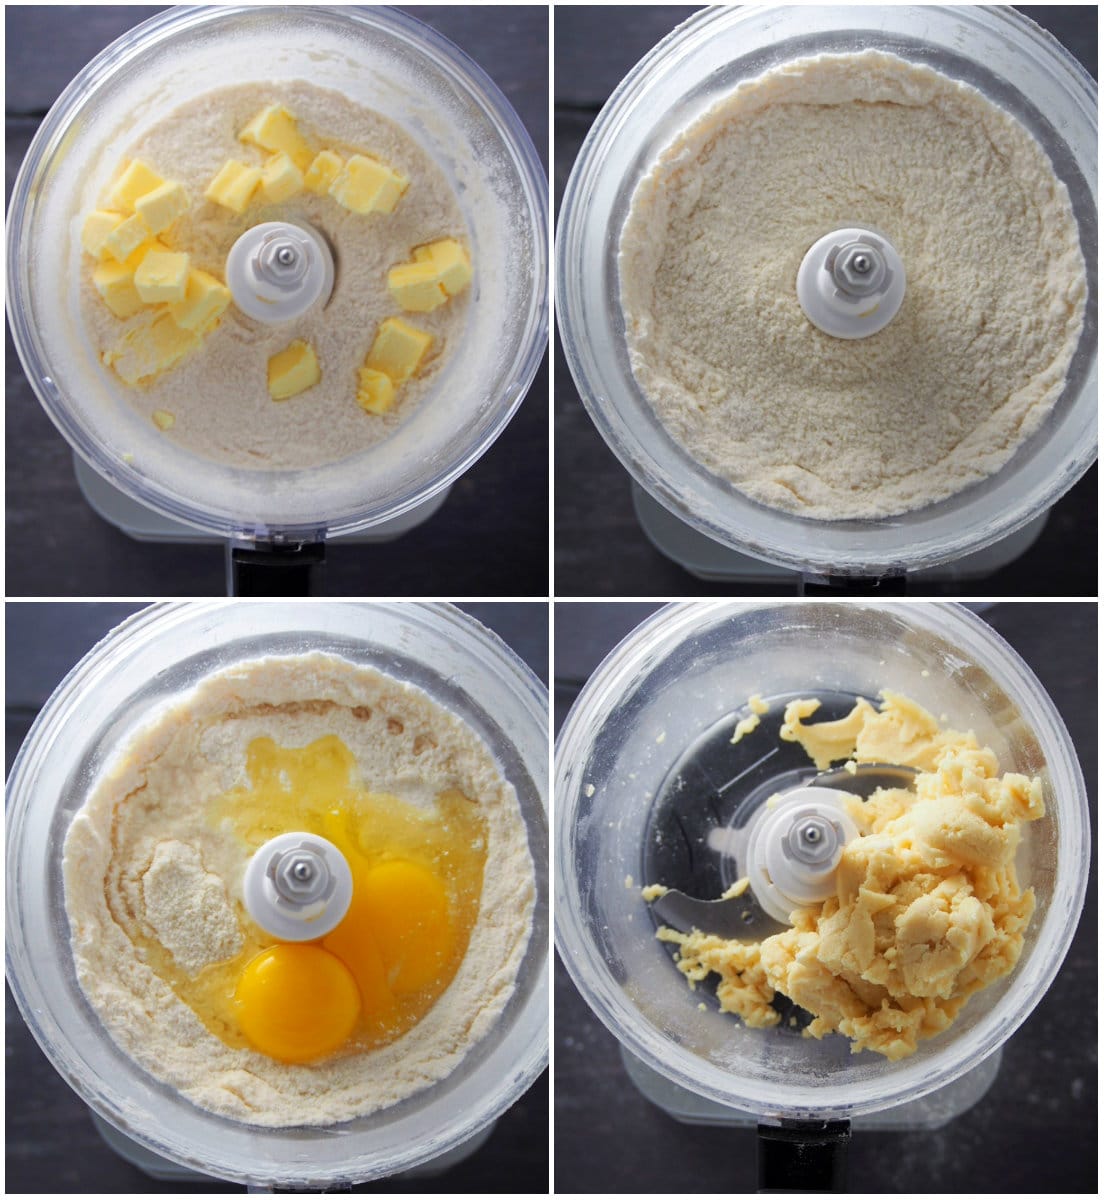
- To make the crust, add flour, sugar, salt and baking powder in the bowl of a food processor. Pulse a few times to combine.
- Add cubed butter and pulse until the mixture turns into a coarse meal with no visible bits of butter present.
- Add the yolk, the egg and the water and pulse the mixture just until it gathers into a softball in the center of the bowl.

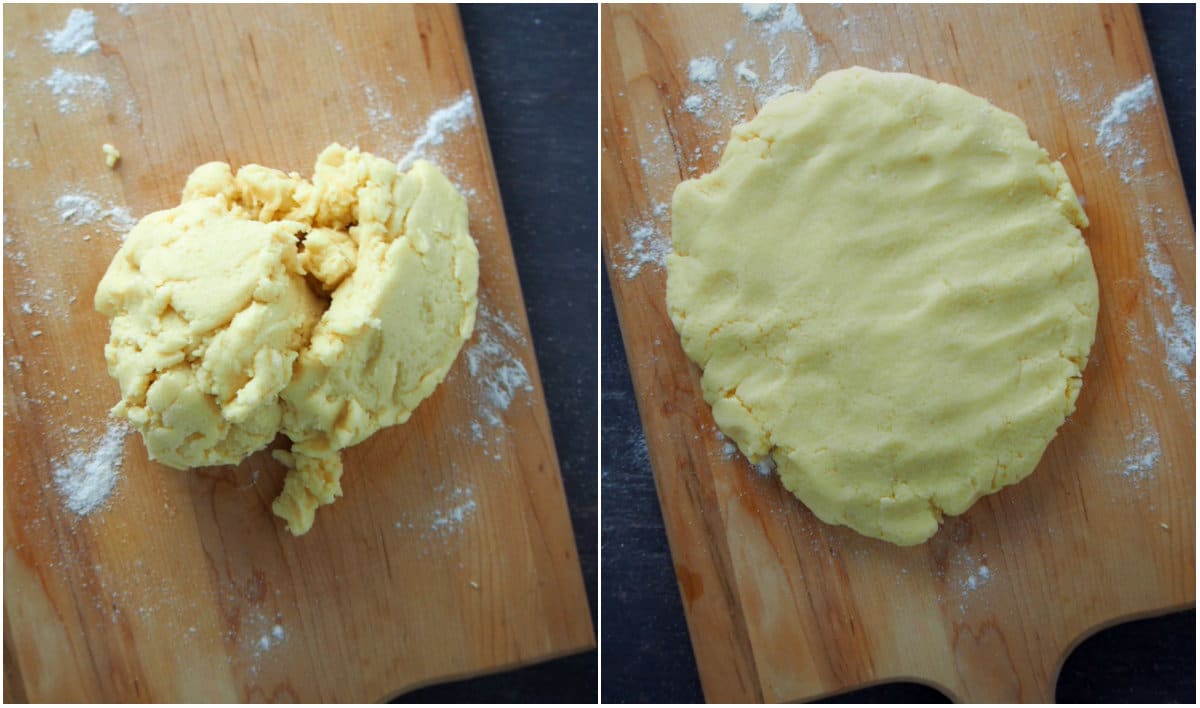
- Turn the dough over on to a floured surface and gather it together. Shape it into a disc that is about 1/2 inch thick. Cover it with plastic and chill it in the fridge for 4 hours to overnight.

- After chilling, let the dough rest at room temperature for 5 minutes or so. Massage it briefly just to make it malleable but not warm.
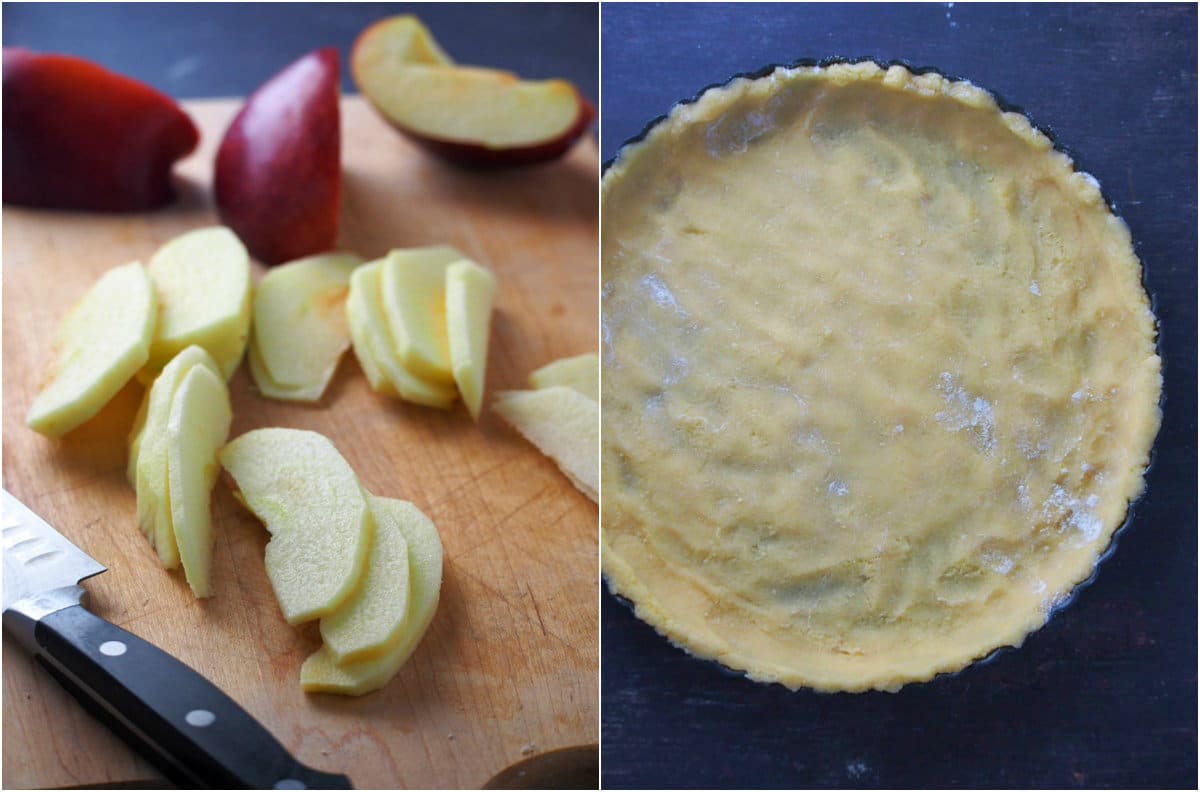
- Place the dough in the center of an 11-inch tart pan with removable bottom. Flatten and press the dough so that it takes the shape of the pan, covering the entire bottom and the sides. Trim the excess dough along the edges. Refrigerate the tart shell while you make the filling.

Also, don’t let this dough break your heart. If it tears, simply pat the broken parts together with some scraps of dough and some flour.
Prepare the Filling
- At this point, you can now prepare the ingredients for the filling and toppings. Preheat oven to 375 F. Peel, core and slice the apples. In a large bowl, toss the apples with sugar, and cinnamon (if using).
- Beat together the cream cheese, cream, eggs, vanilla, and sugar until smooth (some bits of cream cheese may be present).

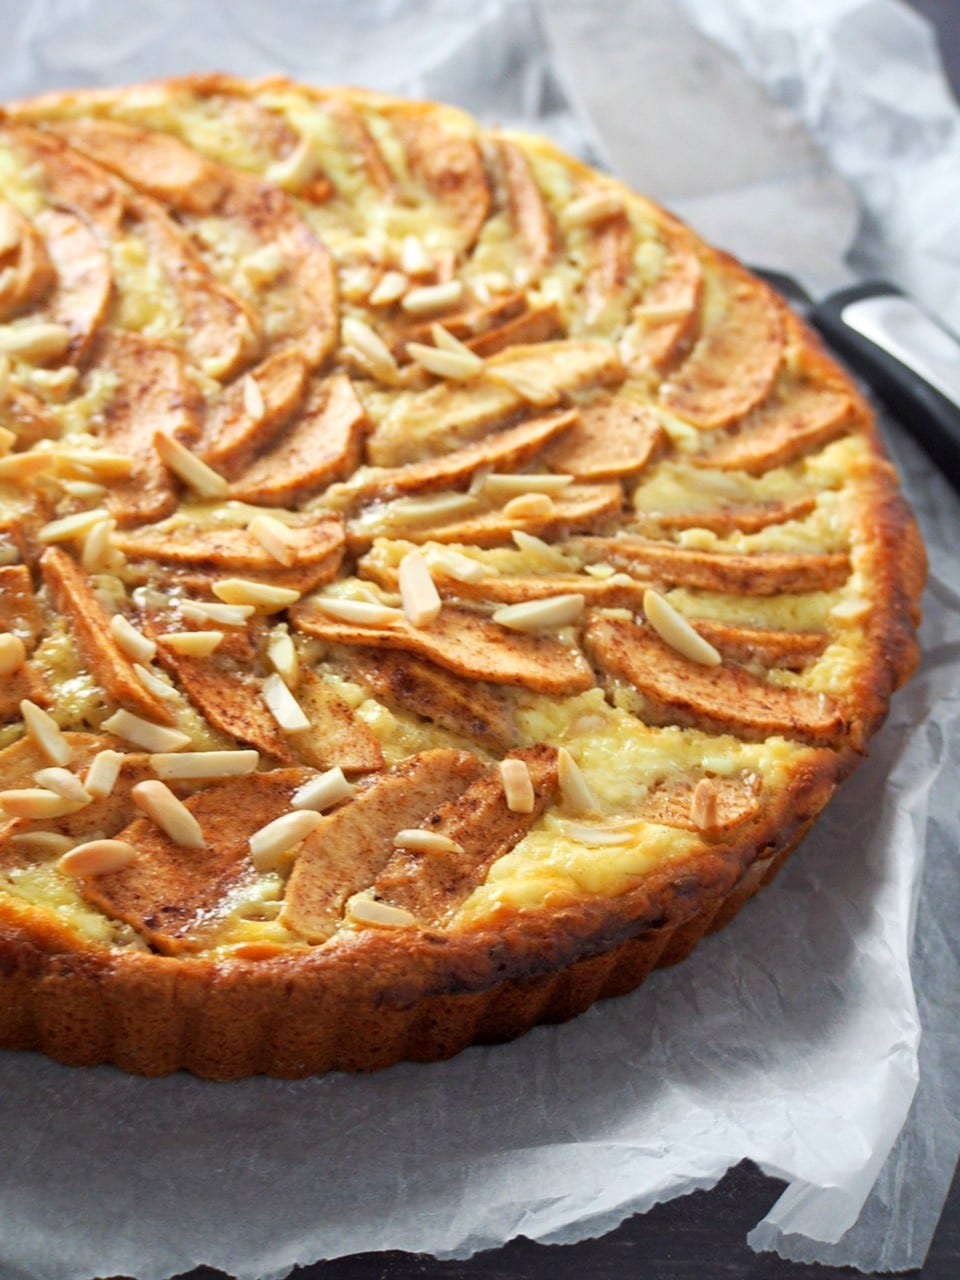
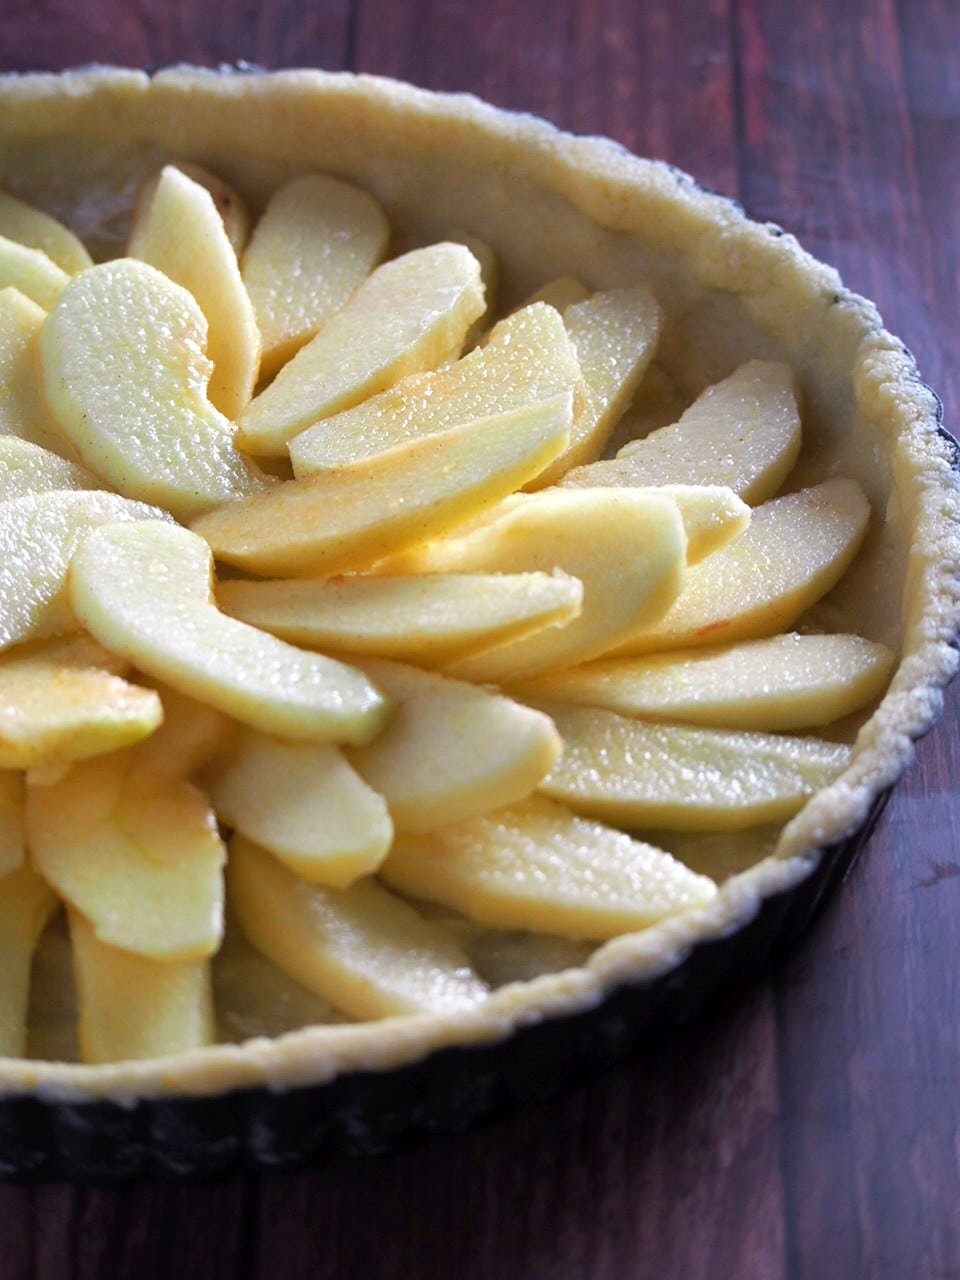
- Arrange the apple slices in concentric circles on the tart shell. Pour the cream cheese custard over the apples, distributing it evenly.
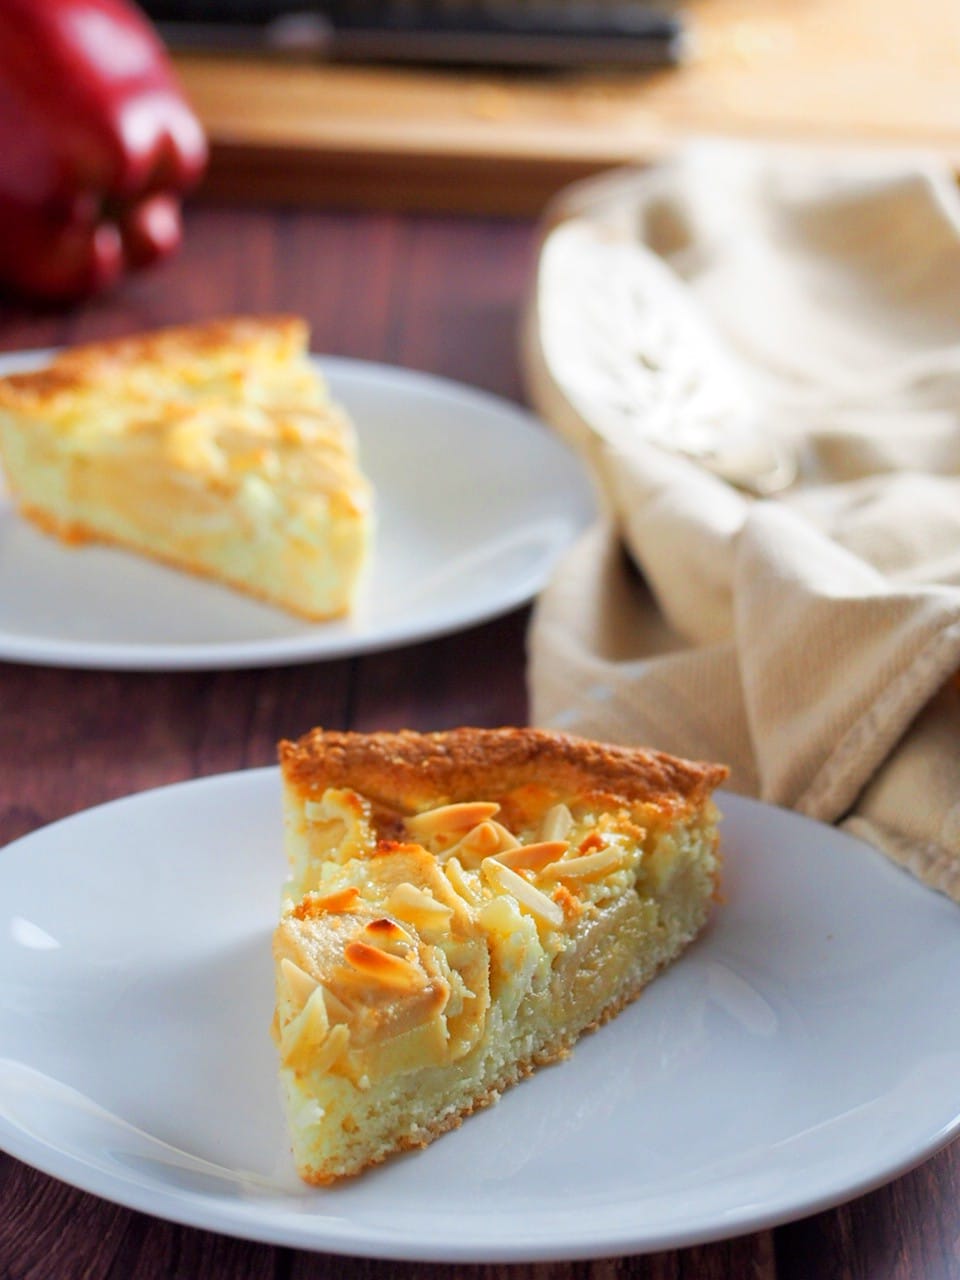
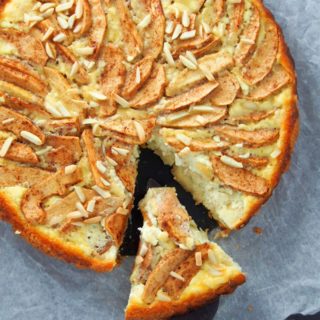
- Bake the apple tart for 30-35 minutes or until the top is golden. Chill the tart completely in the fridge before cutting and serving.
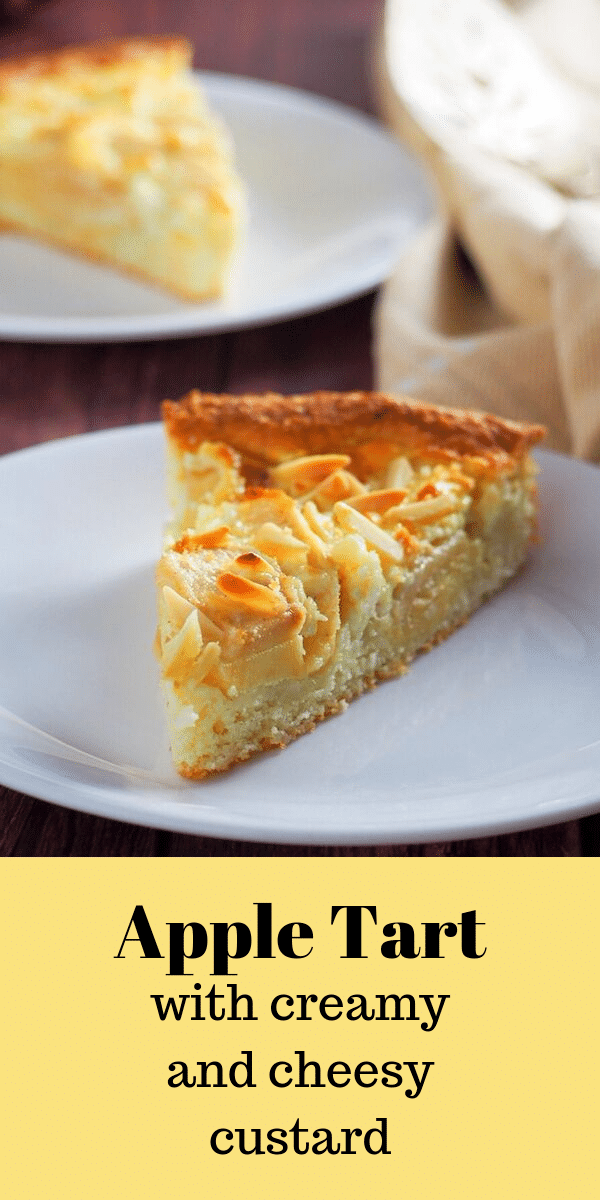
This apple tart is heavenly on its own but if you feel like you need more indulgence, top it with a scoop of vanilla ice cream. That is my weekend goal.
Apple Tart
Equipment
- food processor
- 11 inch tart pan with removable bottom
Ingredients
FOR THE TART CRUST
- 1 and 1/2 cup all purpose flour
- 1/2 cup sugar
- 1 tsp baking powder
- 3/4 stick unsalted butter cut into 1/2 inch cubes and chilled
- 1 large egg chilled
- 1 egg yolk from a large egg
- 1 tbsp ice water
FOR THE CREAM FILLING
- 4 oz or 1/2 package cream cheese softened
- 1/4 cup sugar
- 2 eggs
- 1 tsp. vanilla extract
- 1/2 c heavy cream
FOR THE APPLE TOPPINGS
- 3 small apples peeled, cored and sliced thinly
- 1/4 c sugar
- 1/2 tsp. cinnamon optional
- 1/4 c slivered almonds
Instructions
MAKE THE CRUST
- In a bowl of a food processor, add flour, salt, baking powder and sugar. Pulse the mixture together a few times to combine. Add in the cubed butter and pulse the mixture until it looks like a coarse meal and no bits of butter are visible.
- Add the egg, egg yolk, and water and pulse until the mixture forms into a ball in the center of the bowl. Turn the dough over on a floured surface, gathering any loose dough from the blade and the bowl as well. Shape the dough into a 1/2 inch thick disk. Wrap it in plastic and chill for 4 hours up to overnight in the fridge.
- After chilling, allow the dough to rest at room temperature for about 5 minutes. Lightly massage the dough with your hands just to make it a bit malleable. Place the dough in the center of an 11-inch tart pan with removable bottom. Press the dough gently to flatten it, and continue pressing the dough along the entire surface of the pan then up to the sides. If the dough tears, simply patch it with scraps of dough and pat a little amount of flour to the area.Cut the excess dough along the edges or roll a rolling pin across the pan edges to trim the excess. Refrigerate the tart shell while you prepare the filling and topping.
MAKE THE CREAM FILLING AND THE TOPPINGS
- Preheat oven to 375 F. Peel, core and slice the apples thinly ( about 1/4 inch thick). Toss it with sugar and cinnamon ( if using), in a large bowl.
- Beat together cream cheese, eggs, cream, vanilla and sugar until smooth. Some bits of cream cheese may be present.
- Arrange the apple slices in concentric circles in the tart shell. Pour the cream filling over the apples distributing it evenly. Bake the tart at 375 F for 30-35 minutes, or until the top is golden. Chill the apple tart completely before cutting and serving.
Notes
Nutrition
Looking for more tarts? Check these out:
- Mocha Tart with chocolate crust
- Egg Pie
- Ube Custard Pie
- Peach Tart
- Sweet Potato Pie
- Caramelized Apple Tarts


Thanks For Sharing this amazing recipe. My family loved it. I will be sharing this recipe with my friends. Hope the will like it.
Hi Sanna! I tried replacing apple with blueberries (syempre di na sya apple pie) and it is the bomb! The combination of the pie crust, creamcheese, and blueberries is awesome!
Hi Jenna! That sounds yummy, I may have to try that!
Hi. I got a cake-y base/crust. Is it supposed to be liked that? Ot did I miss something?
Hi Jenna! The pastry is not sharp-crisp instead there’s a tenderness to it, and that is what may make it seem cake-y. 🙂
I made this over a period of 3 days…made the dough then had it in the fridge overnight. Baked the crust the next day and let that sit for a night. Today I finally finished it off! It is REALLY good!! The dough is definitely more like a shortbread instead of a typical pie/tart dough. I couldn’t roll it at all! I just put it in the pan and had to shape it in with my hands. And it cracked in a few spots while baking. But once it was filled and baked, the cracks don’t matter! I will definitely be making this again!
Hello Audra! I am so happy that you liked it! This is one of my favorite and I couldn’t resist making it over and over again!
May I know how many gm is 1 stick of unsalted butter?
Hello Ly! It is 113 grams for 1 stick of unsalted butter. Enjoy!