Learn how to make delicious garlic herb bread with this step by step guide. The perfect addition to any meal or a tasty snack on its own. If you love a sweet version, definitely try my Cinnamon Roll Bread Loaf.
Today’s recipe reminds me of my college days when, after school, I would often stop by the mall to visit a fancy bakeshop. I would grab a long piece of garlic herb bread which will then be packed in a paper bag, and off to home, I go.
I always felt so fancy, holding this long, delicious bread peeking thru the brown paper bag as I sit in the jeepney with other people with weary faces, tired from the long day of work.
As for me, I was excited. I was bringing home my favorite garlic bread. My eyes sparkled in anticipation of the warm, savory bite.
While I love a good, sweet bread like the Austrian Buchteln ( Sweet Yeast Rolls) or these mini cinnamon rolls, I also have this affinity towards savory bread. I love it especially when it is flavored with garlic and is buttery.
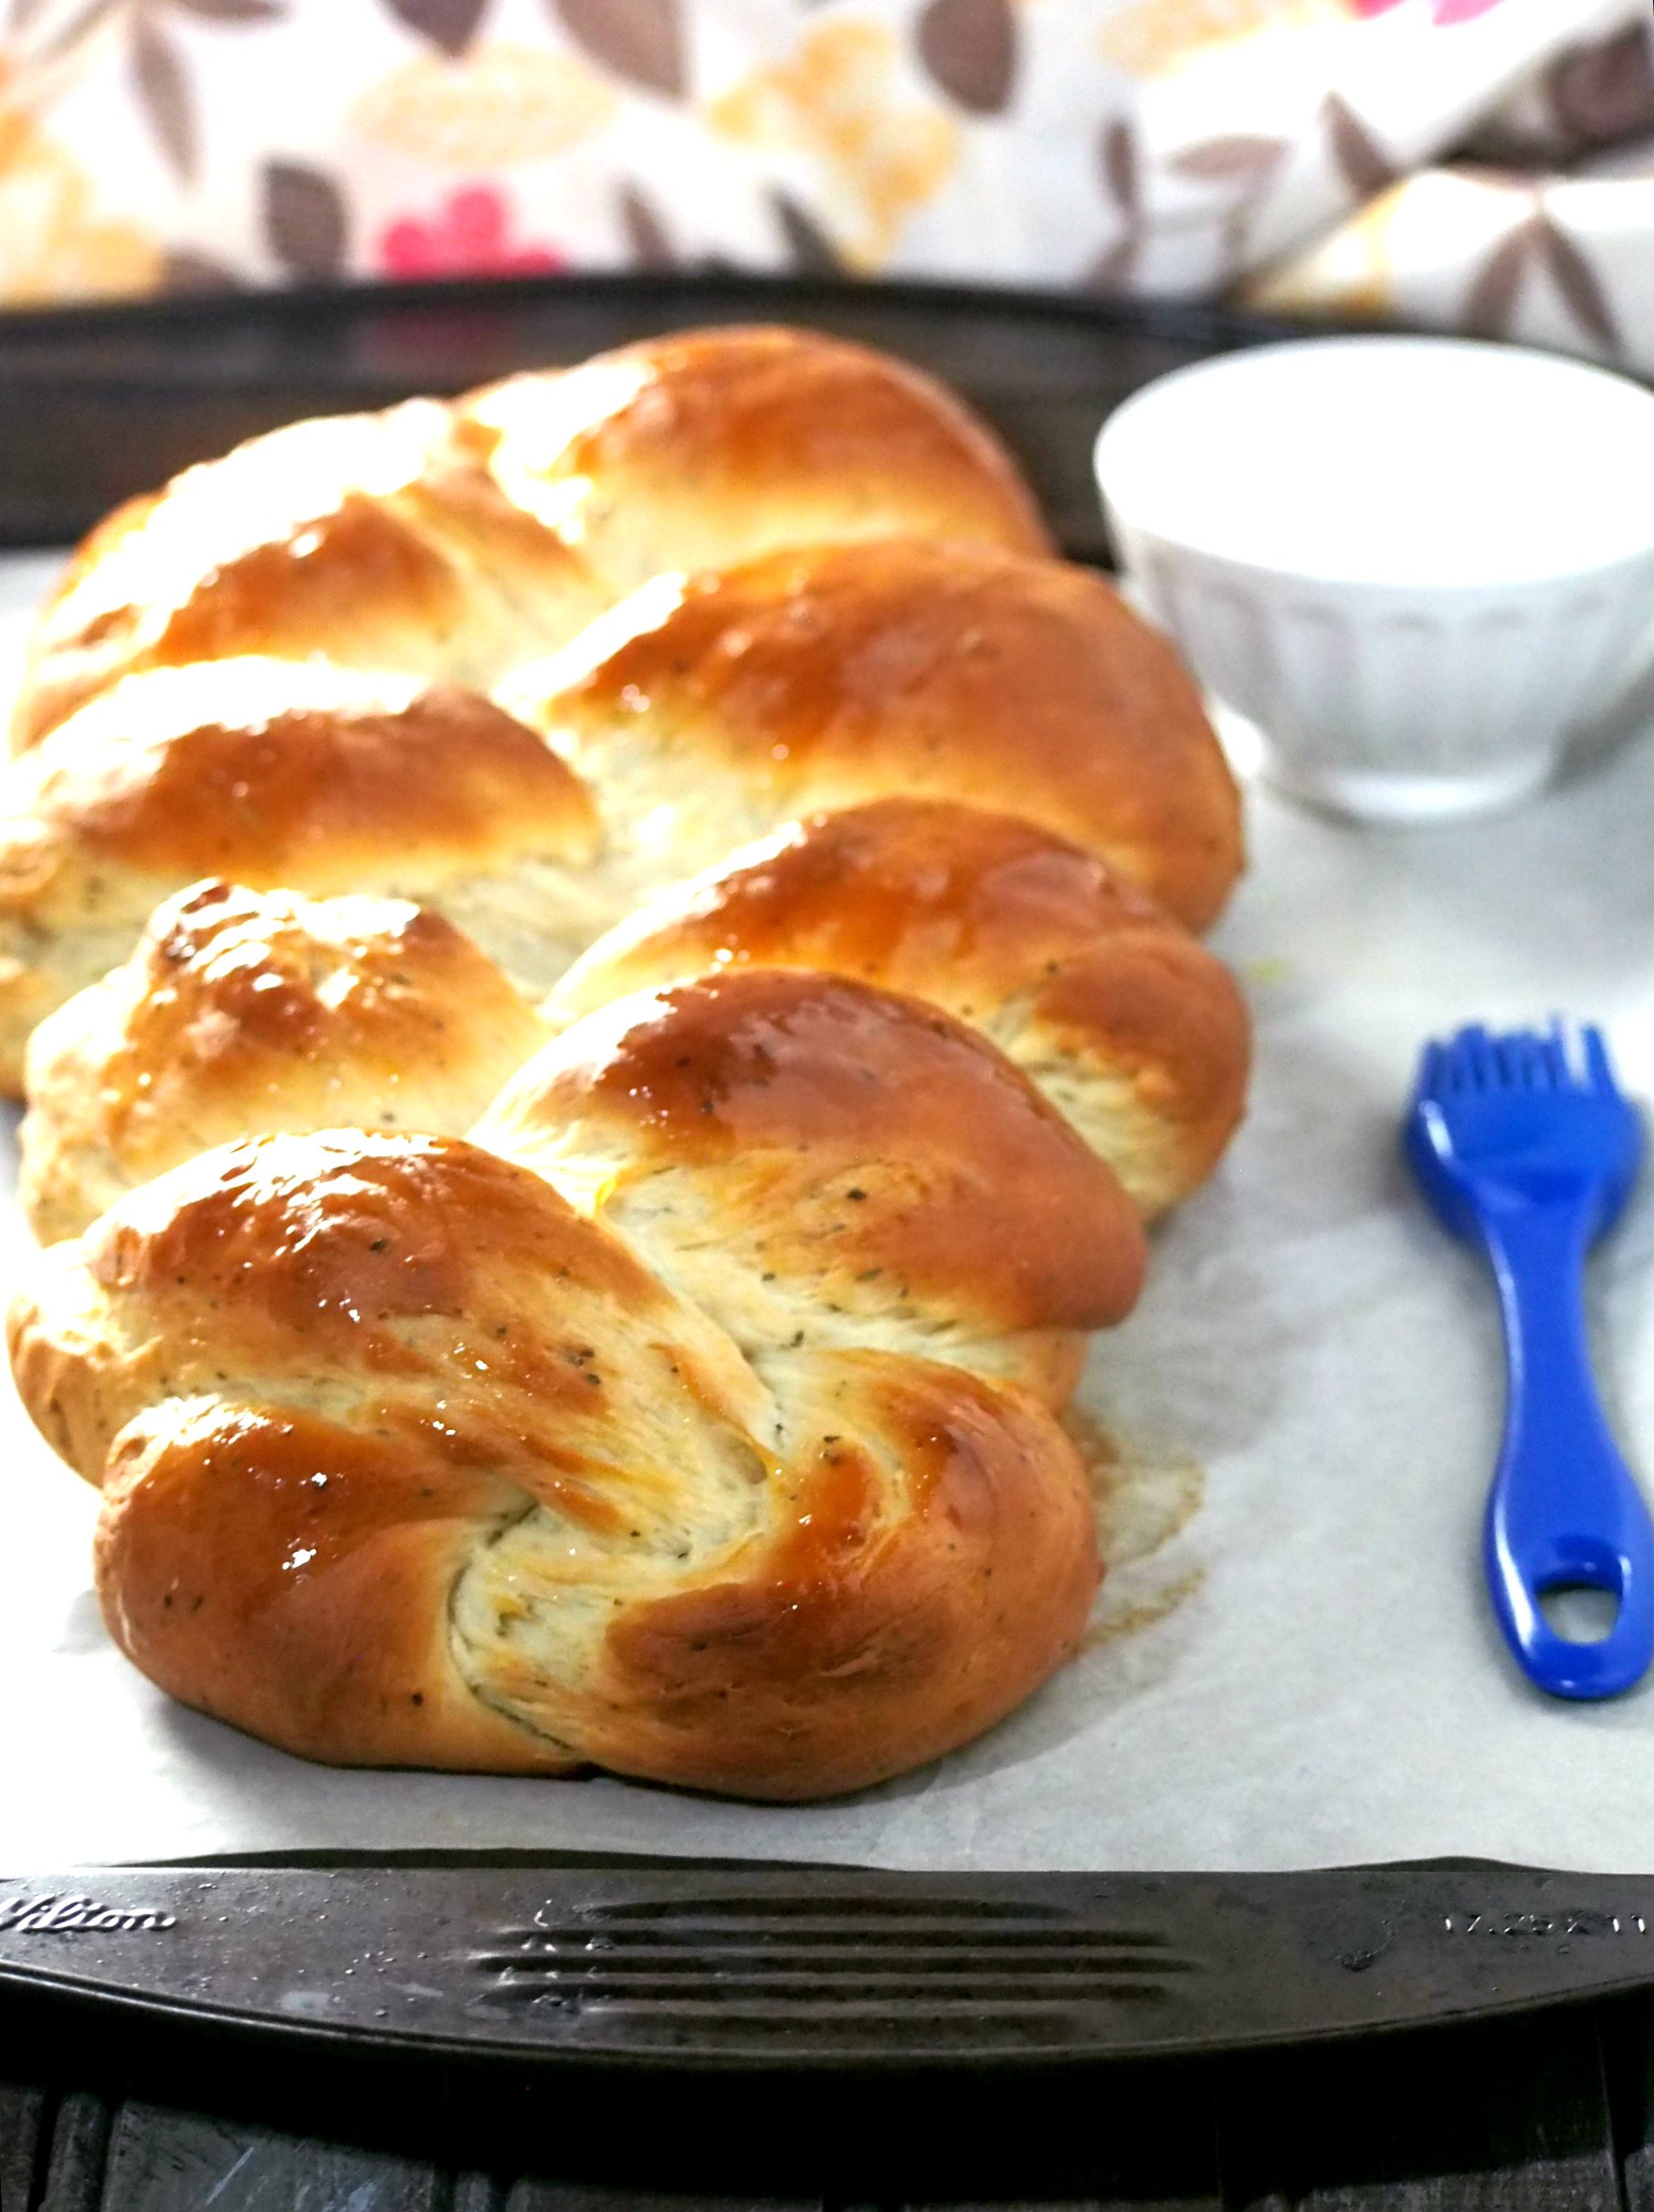
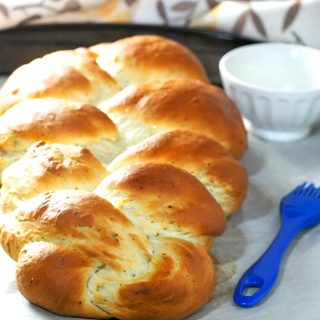
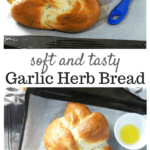
Garlic Herb Bread
This Garlic Herb Bread is packed with garlic flavor. The combination of basil and rosemary adds a savory note to the bread.
The bread dough is a simple and straightforward recipe that is kneaded by hand. Again, like I always say, it seems so intimidating to make bread at first, but after trying it for the first time, you will be more and more confident.
You can also use your stand mixer with the dough hook attachment to knead the dough.
When I first tried kneading by hand, my arms were so sore and a good 15 minutes was not enough for my dough to be ready. But after the second or third time, I began to enjoy kneading by hand and I really fell in love with the process of bread making.
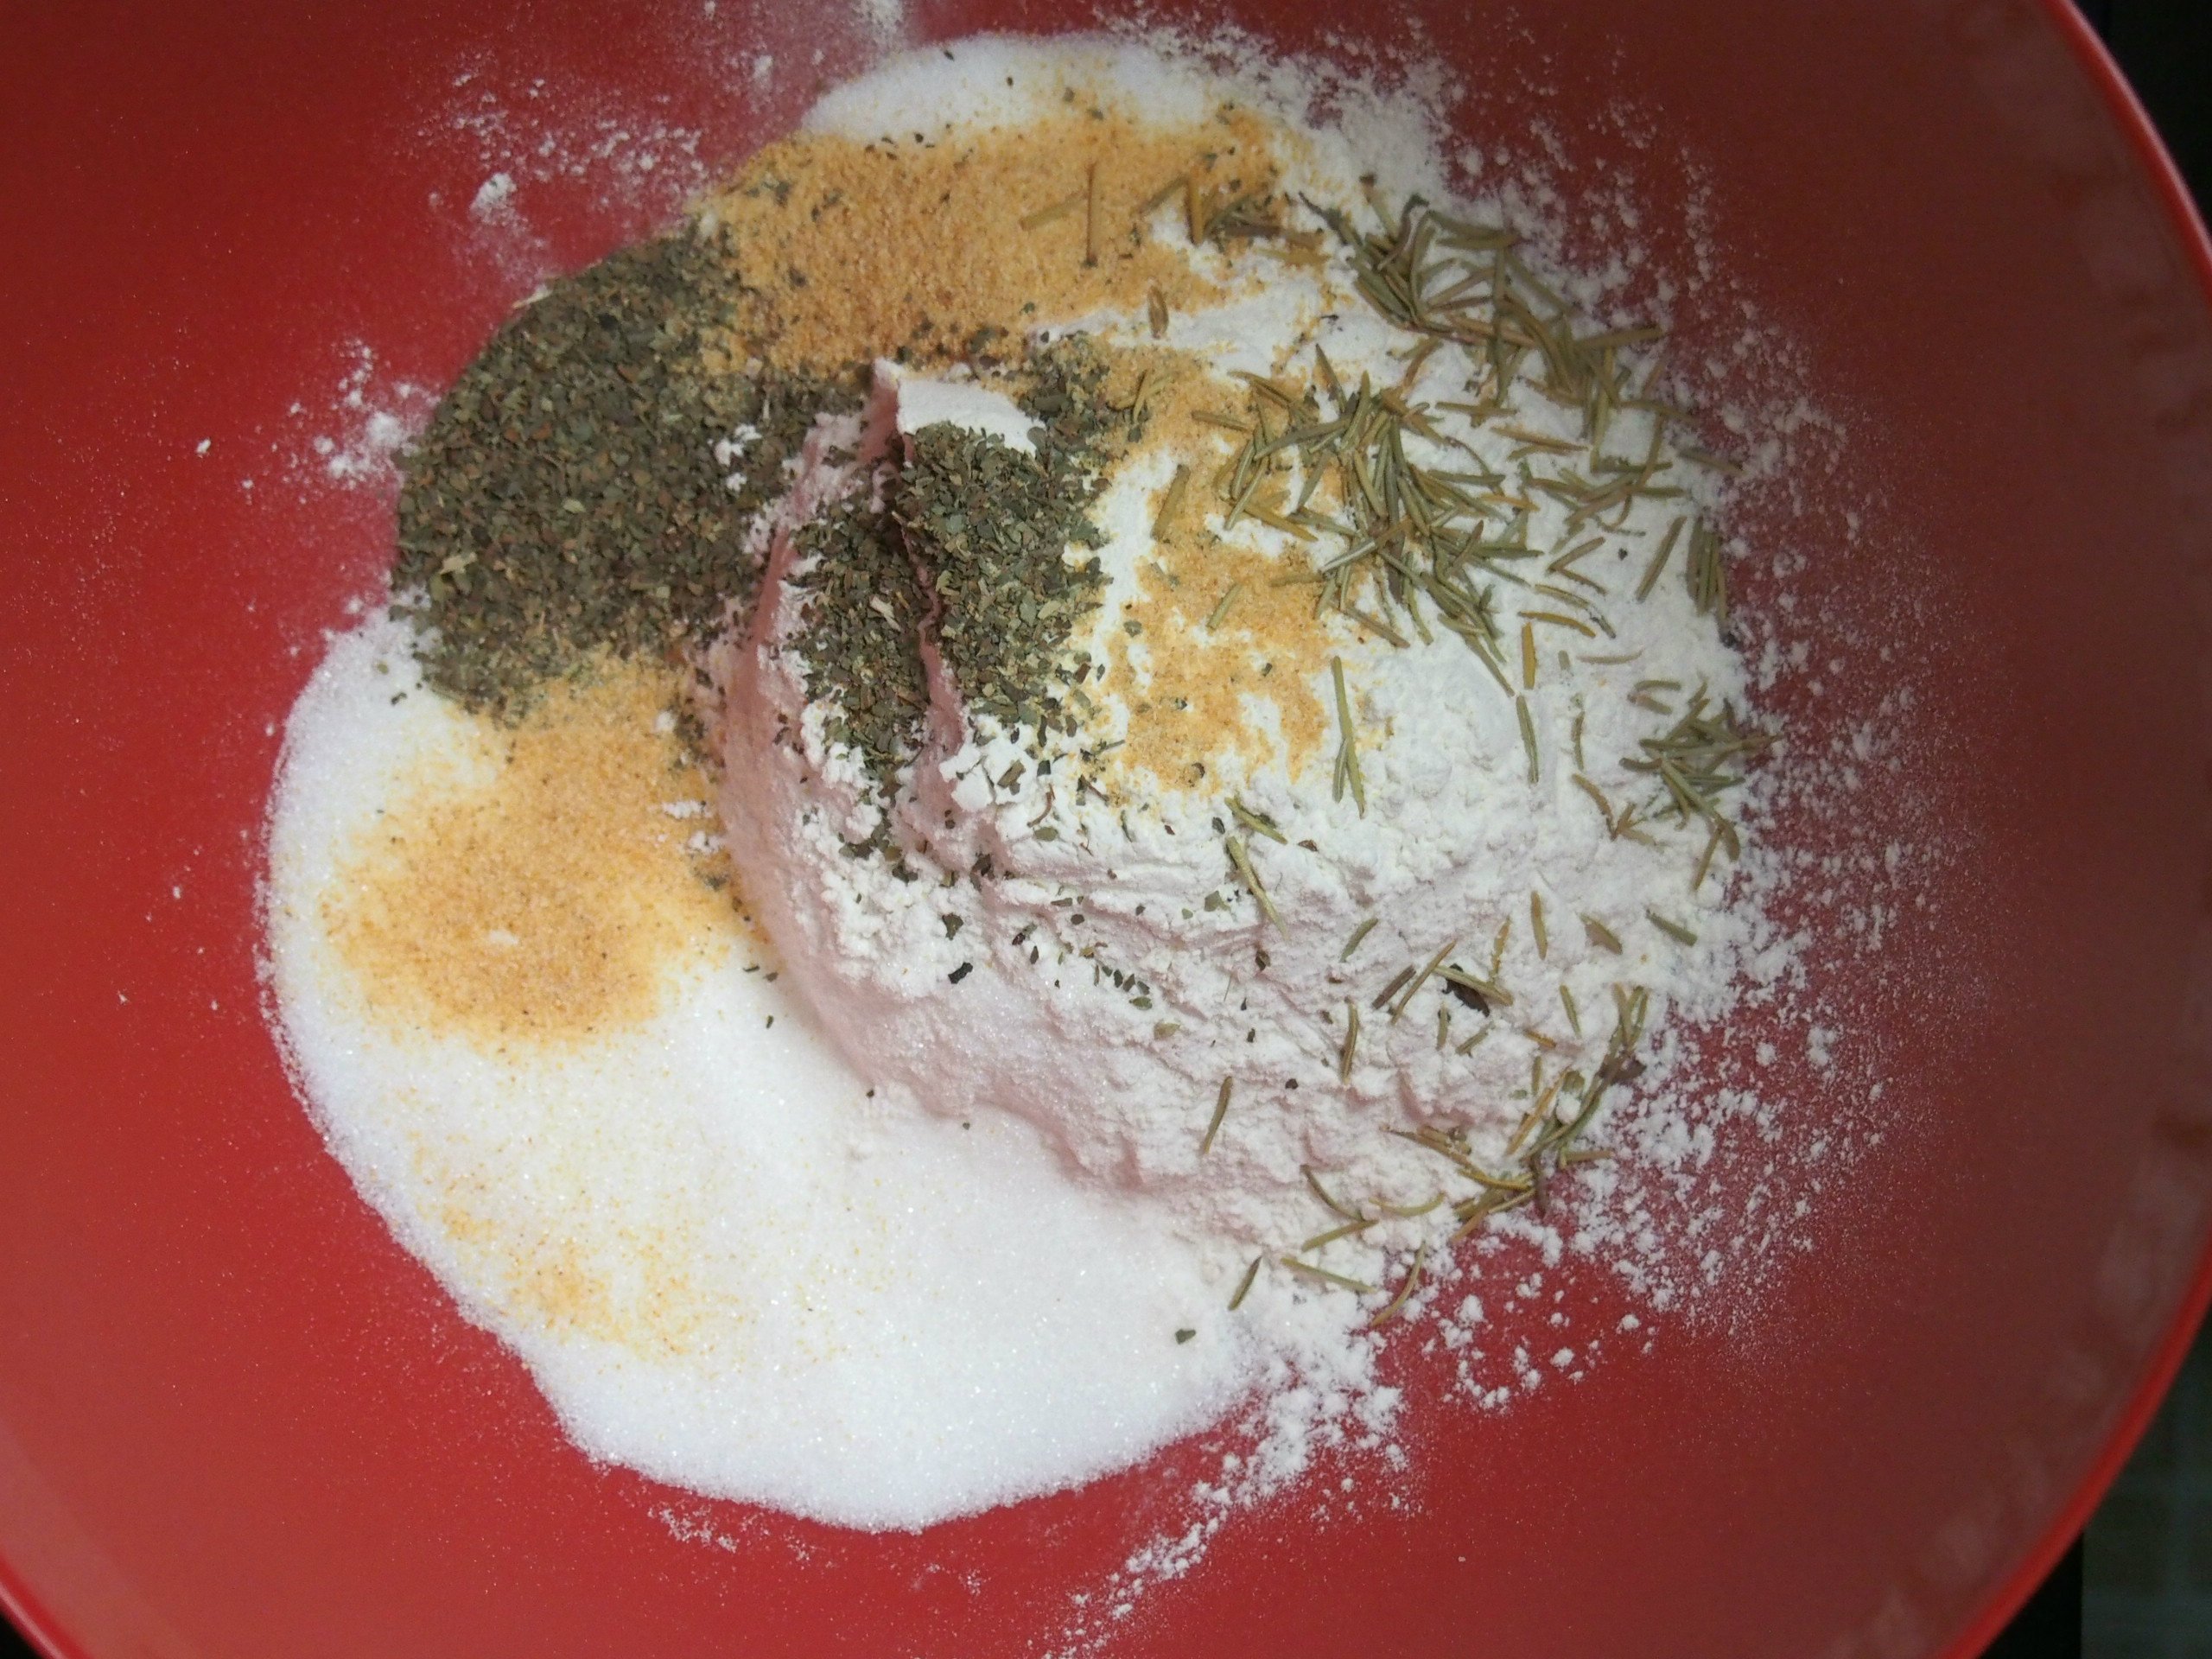
Step 1: Make the Dough
In a large mixing bowl, combine flour, sugar, yeast, garlic powder, dried basil, dried rosemary and salt.
In a small saucepan, heat milk, water, and the cubed butter until the mixture reaches 120 F.
Add the warm liquid mixture to the dry ingredients. Mix everything using a wooden spoon until the powders are moistened.
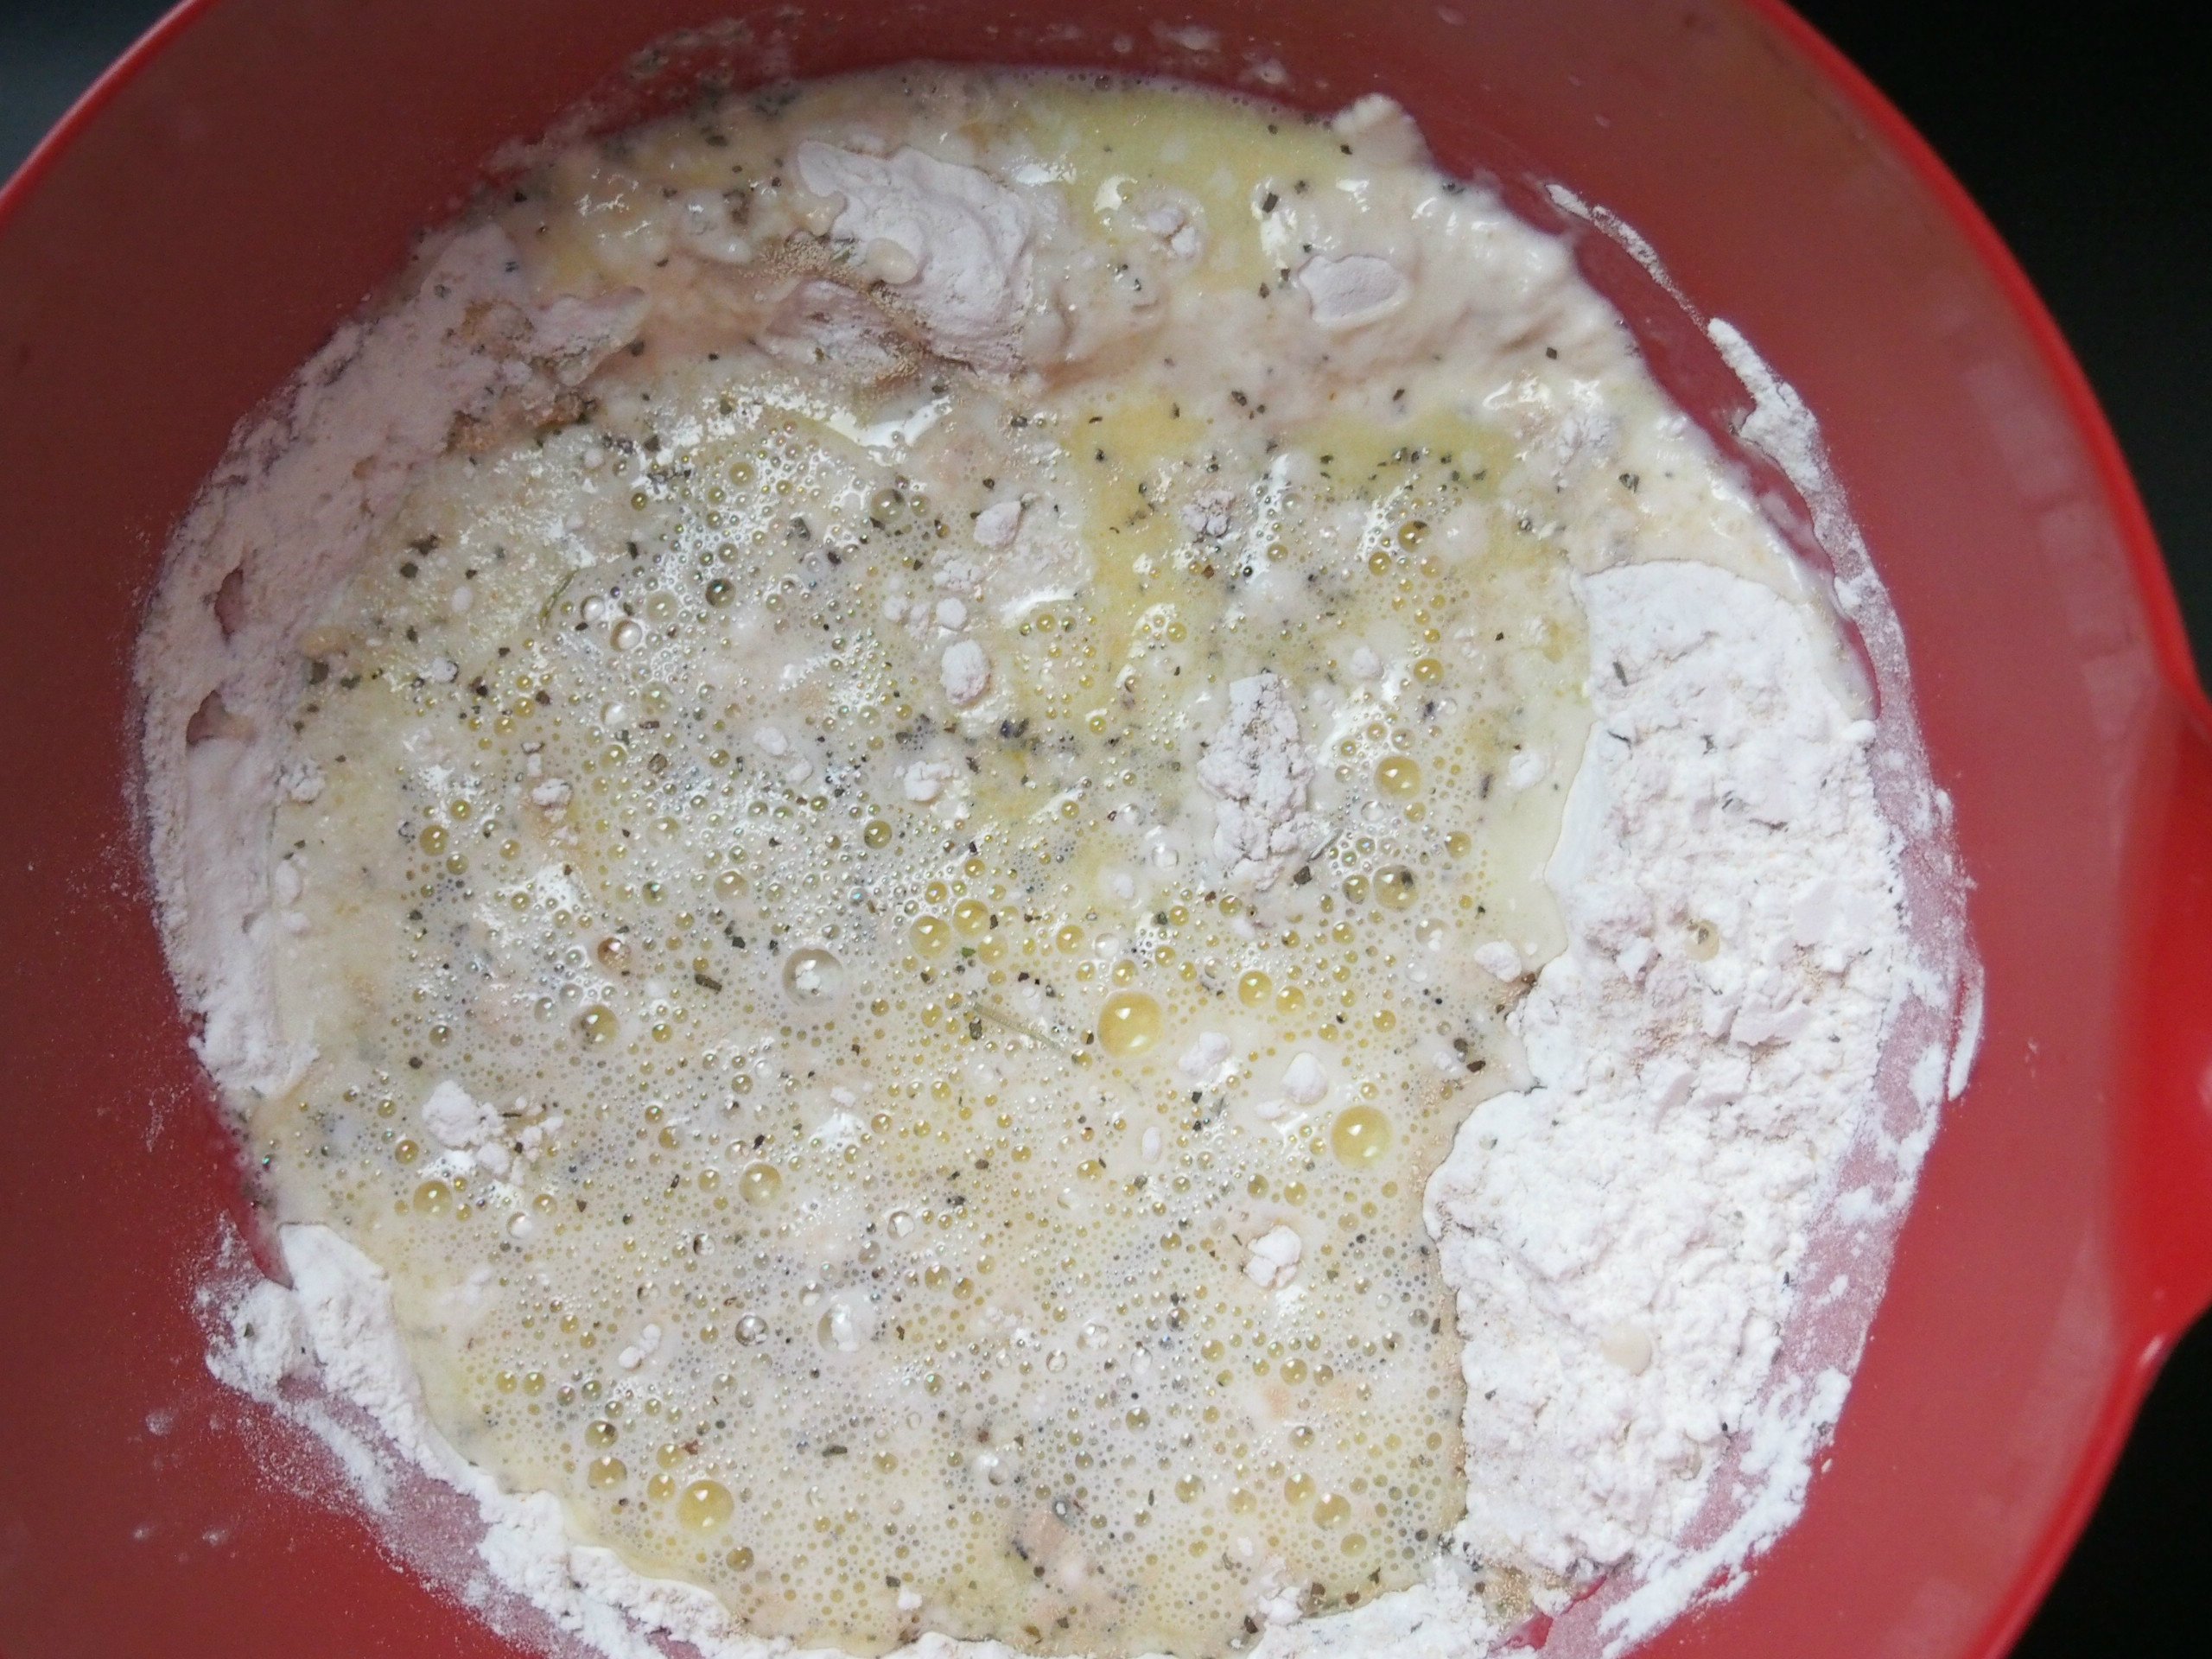
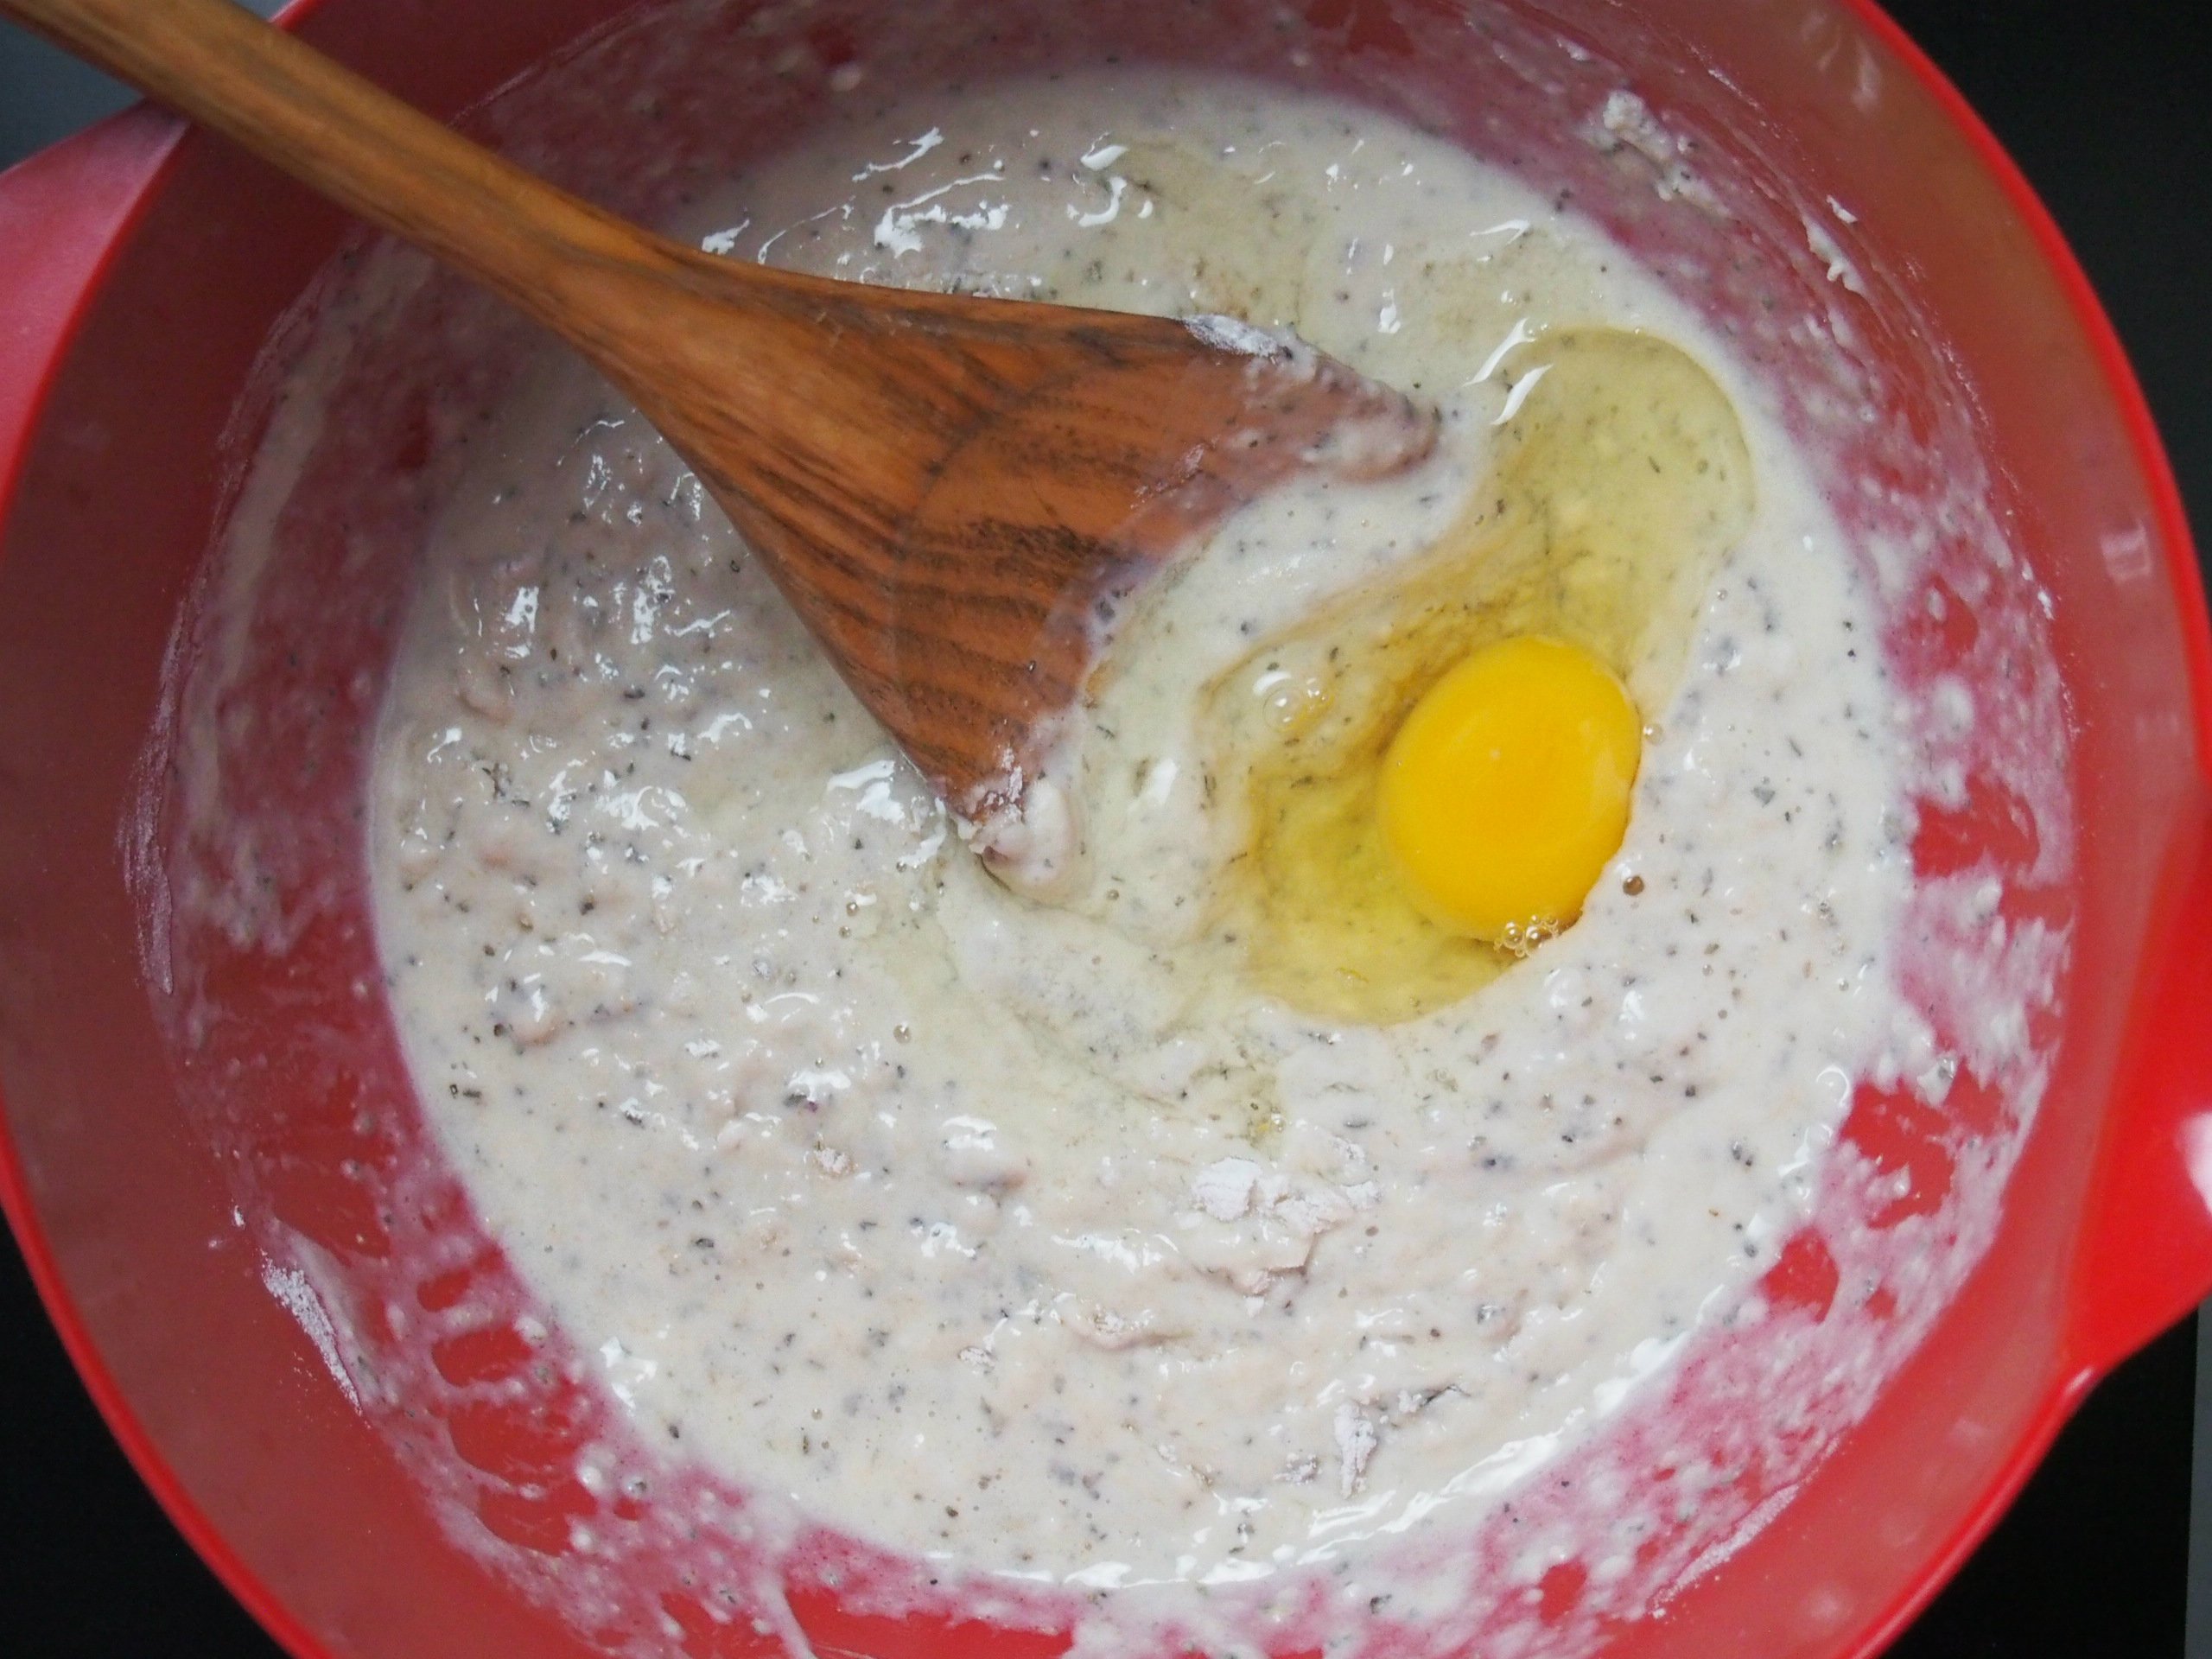
Add egg and mix until smooth.
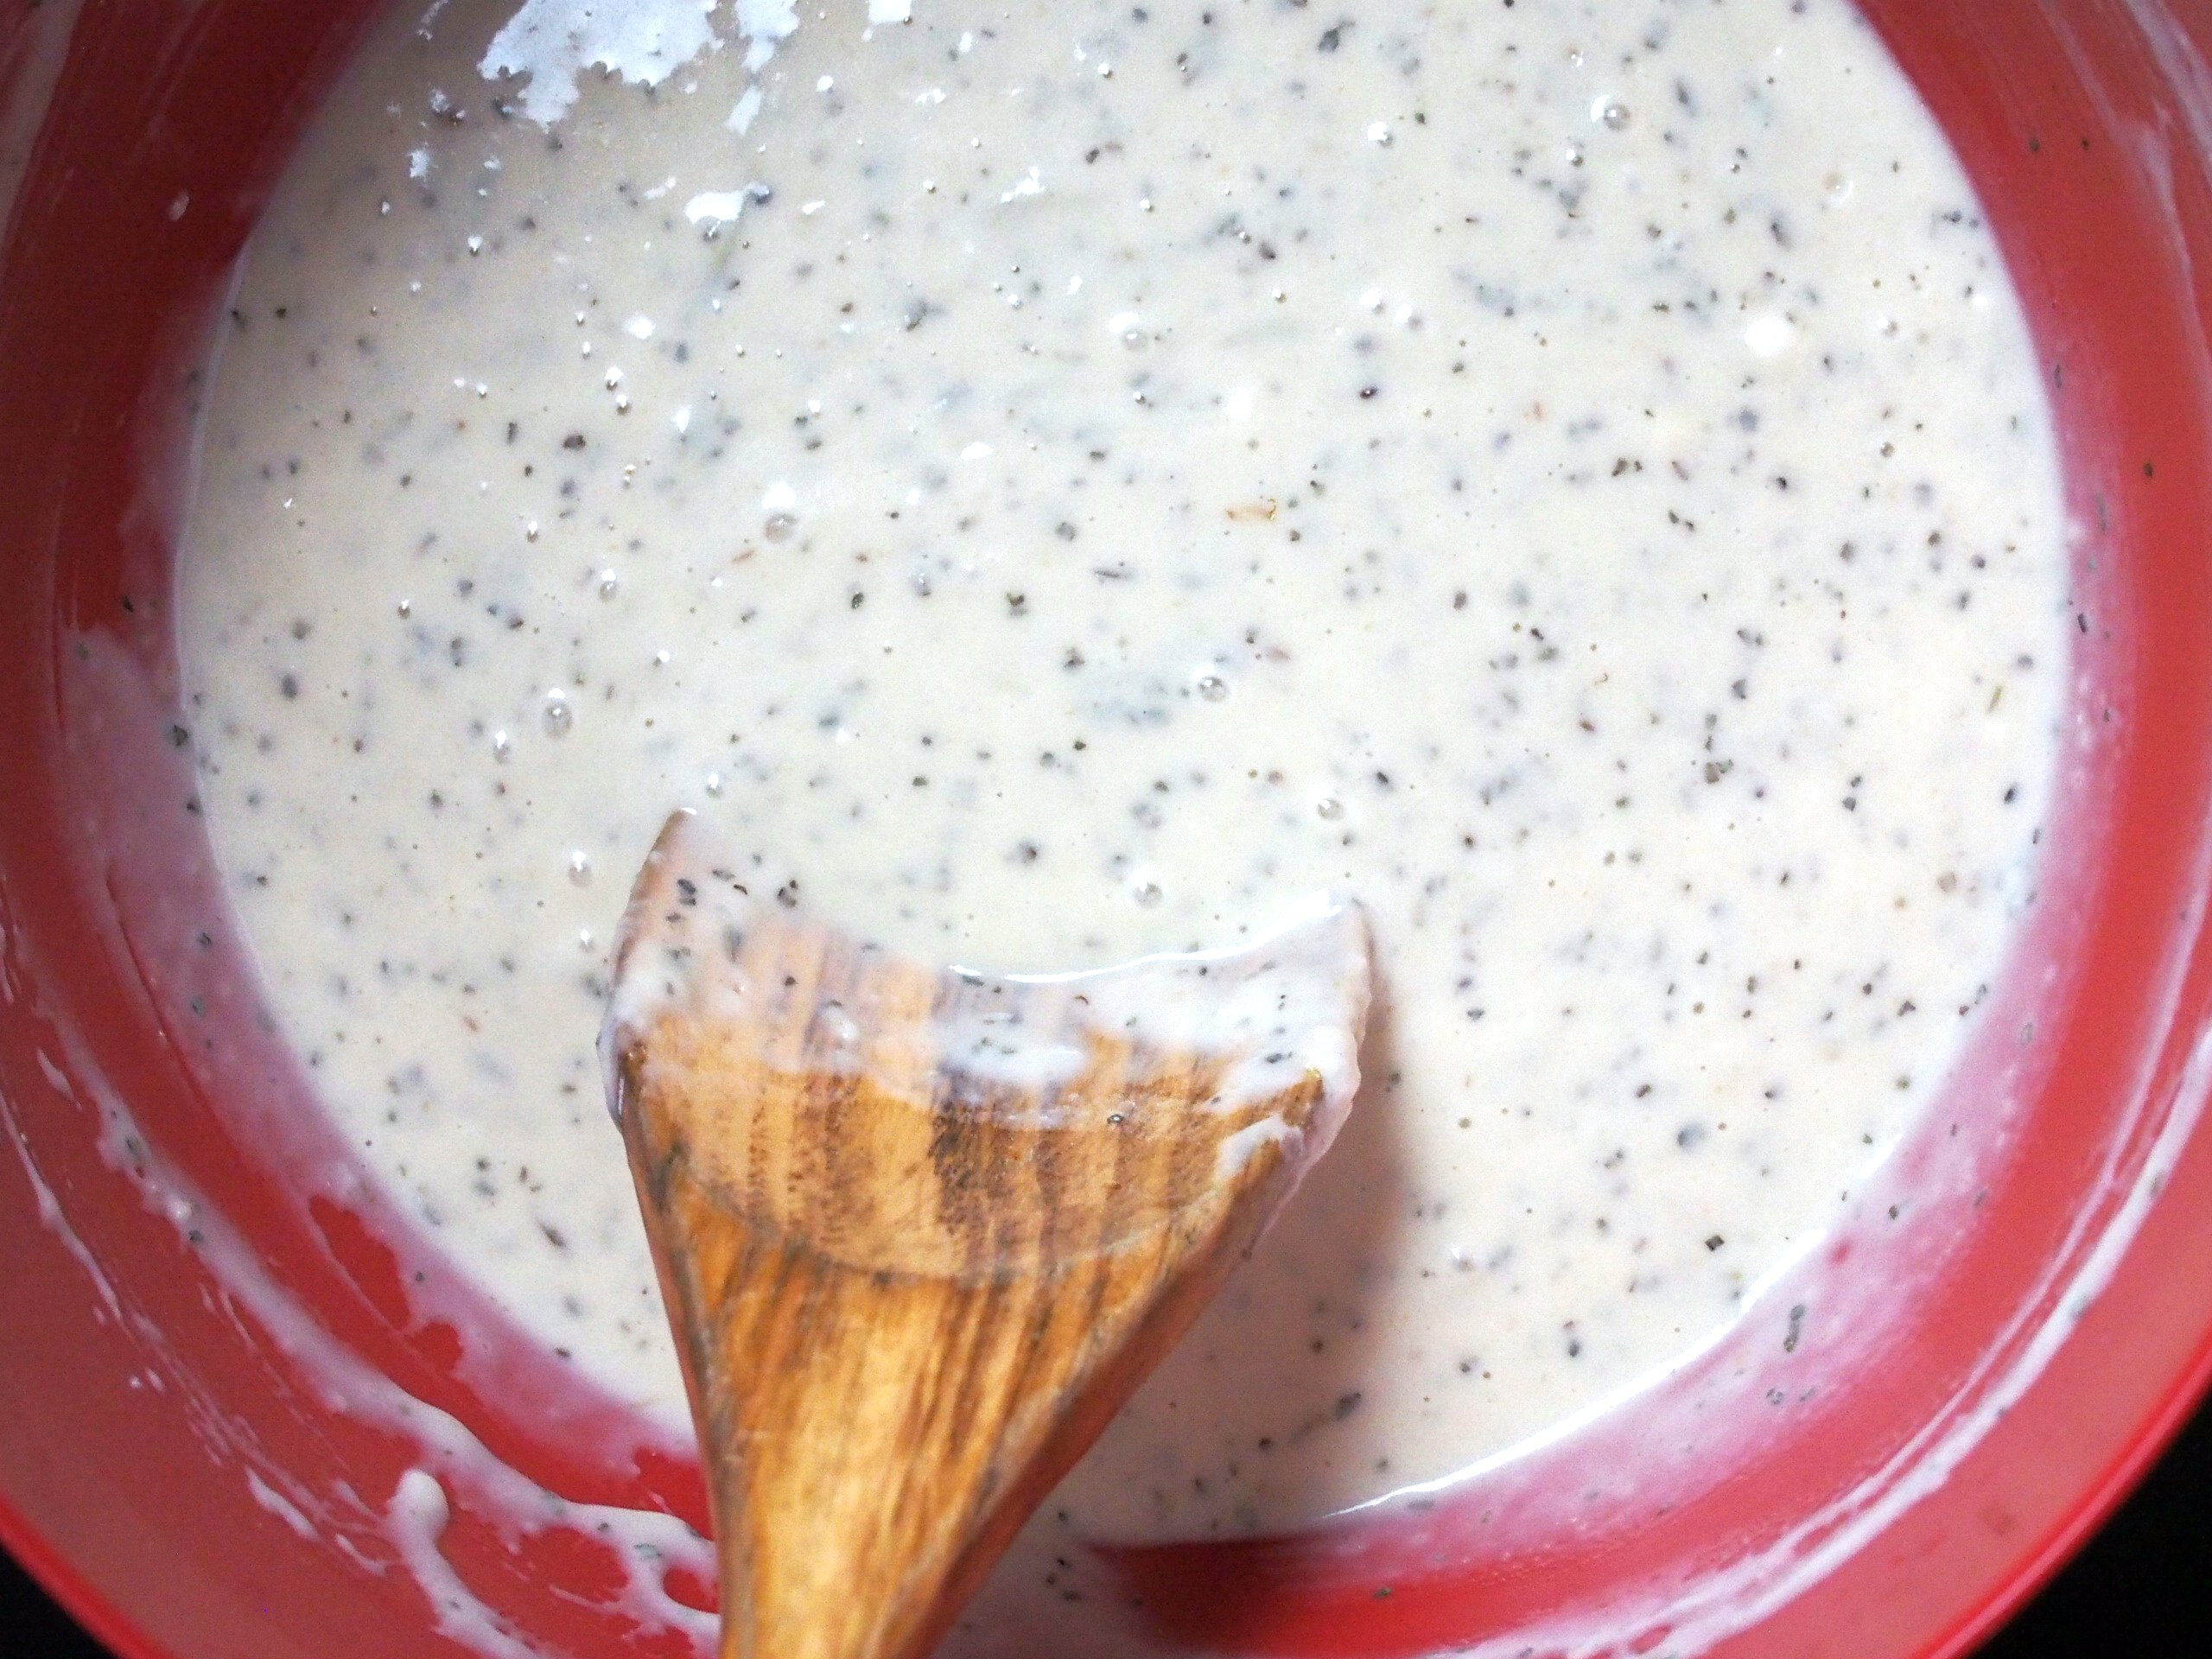
Add the remaining flour sparingly until you form a soft dough. The dough should clean the sides of the bowl. You may not need the whole remaining amount.
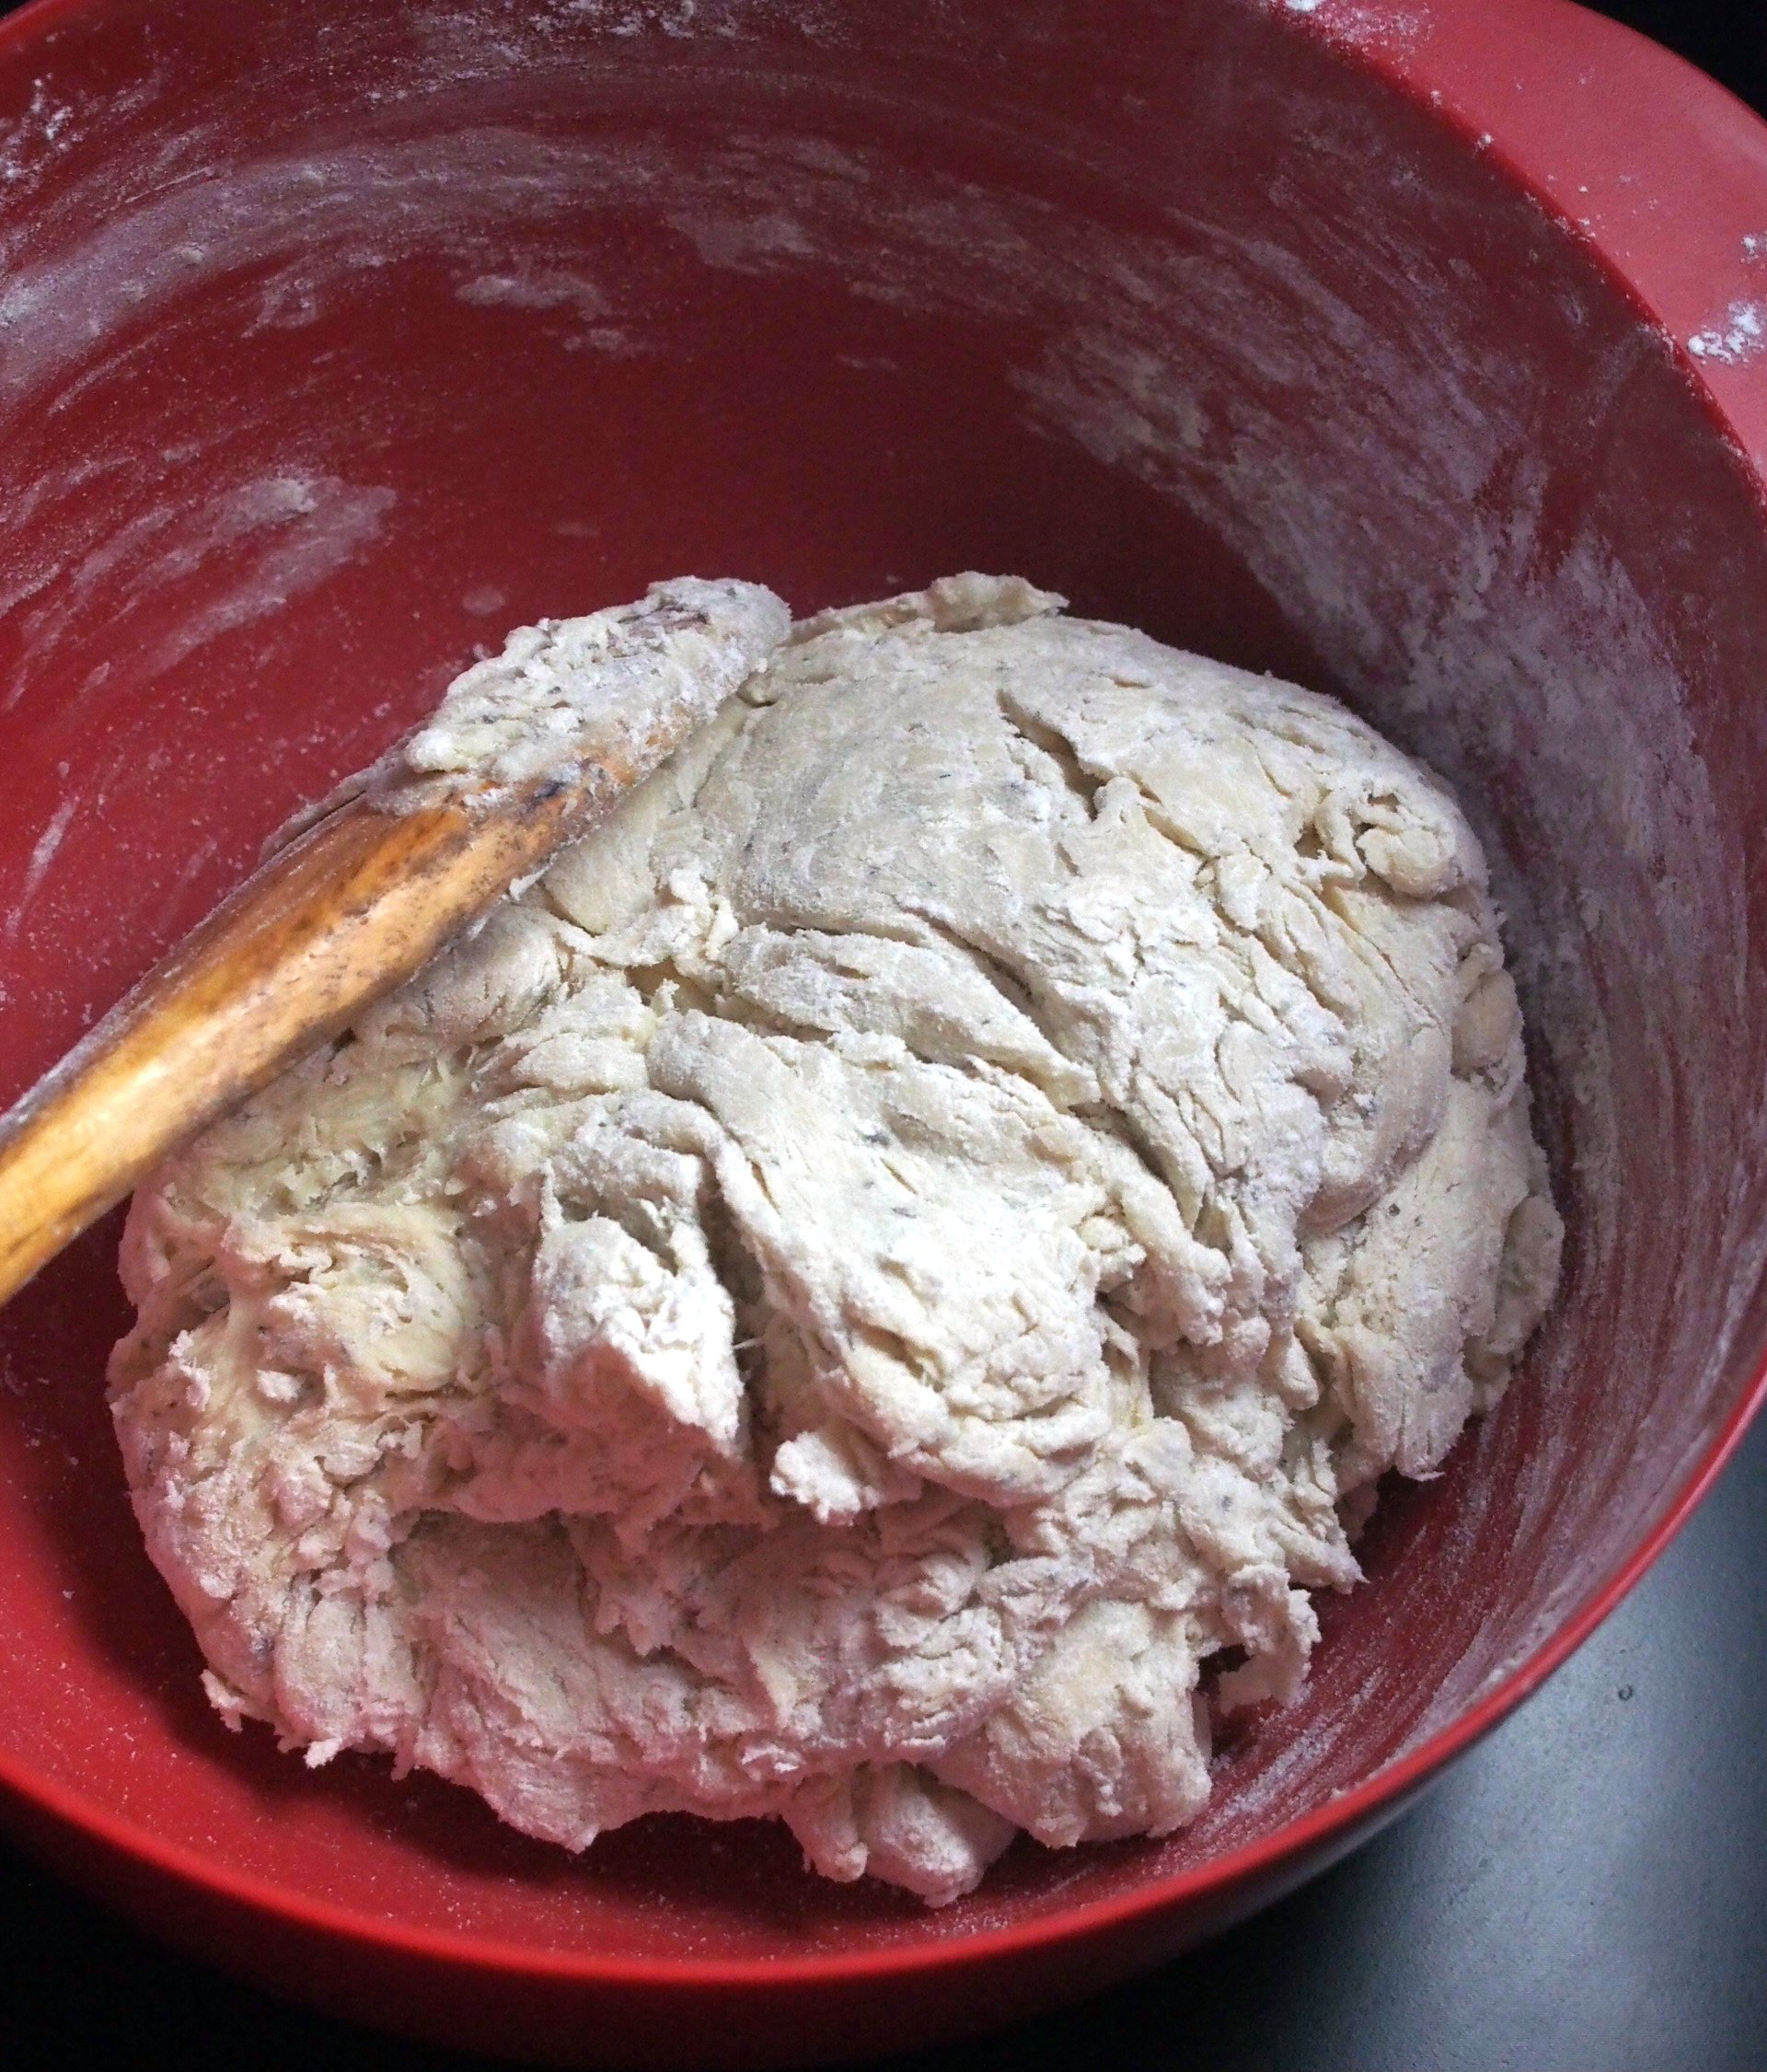
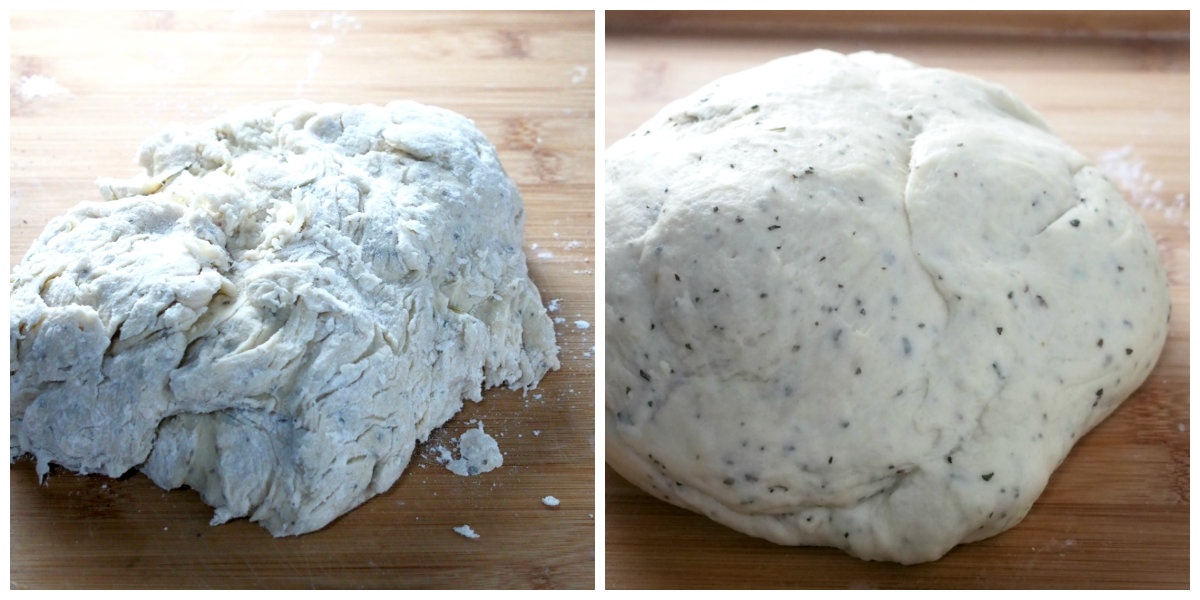
Step 2: Knead the Dough
On a floured board, knead the dough until it is smooth and can stretch thinly, about 4-6 minutes.
The dough is kneaded adequately if:
- It turns from sticky and shaggy to smooth, elastic and slightly tacky.
- When you poke your finger into the dough, the hollow quickly fills up, as if fighting back to your touch.
- The dough can stretch thinly and translucent when you stretch a portion with your fingers
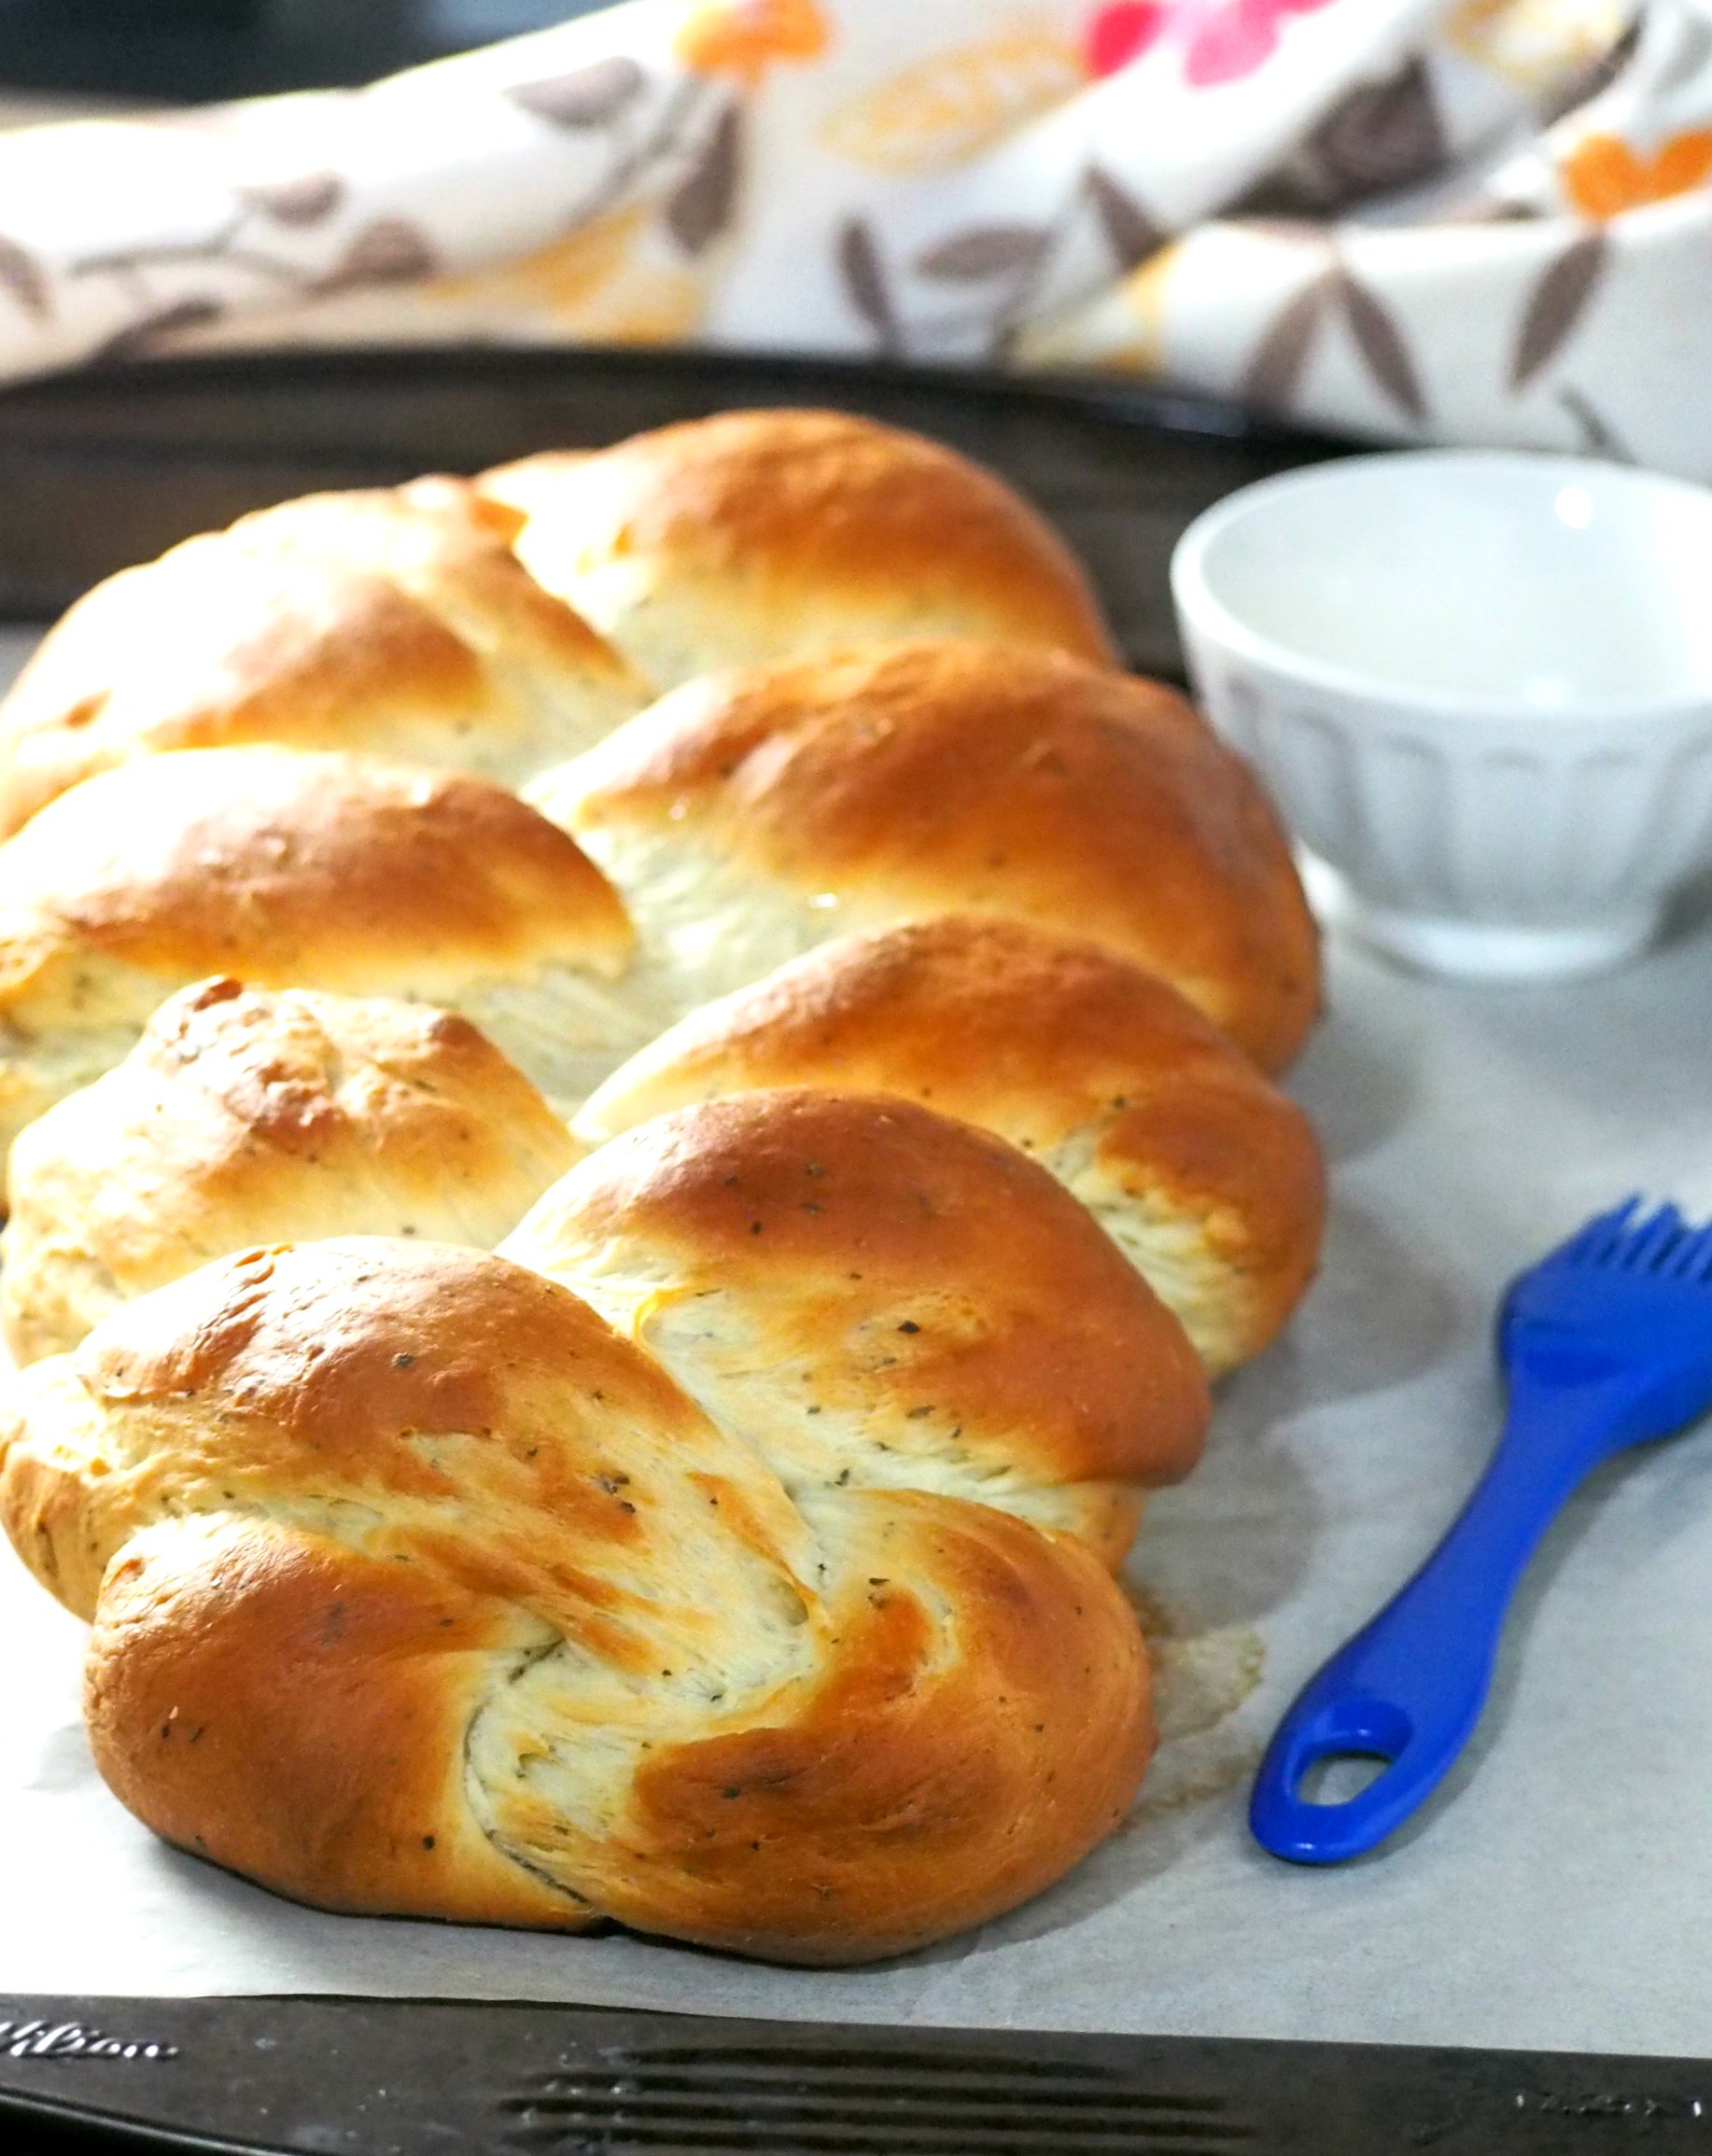
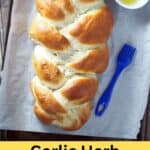
Step 4: Braid the Dough and Let it Rise
Let the dough rest for ten minutes then divide into three portions. Shape each portion into a 15-inch long rope.
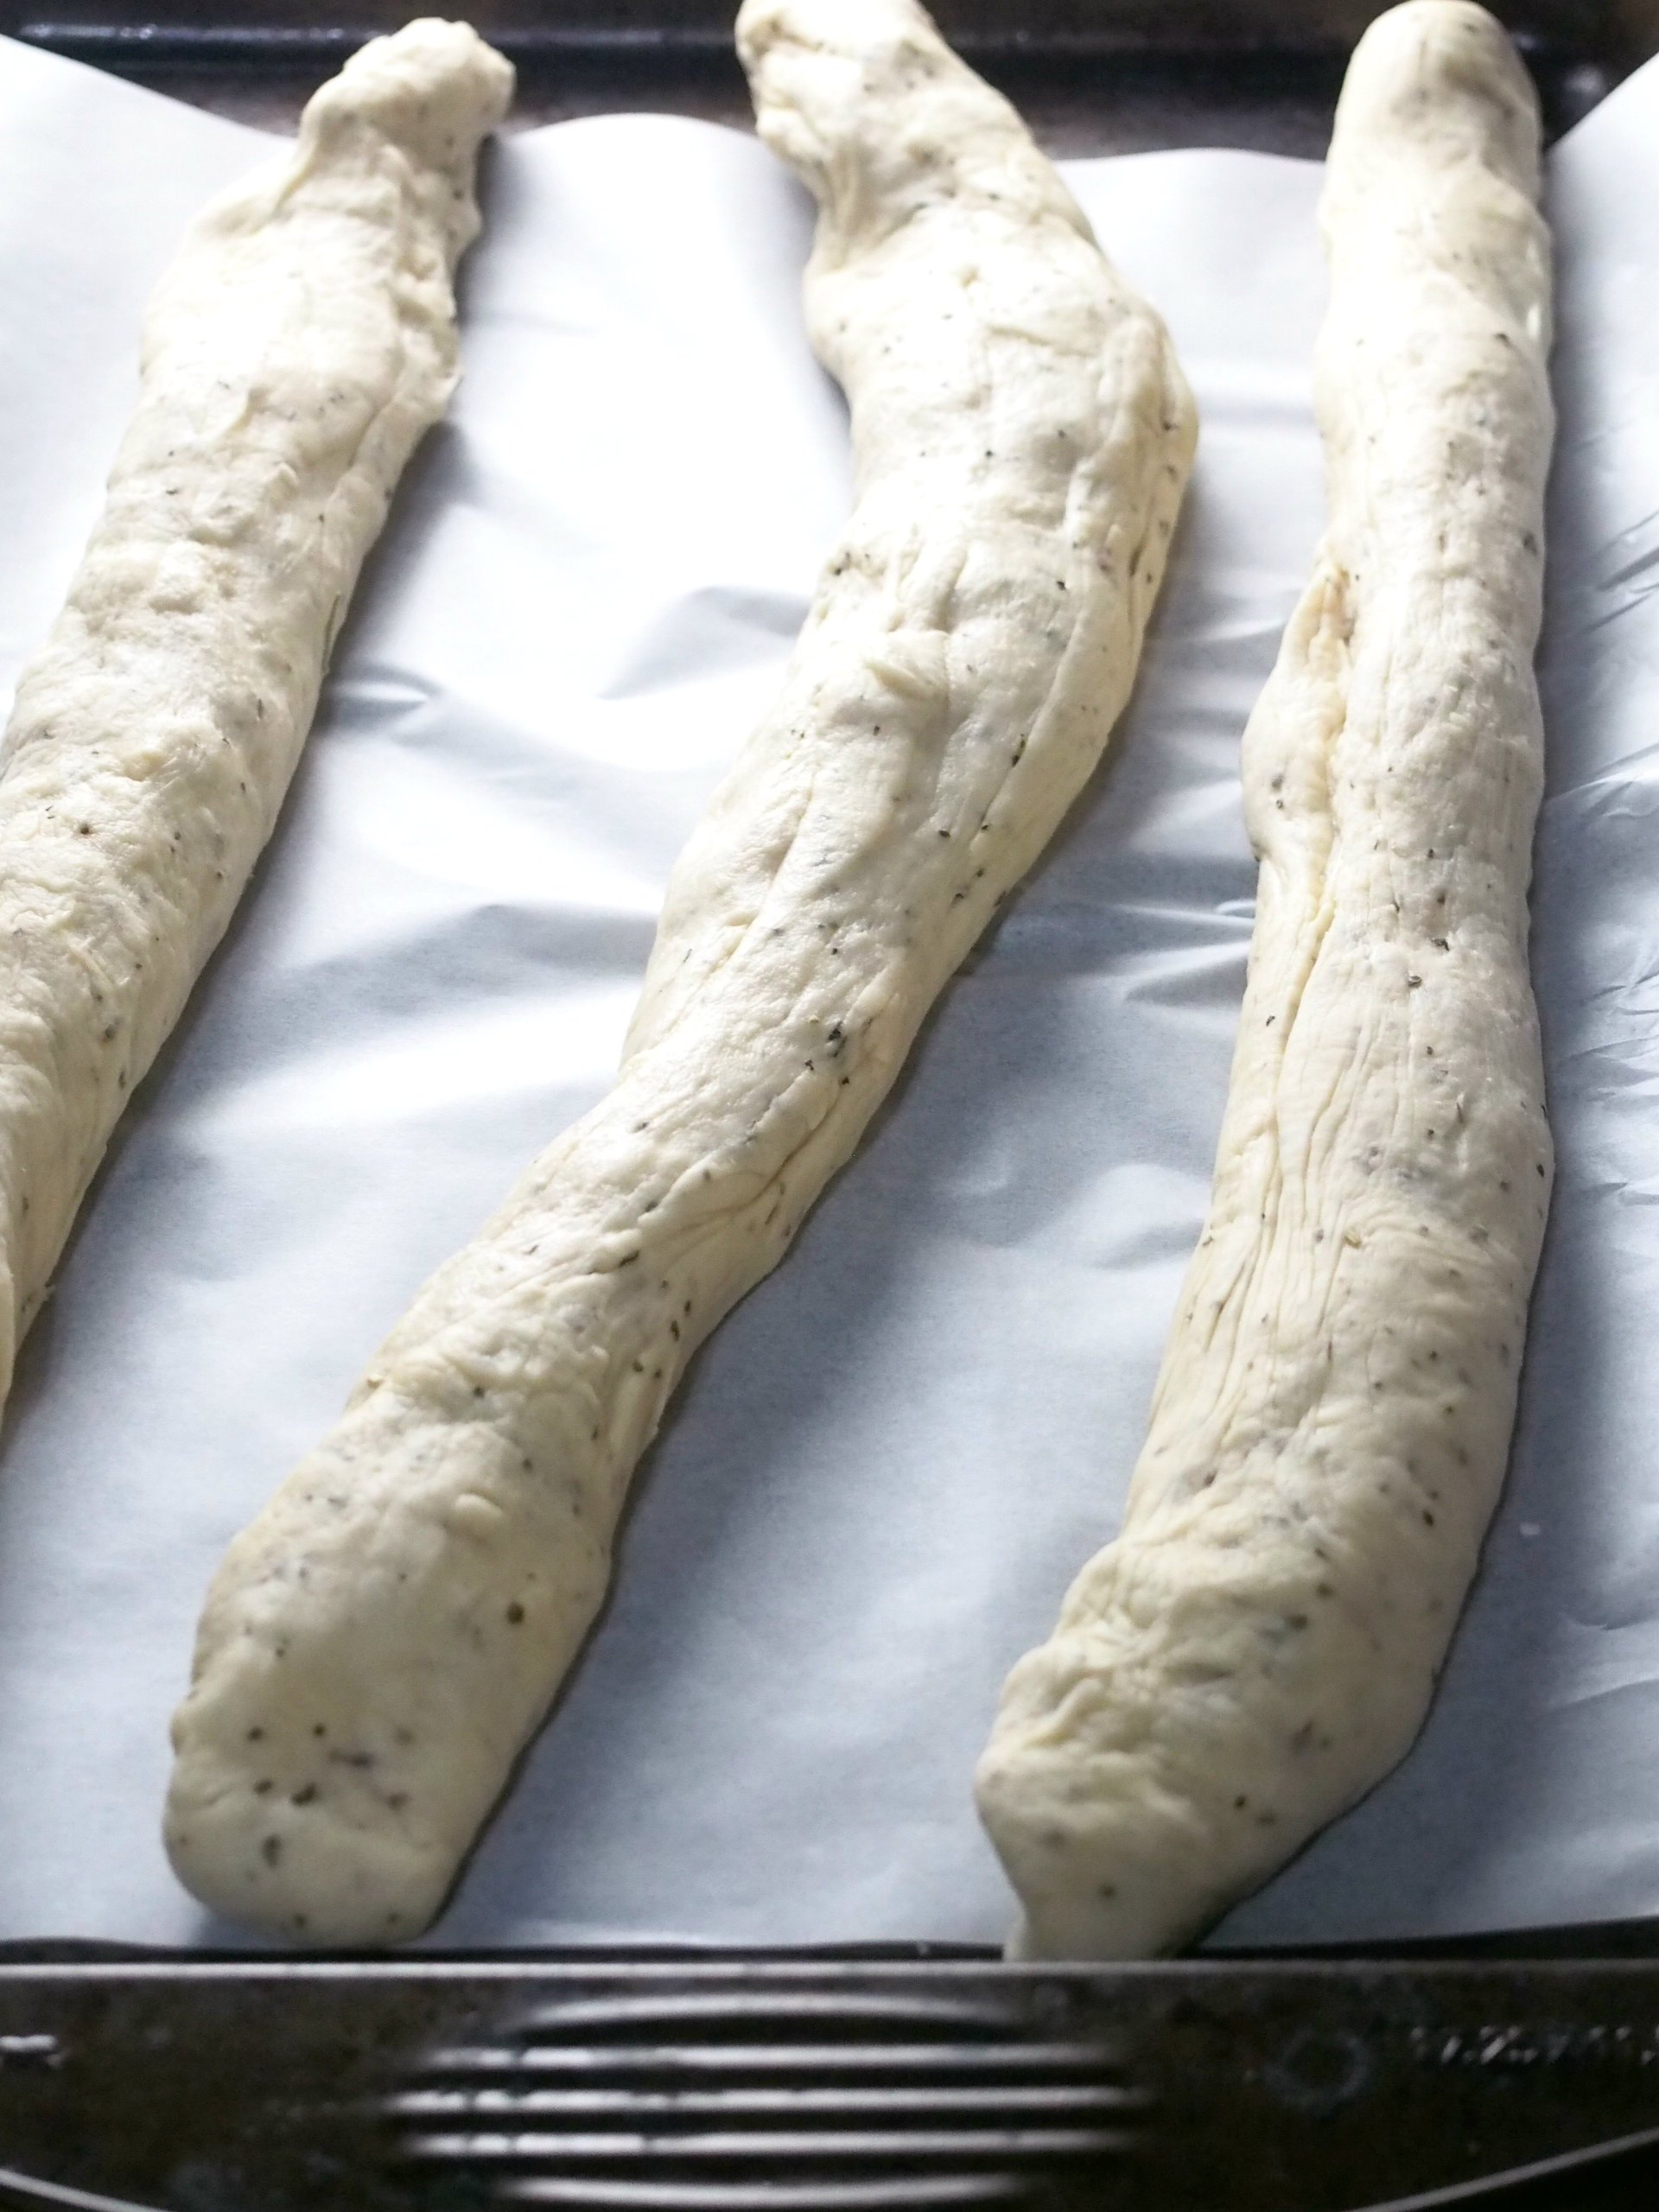
Place the ropes on a baking sheet that is lined with parchment paper.
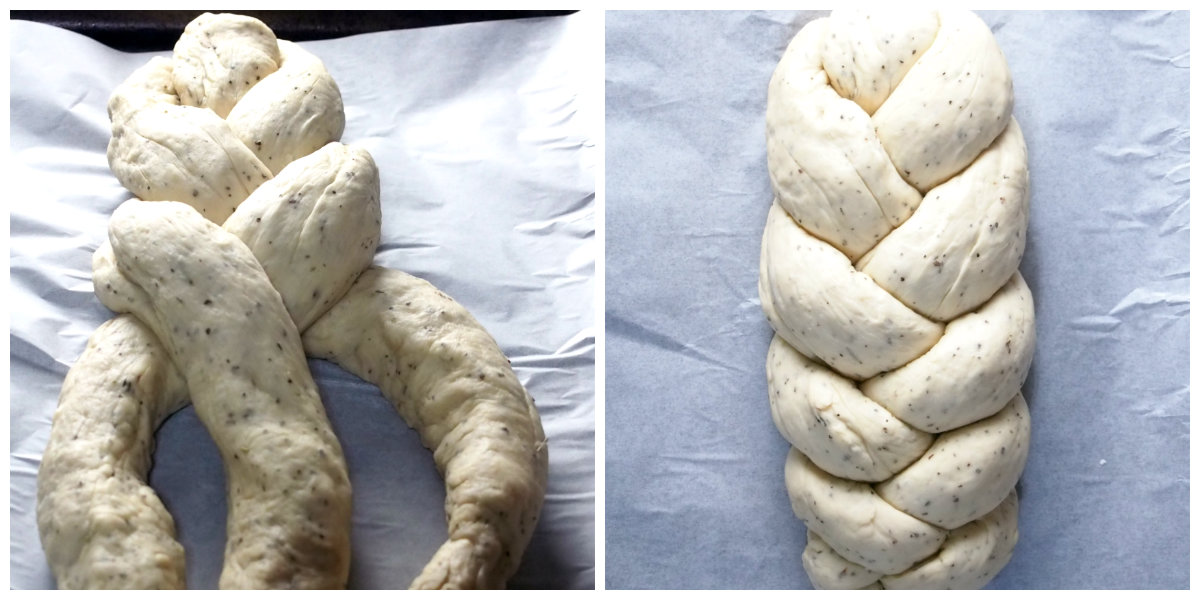
To braid, alternately bring the outer ropes one by one towards the middle until you reach the end of the length of the ropes.
Tuck the ends under and cover loosely with plastic wrap. Let rise for 25 minutes, or until doubled in size.
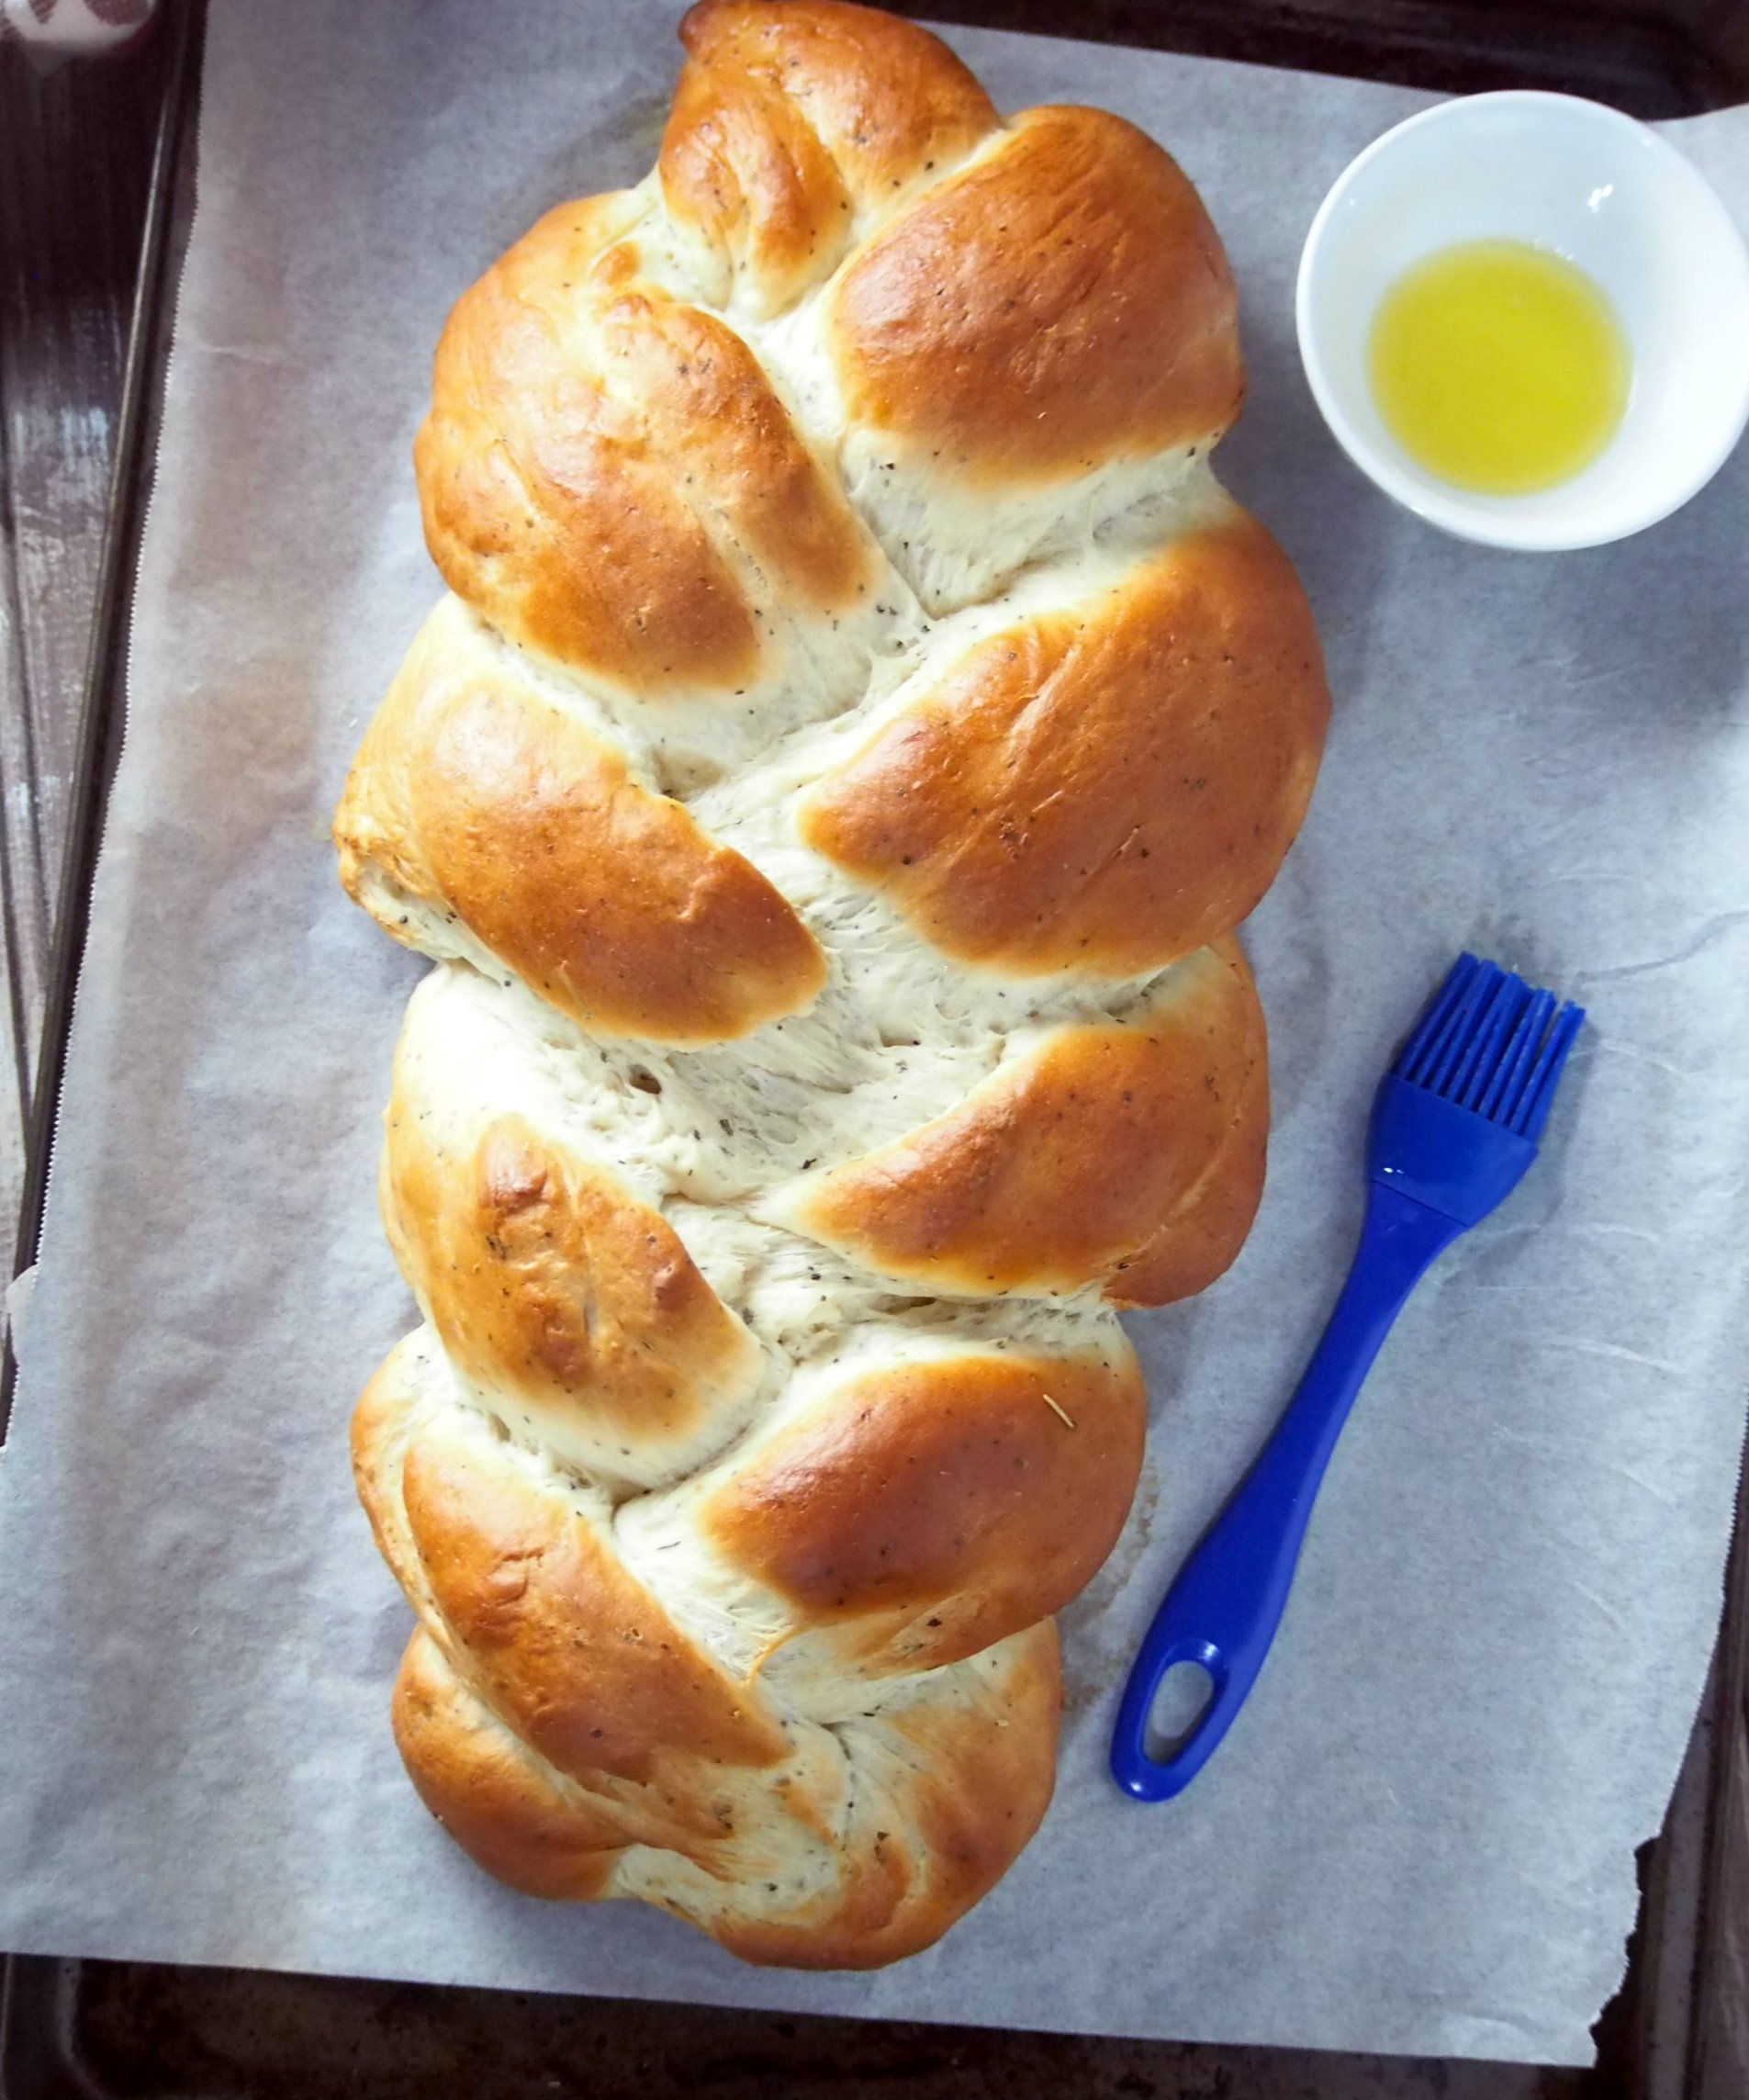
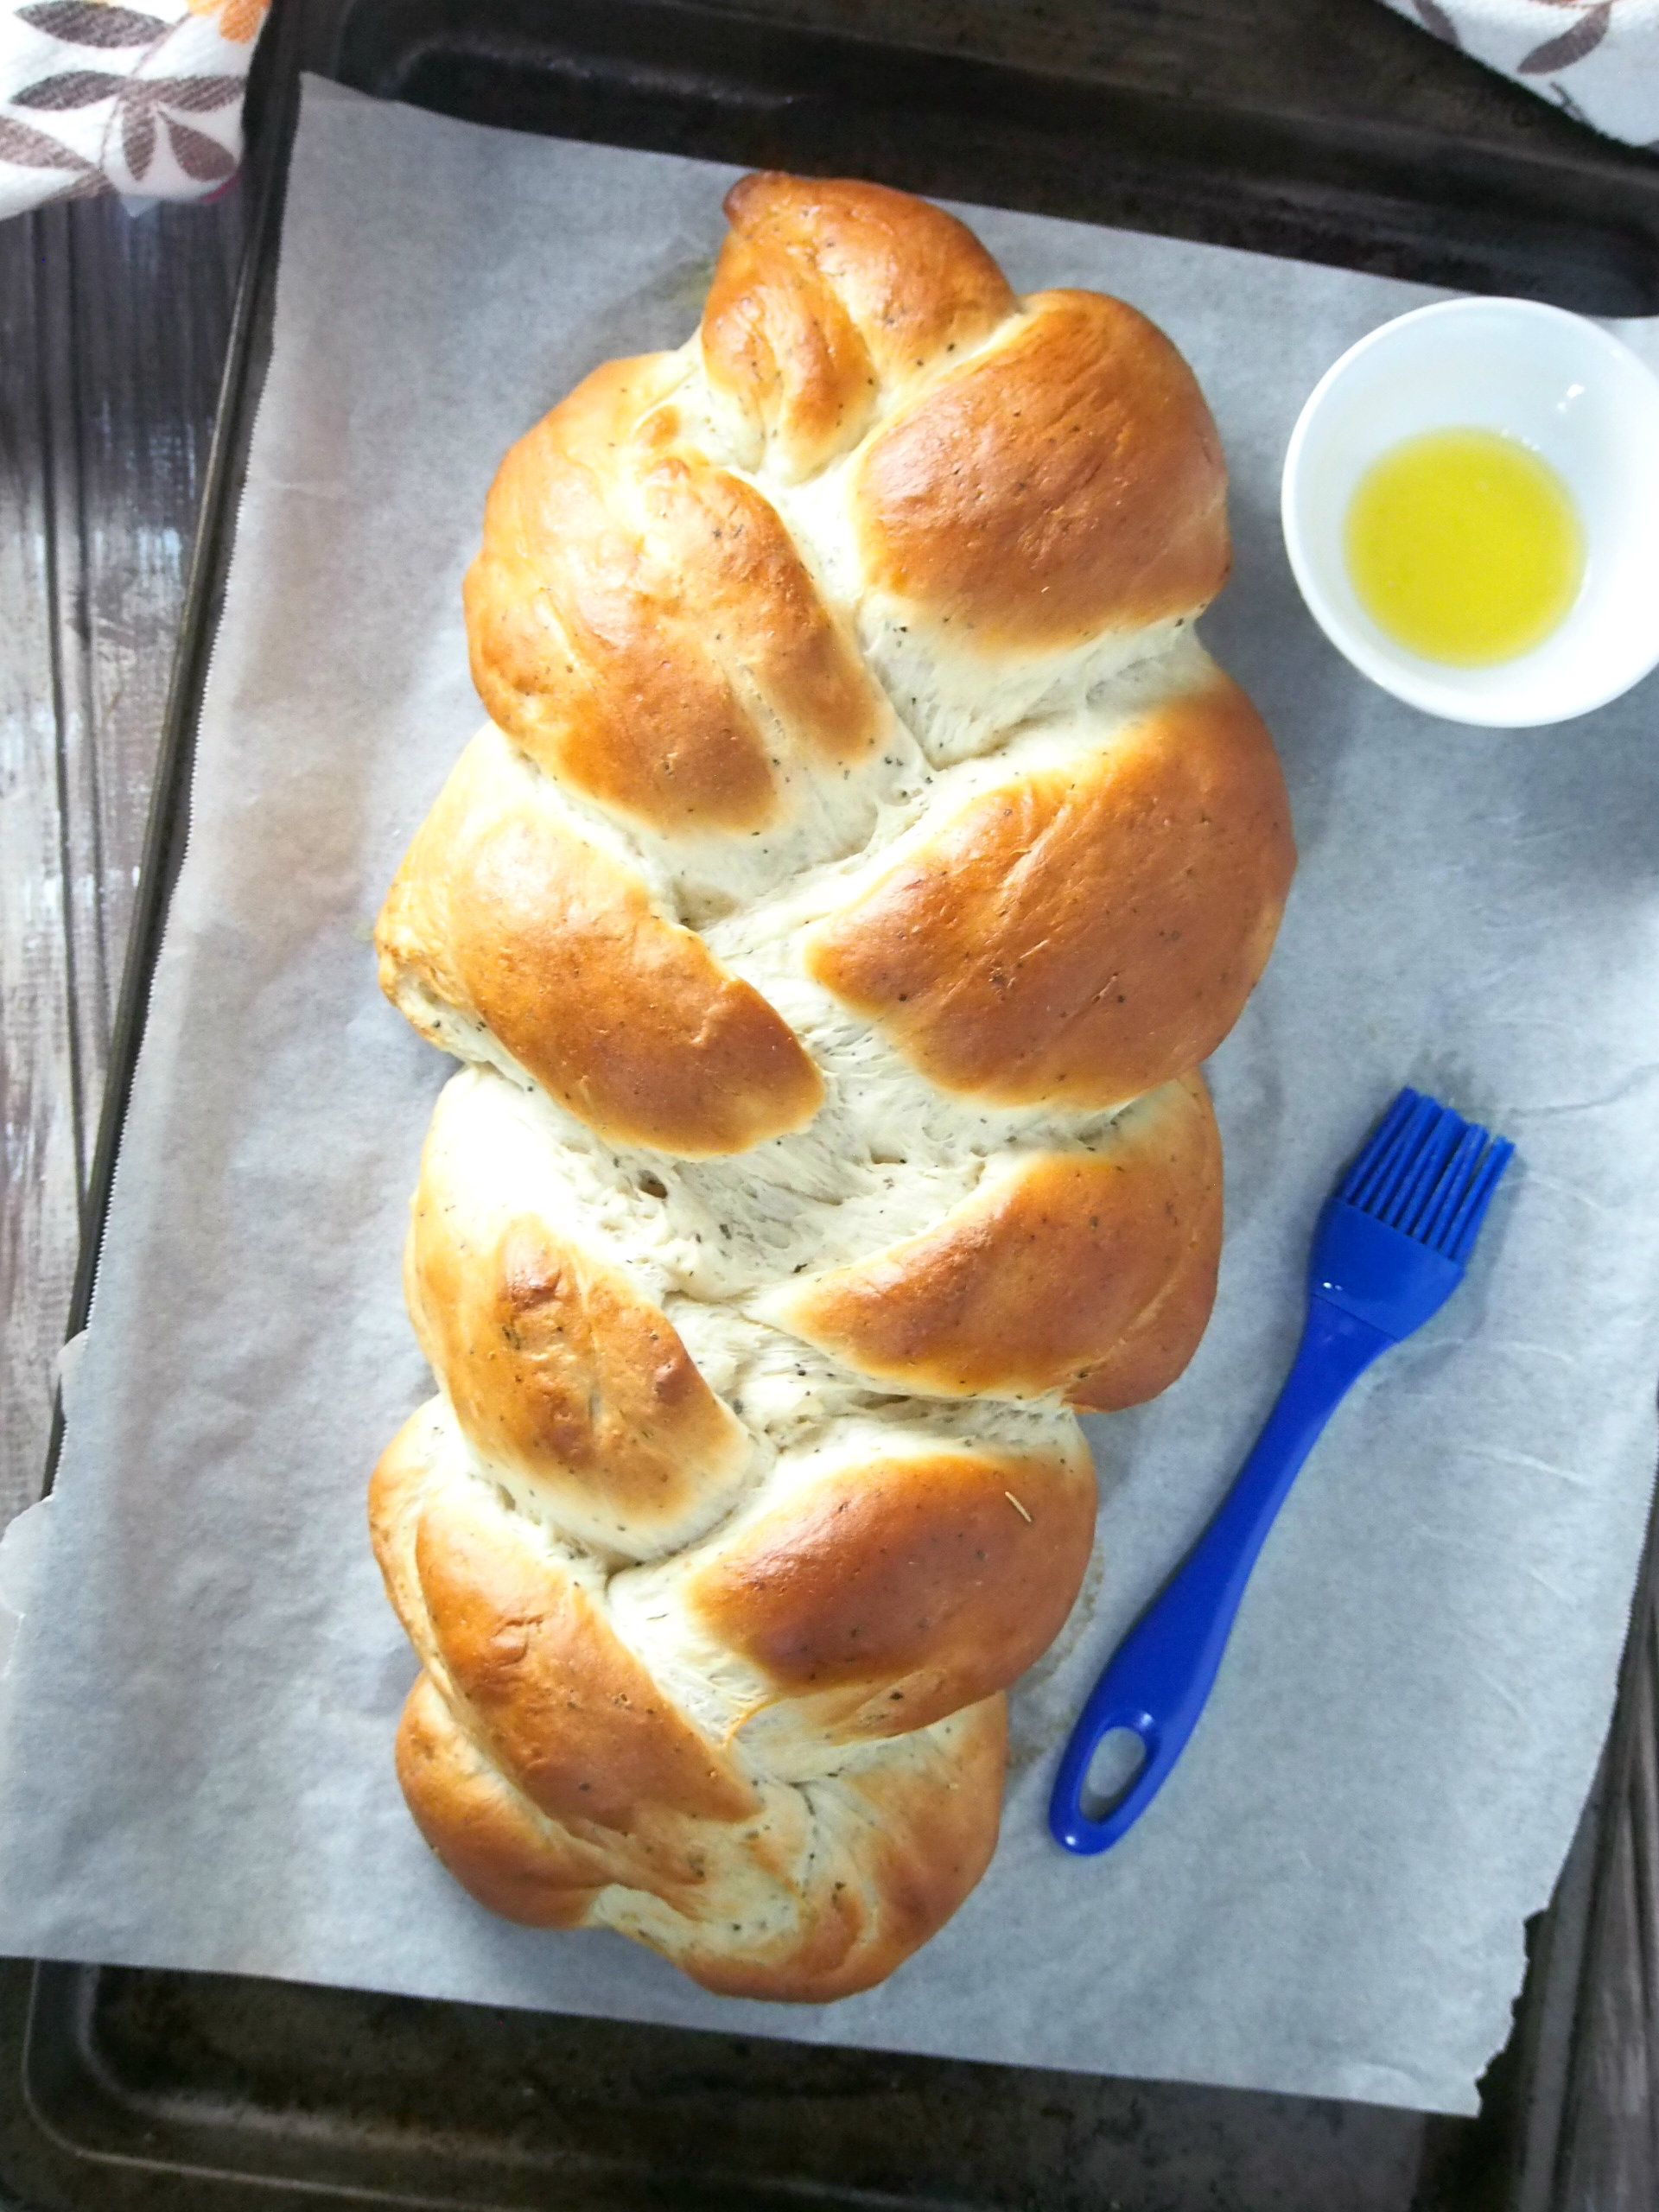
Step 4: Bake the Garlic Herb Bread
Preheat the oven to 375 F. Bake the braid for 20-25 minutes or until golden. Remove from the oven and brush with melted butter.
Serving Suggestions and Storage Tips
- Serve garlic herb bread alongside a soup or salad.
- Slice and toast, then pat with butter.
- To store leftover, place in a sealed container and keep at room for temperature for up to 3 days.
Variations And Substitutions
- You can vary the herbs combination. You can try parsley, thyme and some oregano. Really, the combination is all up to you!
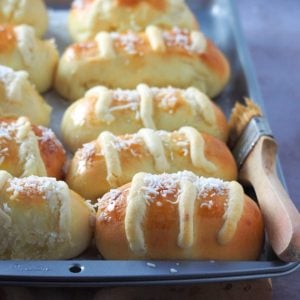
- For a cheesy version, try my Cheese Loaf Bread
Tips For Making The Perfect Garlic Herb Bread
- My best tip for success is to knead the dough adequately. I have stated a few pointers above on how to tell if the dough is ready.
- If you want visuals of kneading, check out my How to Knead Bread Dough with Video.
- As you add the flour when making the dough, add only enough, just to have everything gather into a shaggy, sticky ball.
- Dust your hands and surface to help with stickiness while kneading, but do not over add flour!
Love bread? Check out My Other Bread Recipes
- Milk Bread
- Soft and Buttery Sugar Buns
- Chocolate Croissants
- Cream Cheese Croissants
- Cream Cheese Brioche
Garlic Herb Bread
Ingredients
- 4 to 4 1/2 cups all purpose flour
- 3 tbsp sugar
- 2 pack active dry yeast 4 and 1/2 tsp
- 2 tsp dried basil
- 3/4 tsp dried rosemary
- 3/4 tsp garlic powder
- 1 1/2 tsp salt
- 3/4 cup milk
- 1/2 cup water
- 1/4 cup butter cubed
- 1 large egg
- 1 tbsp butter melted
Instructions
- In a large mixing bowl, combine 1 and 1/2 cups flour, sugar, yeast and the seasonings. In a small saucepan, heat milk, water, and the cubed butter until the mixture reaches 120 F.
- Add the warm liquid mixture to the dry ingredients. Mix everything using a wooden spoon until the powders are moistened. Add egg and mix until smooth. Add the remaining flour sparingly until you form a soft dough. The dough should clean the sides of the bowl. You may not need the entire remaining amount.
- On a floured board, knead the dough until it is smooth and can stretch thinly, about 4-6 minutes. Let the dough rest for ten minutes then divide into three portions. Shape each portion into a 15-inch rope.
- Place the ropes on a baking sheet that is lined with parchment paper and braid. Tuck the ends under and cover with plastic. Let rise for 25 minutes, or until doubled in size.
- Preheat oven to 375 F. Bake the braid for 20-25 minutes or until golden. Remove from oven and brush with melted butter.


I love this recipe. It’s so easy. Quick and tastes amazing. I add turmeric to my spices to give it a nice yellow color. It is a holiday favorite now.
Hi Jessica! The turmeric adds a nice touch! Thanks for the tip.
what herbs do you use?
Hello Joy! I used dried basil and dried rosemary, but you can use what you prefer:)
Thank you so very much for sharing this recipe! I have wasted so much flour and time with other recipes. I’ve been trying for a year to get it right. I just love this recipe!
Hello, LJ! I am so glad you like it! Thank you!