Arepa Con Queso
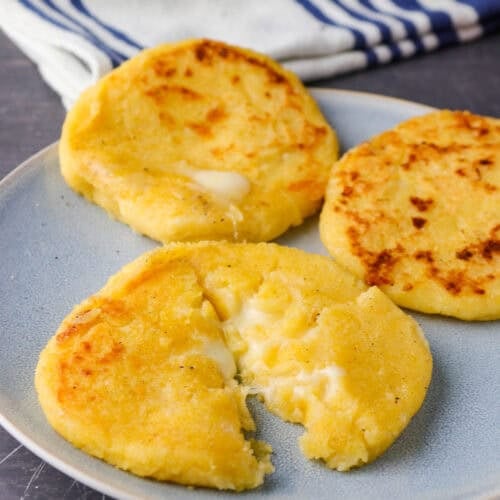
Arepa Con Queso are little round cakes made with cooked corn flour, filled with cheese then cooked in a griddle until nicely golden and the cheese is melty!
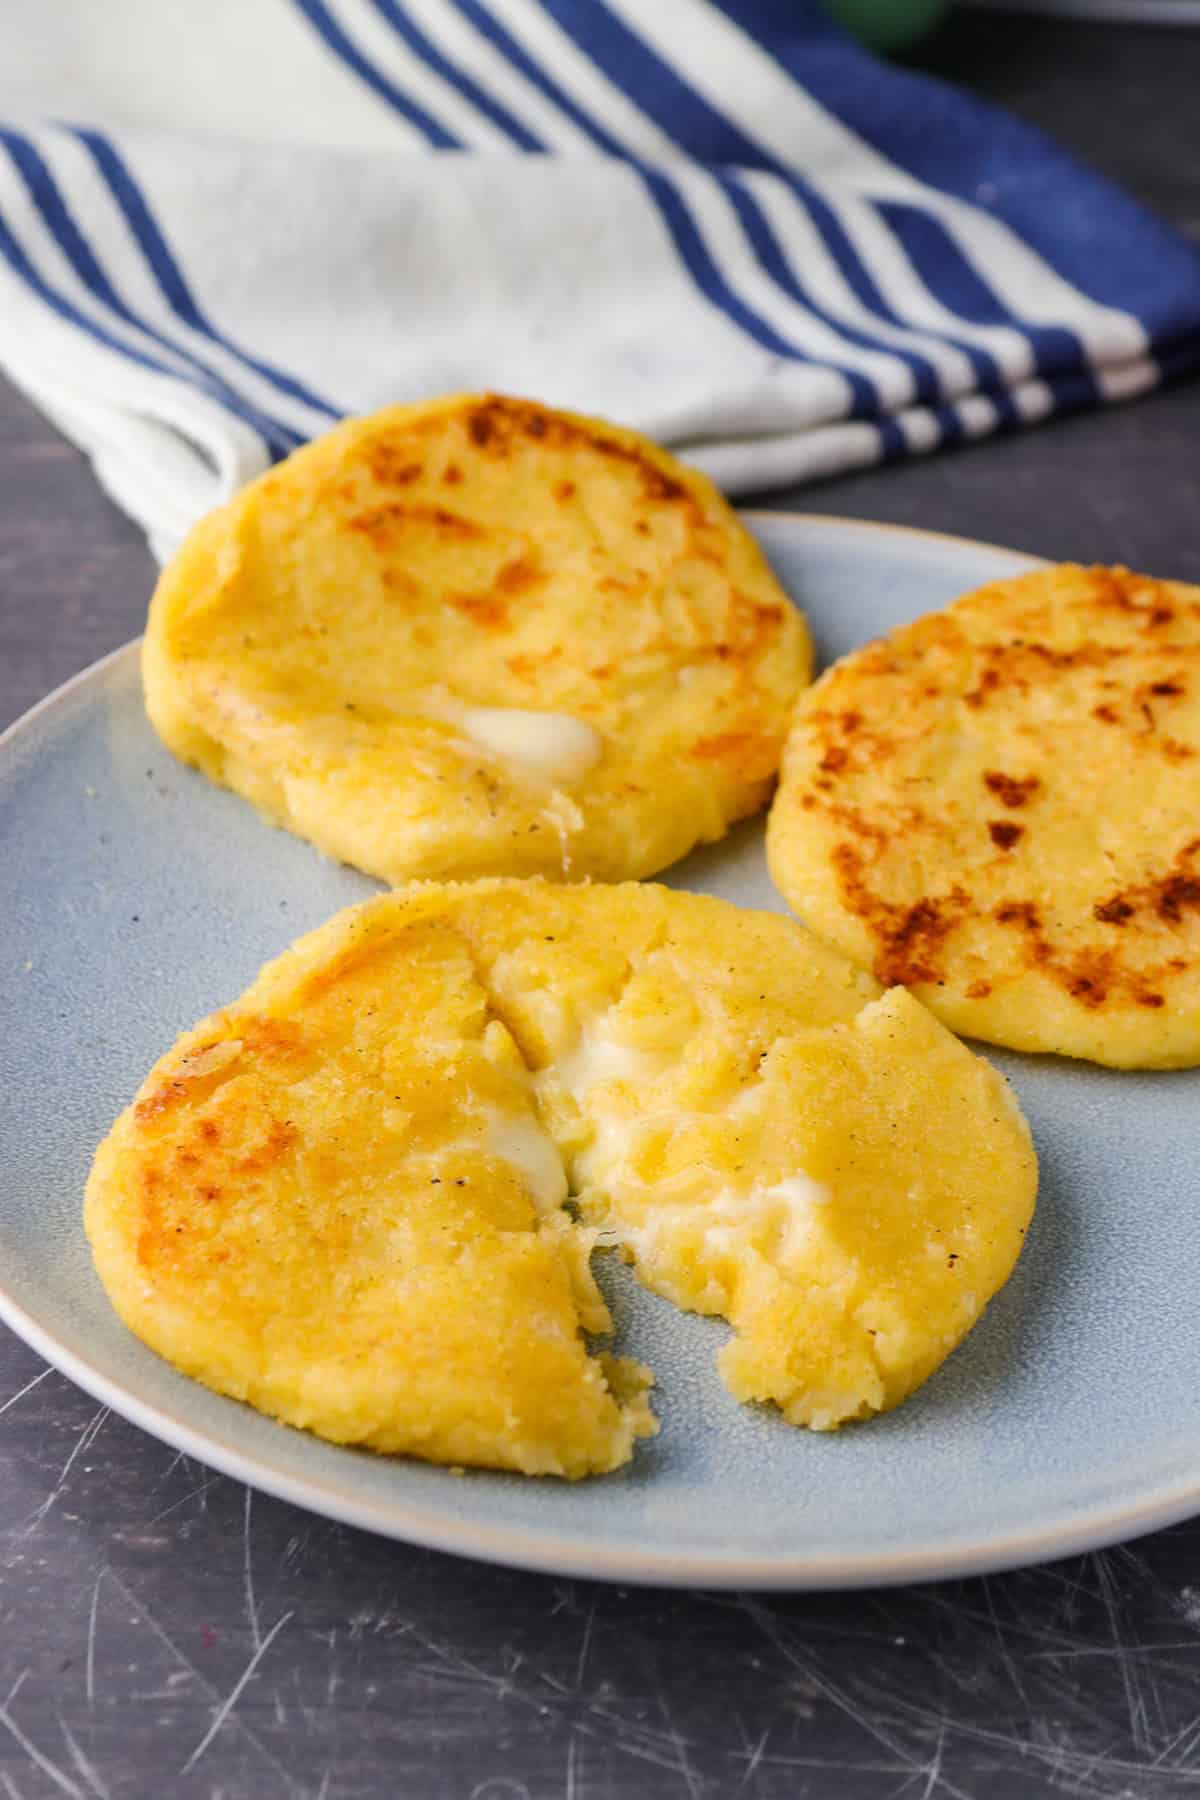
If I tell you that I didn’t get the inspiration from Mirabel of Encanto, I’d be lying. My daughters love the movie and were so open to having arepas con queso.
And I couldn’t blame them. We love empanadas. We love anything cheesy. We love anything cakey. And Arepas con Queso belongs in this delicious league of food. So now we have it here.
Why We Love this Arepa Con Queso Recipe
- All done in a bowl, no baking involved and done in no time.
- This recipe yields savory, cheesy and indulgent corn cakes that satisfies your taste buds with its amazing texture and flavor.
- It is perfect as a snack, and is actually quite filling as a meal if you feel like it.
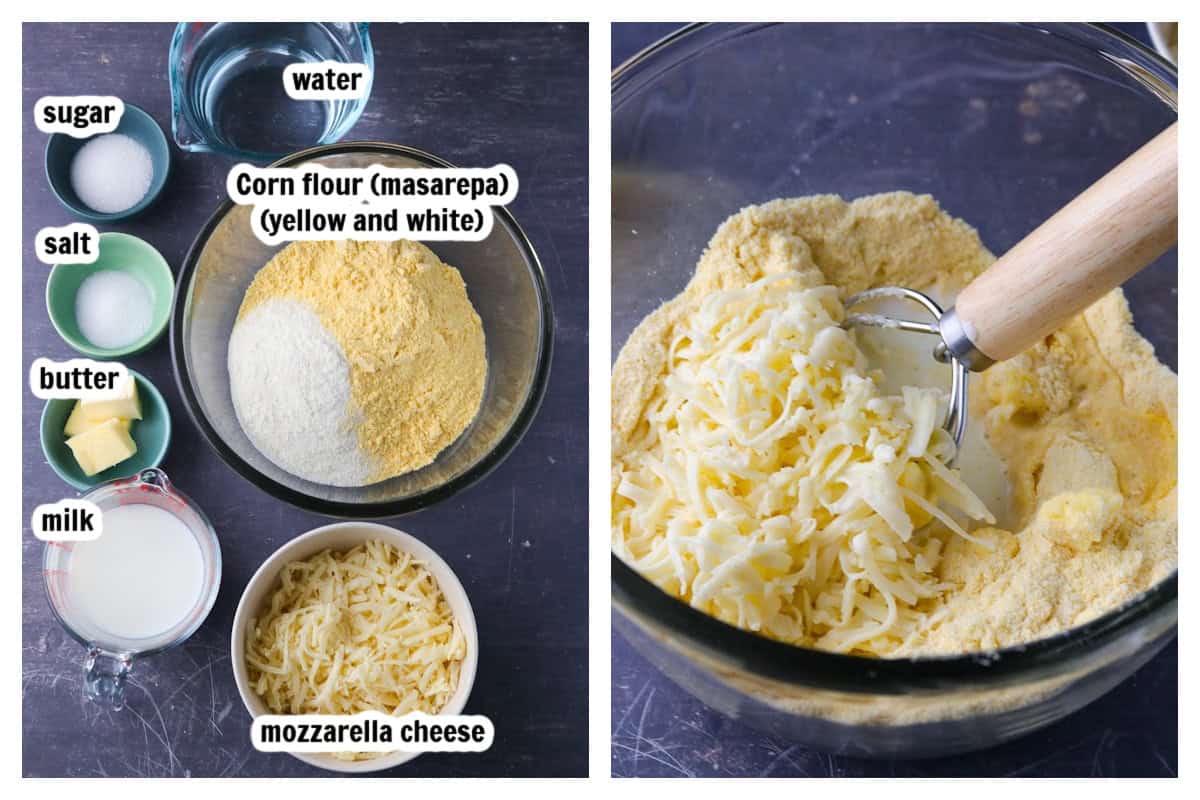
Main Ingredients
- Masarepa. Note that this in not just any corn flour or corn meal. Masarepa is a pre-cooked corn meal. The corn is cooked then ground into a meal. I use PAN. Masarepa can be white or yellow and you can use either. I like to use 50/50 as I find the resulting color is the most appealing to me.
- Salt and Sugar. These are added in small amount only just to boost the flavor of the corn cakes. Do not skip this. They may not be that much but it rounds up the flavor nicely.
- Butter. Add a touch of richness and flavor to the dough.
- Mozzarella Cheese. This is both mixed int he dough and added as a filling. This is the main cheesy component of the arepa con queso.
- Milk. Adds fluffiness to the cooked arepas, and they it also aid in achieving a nice color upon cooking.
- Water. this binds the dough together. We add 1 cup initially then add gradually, just until the perfect consistency is achieved. You may not use the entire amount in the recipe.
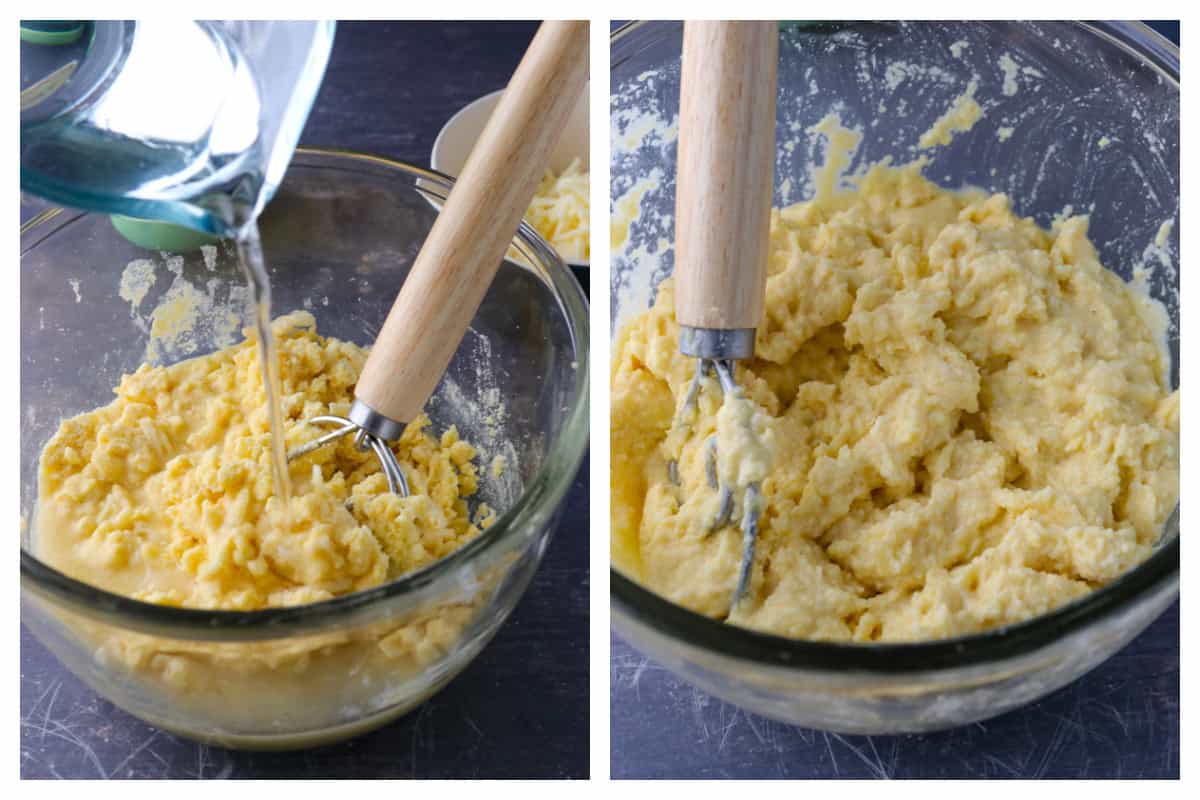
The Arepa Con Queso Dough
As you start to gradually add the remaining water, note that the texture of the dough should be like a soft playdough. Not dry or powdery, but not too wet and soppy. However, I like to lean towards the softer, moister side for a more cakey, soft arepas.
Allowing the dough to rest after the addition of water will make the mixture absorb more moisture which makes for easier handling. This can be sticky/messy.
Cooking the Arepas
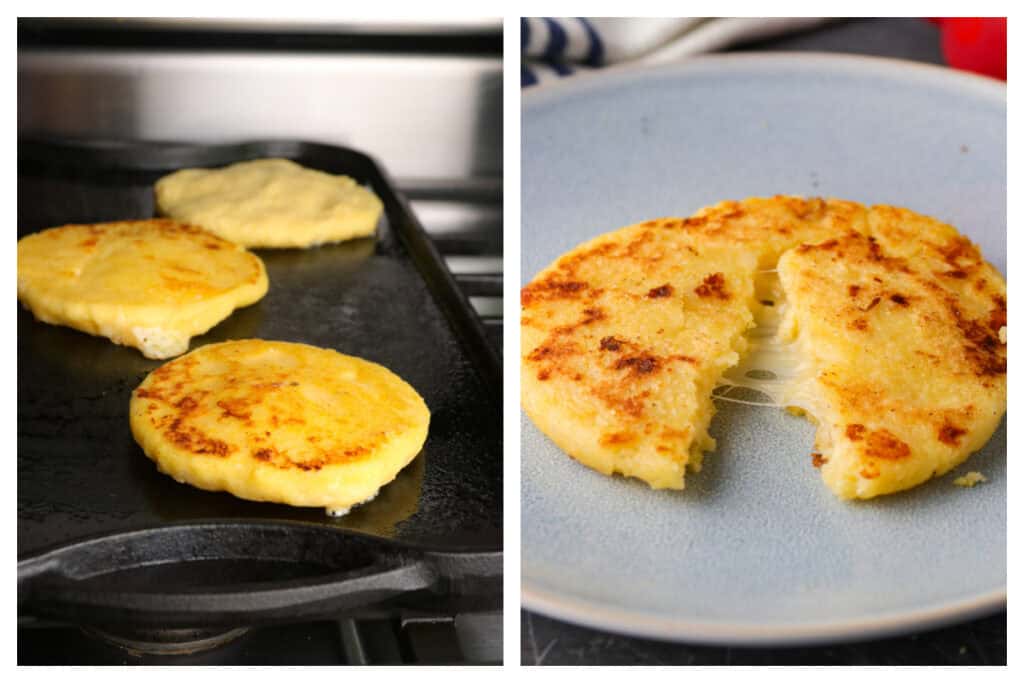
Use a flat griddle or a wide non-stick pan. I don’t normally add oil to my pan, but if you know your pan to be catching a bit of food stickiness, very lightly grease it with oil.
Fry the arepa about less than a minutes per side. The surface should be lightly toasted and the cheese is melty. Enjoy these warm. Oh heavens, they are so good!
Leftovers and Freezing
- Store leftovers in a covered container in the fridge. To serve, briefly toast them in a pan until warm and melty.
- To freeze, I like to cook them first then let them cool. Wrap in plastic film, then in foil. Freeze for up to a month. To serve, thaw in the fridge, and cook in the pan until warm and cheese is melting.
More Flavorful Handy Food
- Baked Chicken Empanada
- Turkey Taquitos
- Anytime Beef Burrito
- Cheeseburger Sliders
- Chicken Crunch Wrap with Chipotle Queso
Arepa Con Queso
Equipment
- 1 Griddle This is what I use. (Affiliate)
Ingredients
- 2 cups masarepa can be white or yellow. I use 50/50 because I like the resulting color. See note 1
- 1½ tsp salt
- 2 tsp sugar
- 2 tbsp softened butter
- 2 cups shredded mozzarella divided
- ½ cup milk
- 1 ½-2 cups water
Instructions
- In a large mixing bowl, combine 2 cups masarepa, 1½ tsp salt and2 tsp sugarWhisk to incorporate. Add 2 tbsp softened butter and ½ cup milk Stir until distributed.
- Add 1 cup of water. Stir it in until the ingredients are moistened. Then, add more water gradually about 2 tbsp at a time, until a soft dough is formed. You may not need the entire 2 cups of water. The dough should not be dry that you see powders present nor too wet, that it cannot hold a shape. Allow the dough to rest for 5 minutes, to let the mixture absorb more moisture.
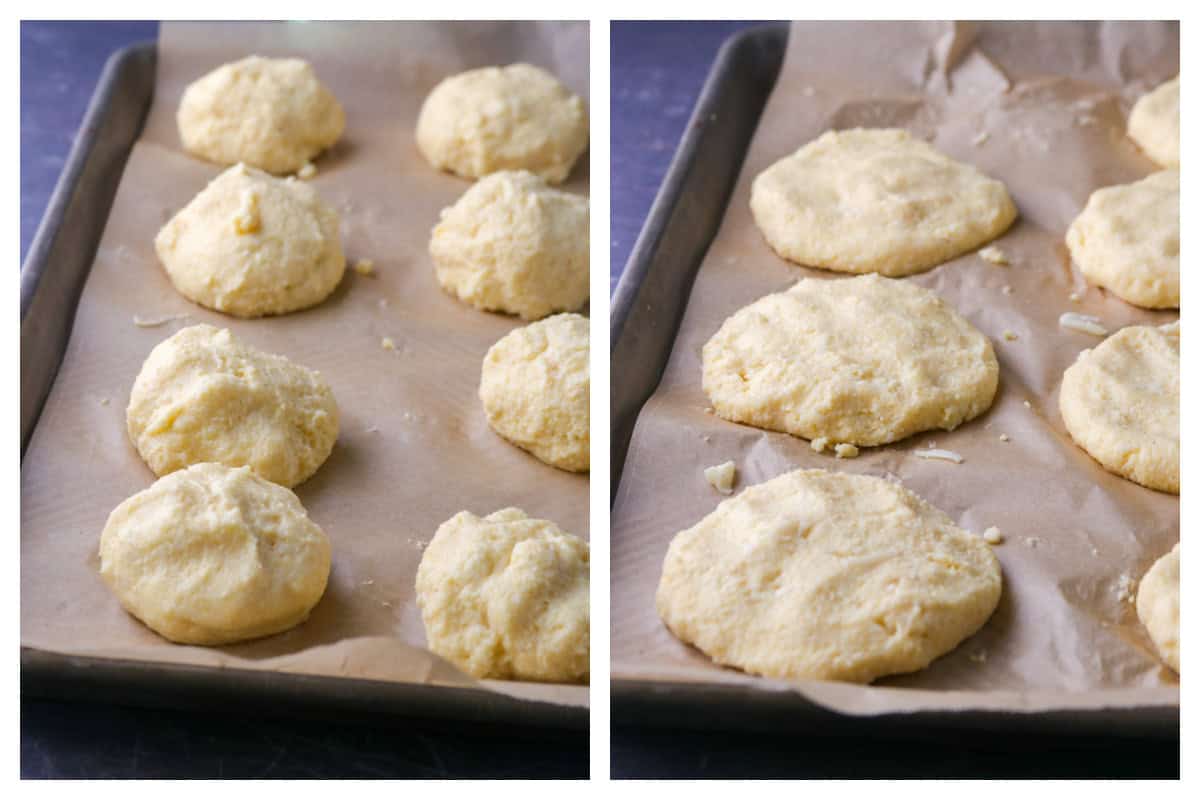
- Line a baking pan with parchment. Using your hands, form a big ball with the dough and knead briefly to smoothen it. Divide the dough into 8 portions, You can do this right in the bowl, or on top of a parchment paper on a clean kitchen surface.
- Shape each portion into a ball, then use your palms to flatten it into a ¼ inch thick disc. Spoon about a tablespoon of mozzarella cheese in the center. Fold the dough over the center to form a smooth ball, encasing the cheese in the center as a filling. Lastly, flatten the ball once more with your palms into a ¼-½ inch thick disc. Repeat with the rest of the portions and arrange them on the parchment lined baking pan. Have a moist towel by your side to wipe your hands in between. This can be sticky/messy.
- Preheat your flat griddle or a wide non-stick pan. Once hot, use a flat spatula to place the arepas into the pan. Cook until lightly toasted and golden, and some cheese filling is oozing out. Then flip to cook the other side. This does not take long. It may take more or less a minute per side. Adjust the heat as you go along, judging by how fast the arepas becomes toasty.
- Enjoy warm. To serve leftovers, briefly heat them in the pan or griddle until warmed and the cheese filling is showing signs of oozing out.