
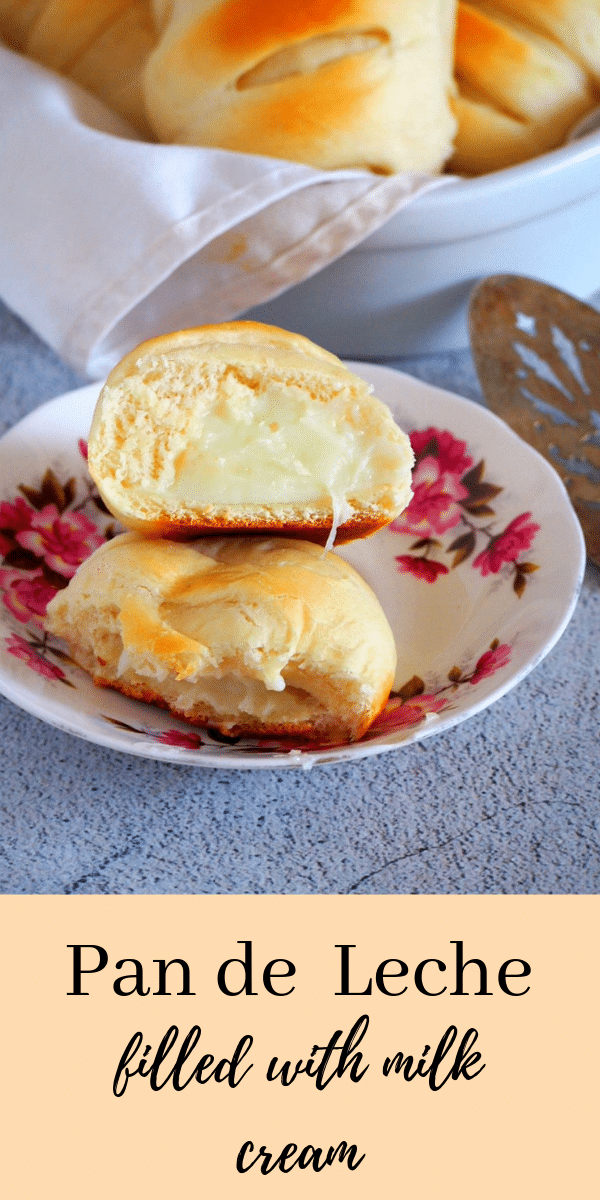
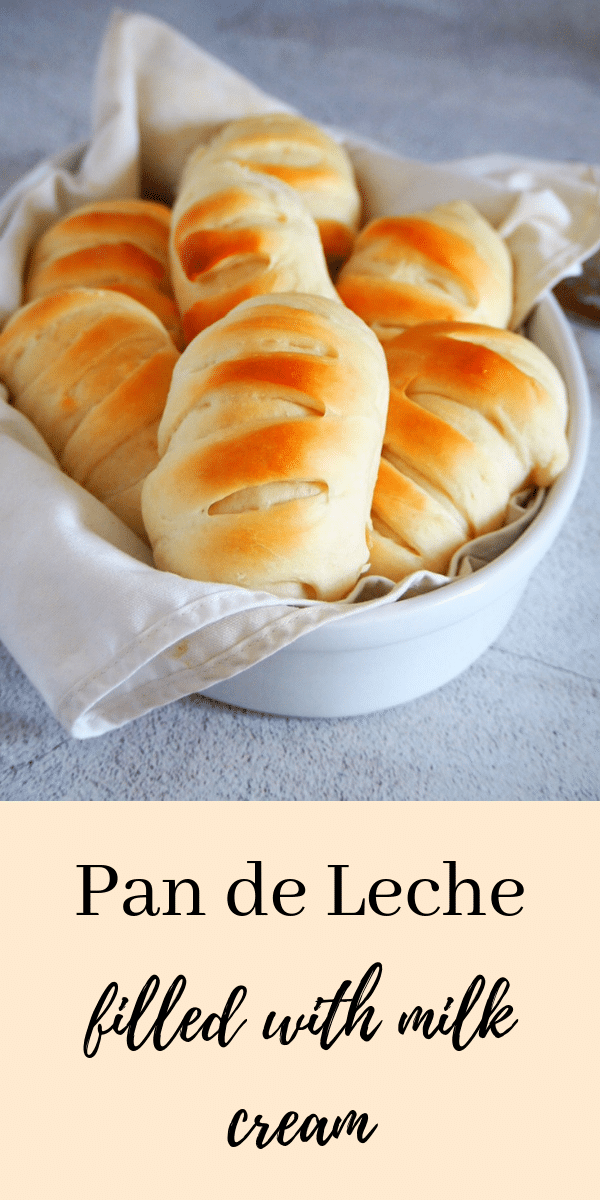
Pan de Leche
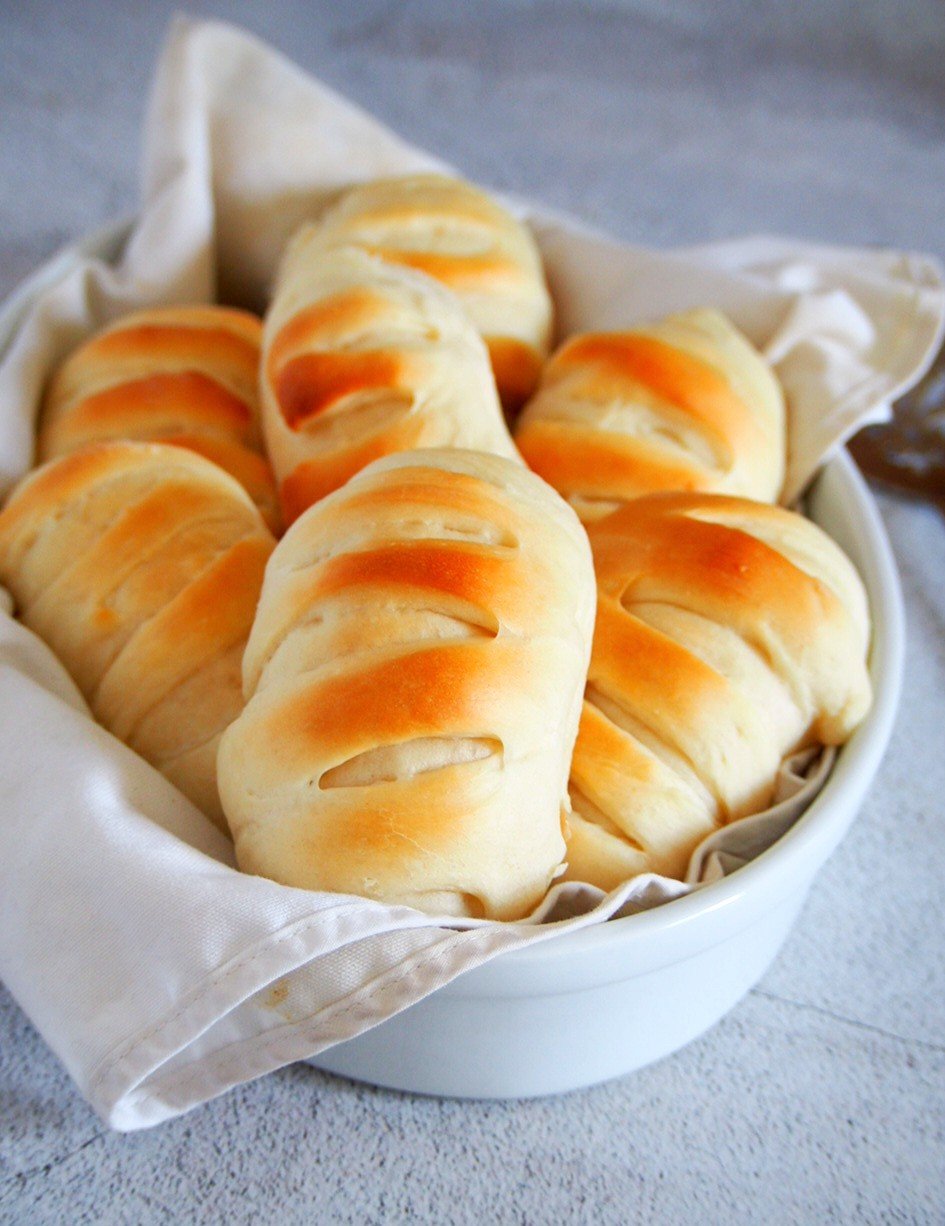
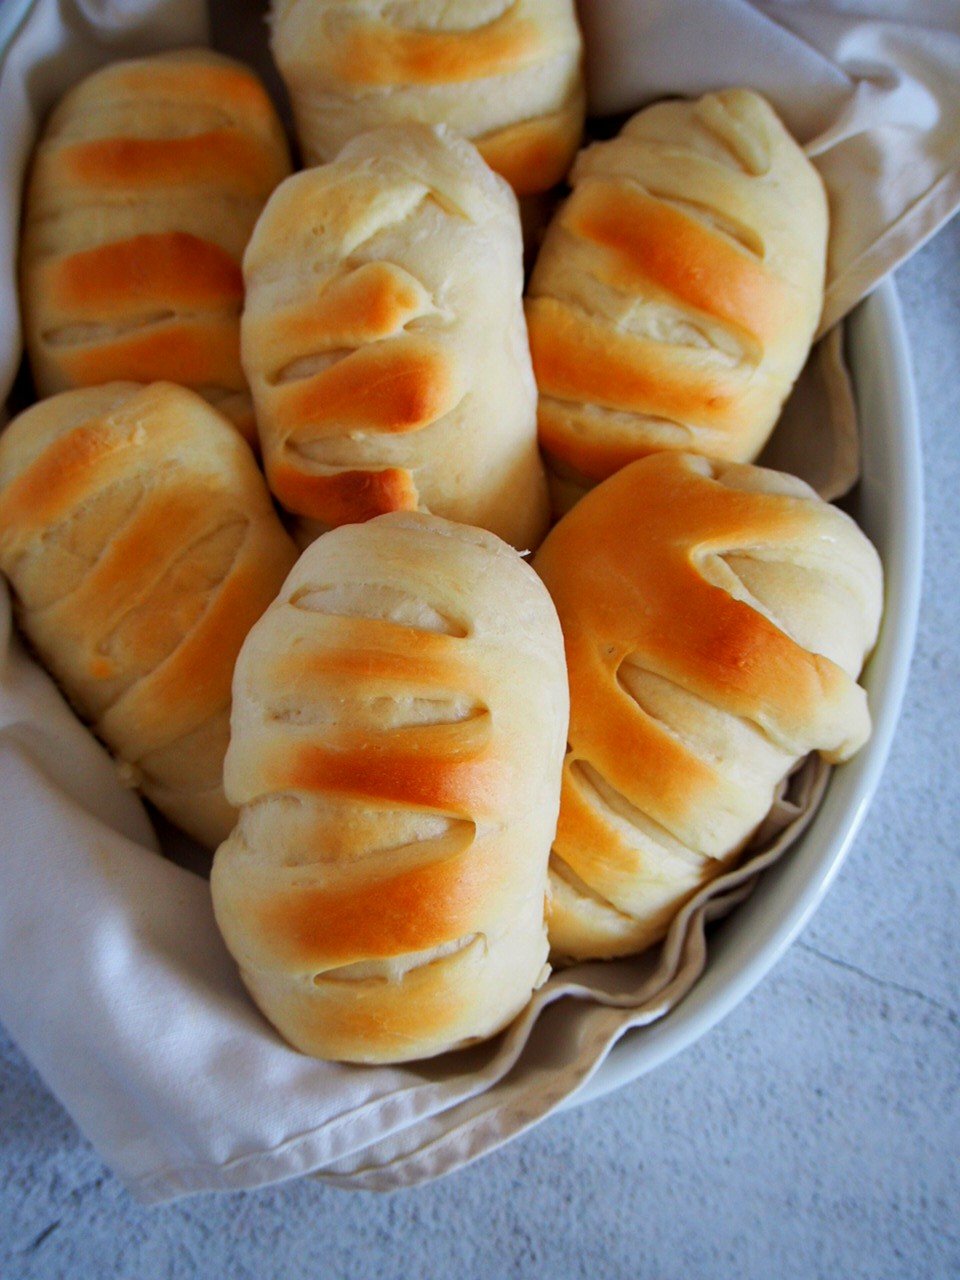
Soft and fluffy buns filled with creamy and smooth milk cream, you are going to love this Pan de Leche for an indulgent bread treat.
You guys, I am so greatly inspired by so many beautiful breads I see on social media. And even just walking into a bakeshop can have me imagining dozens of ideas for recipe development here on the blog.
Sometimes, I wish I can have a group of bread lovers come to my house each week, just so they can have some of the bread I bake. Because honestly, sometimes my family can’t keep up.
Pan de Leche
A quick Google search for Pan de Leche will show it to you in many different forms. It also will tell you of many different countries from where it originated.
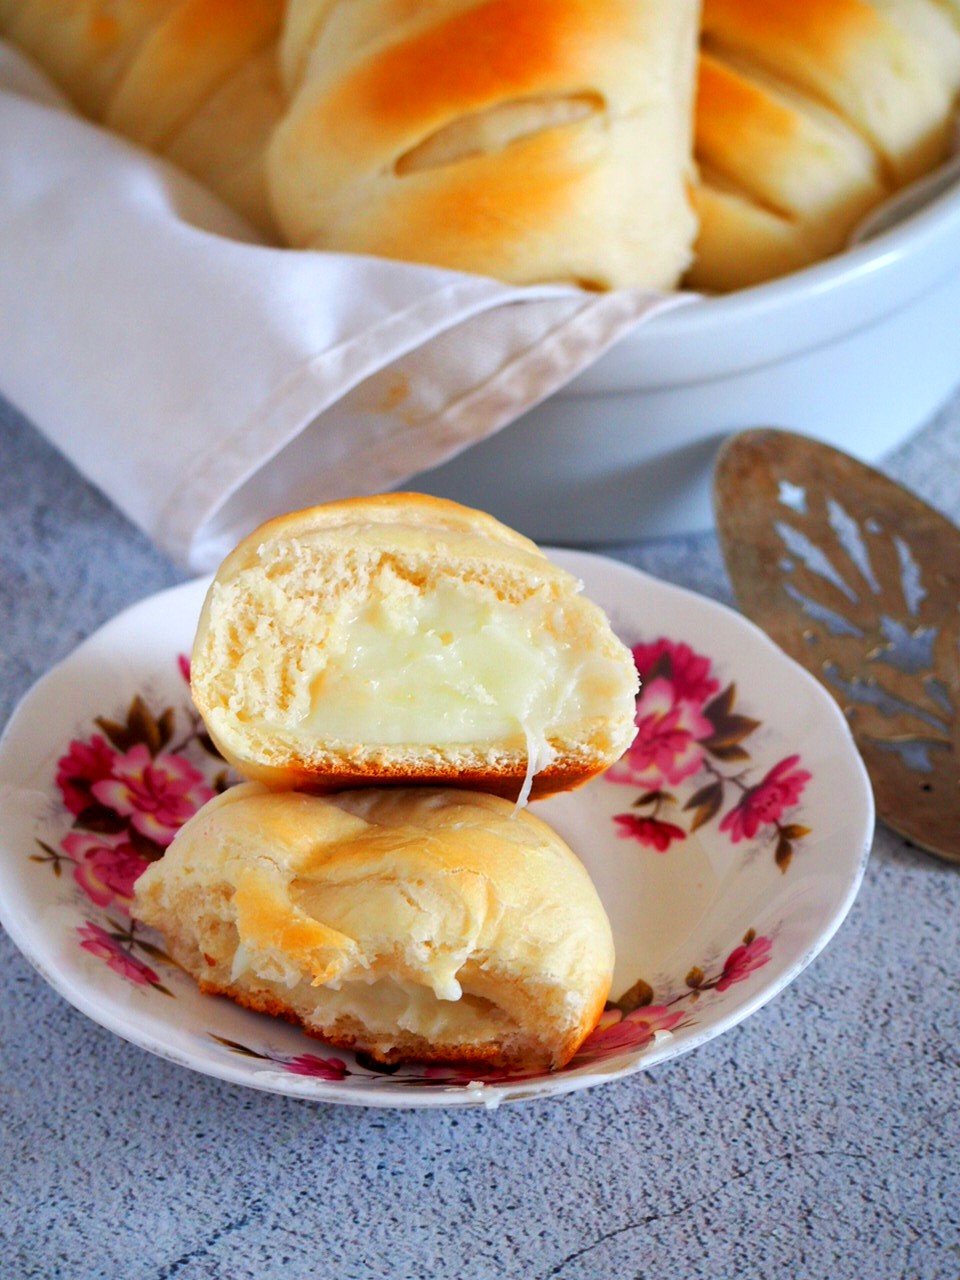
But for this recipe, I am sticking to what a Pan de Leche is to my heart, and it is this: a sweet bread filled with milk cream.
It is those light brown bundles of goodness I used to buy back home, packaged in brown bakery bags, steamy and hot inside. And since I am so into filled bread lately, the filling, the sweet and smooth filling is a must.
How to Make Pan de Leche?
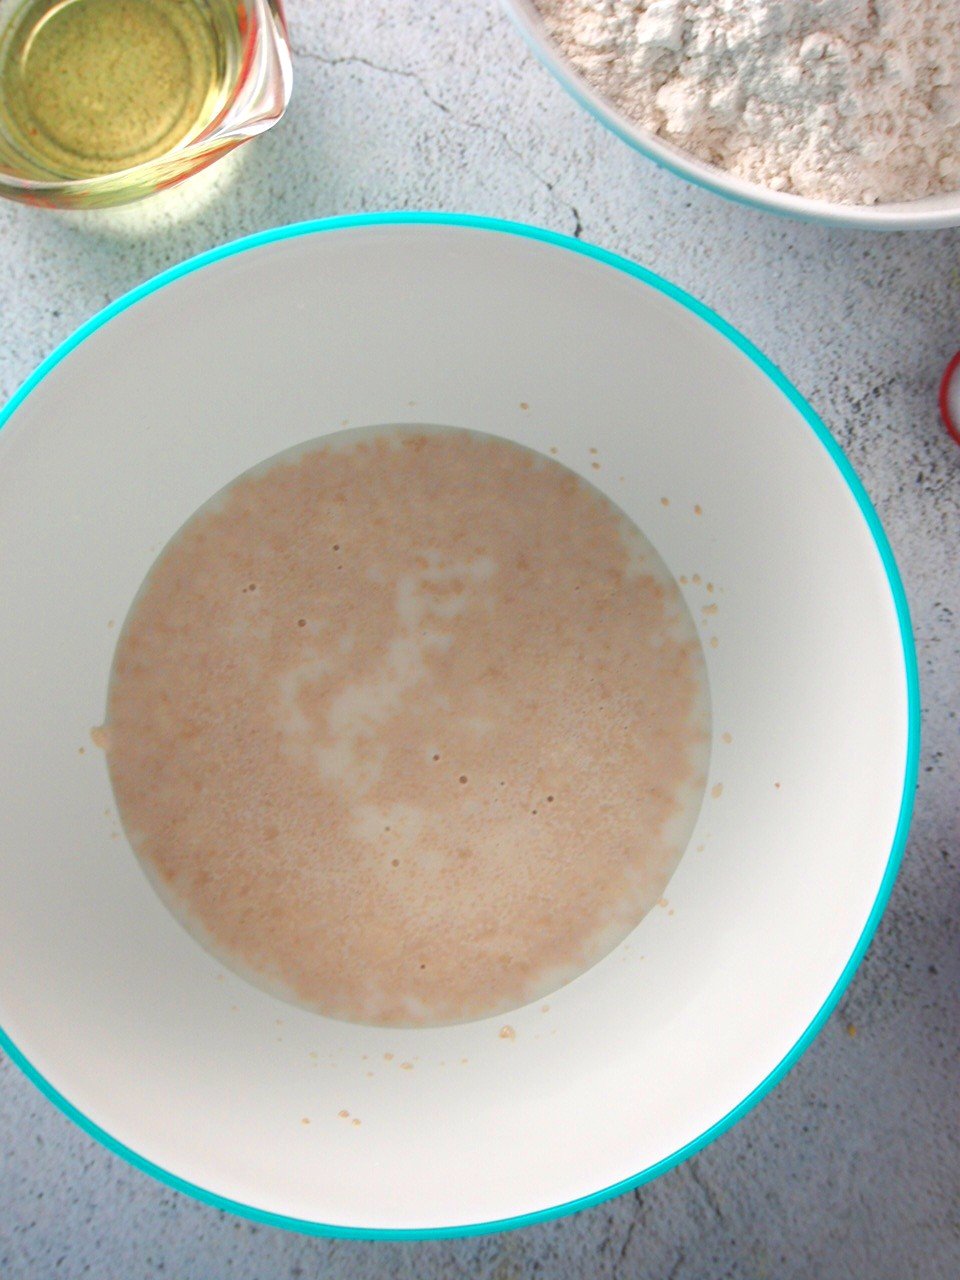
Proof the yeast in warm milk. Let the mixture stand for about 5 minutes, or until it is foamy. To the proofed yeast, add eggs, sugar, salt and oil.
Stir everything well with a wooden spoon.
Begin to add the 4 cups of flour gradually, about one cup at a time. Stir well after each addition. The dough will start to come together.
Add just enough of the remaining 1/4 cup of flour to the dough just until the dough begins to form in the center of the bowl when you stir.

Turn the dough over into a floured surface and knead it until it is smooth and elastic. You may need to dust a little bit more of flour into the dough if it is sticking too much. Don’t over-flour though. Too much flour can dry up your dough and you will end up with dry, tough bread. Need help with kneading? Check out my How to Knead Bread Dough Video.
Shape the kneaded dough into a ball. Place it in a bowl and cover it with a clean kitchen towel. Let the dough rise in a warm place for 1 to 1 and 1/2 hours. This will be the perfect time for you to make the milk cream filling.
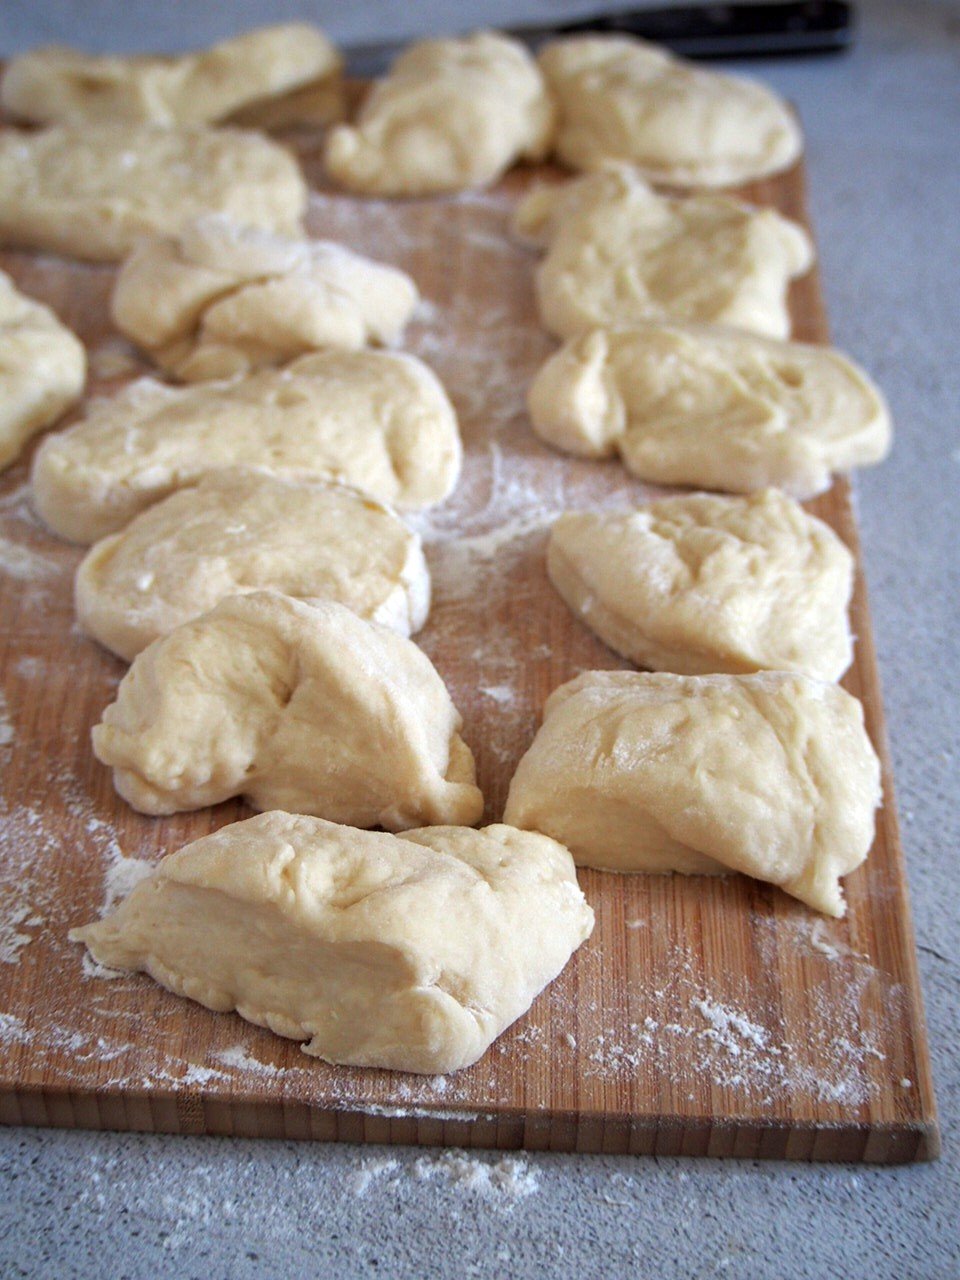
Gently deflate the risen dough and divide it onto 14 or so portions. And then we start forming the buns. It is not as complicated as it may seem see,
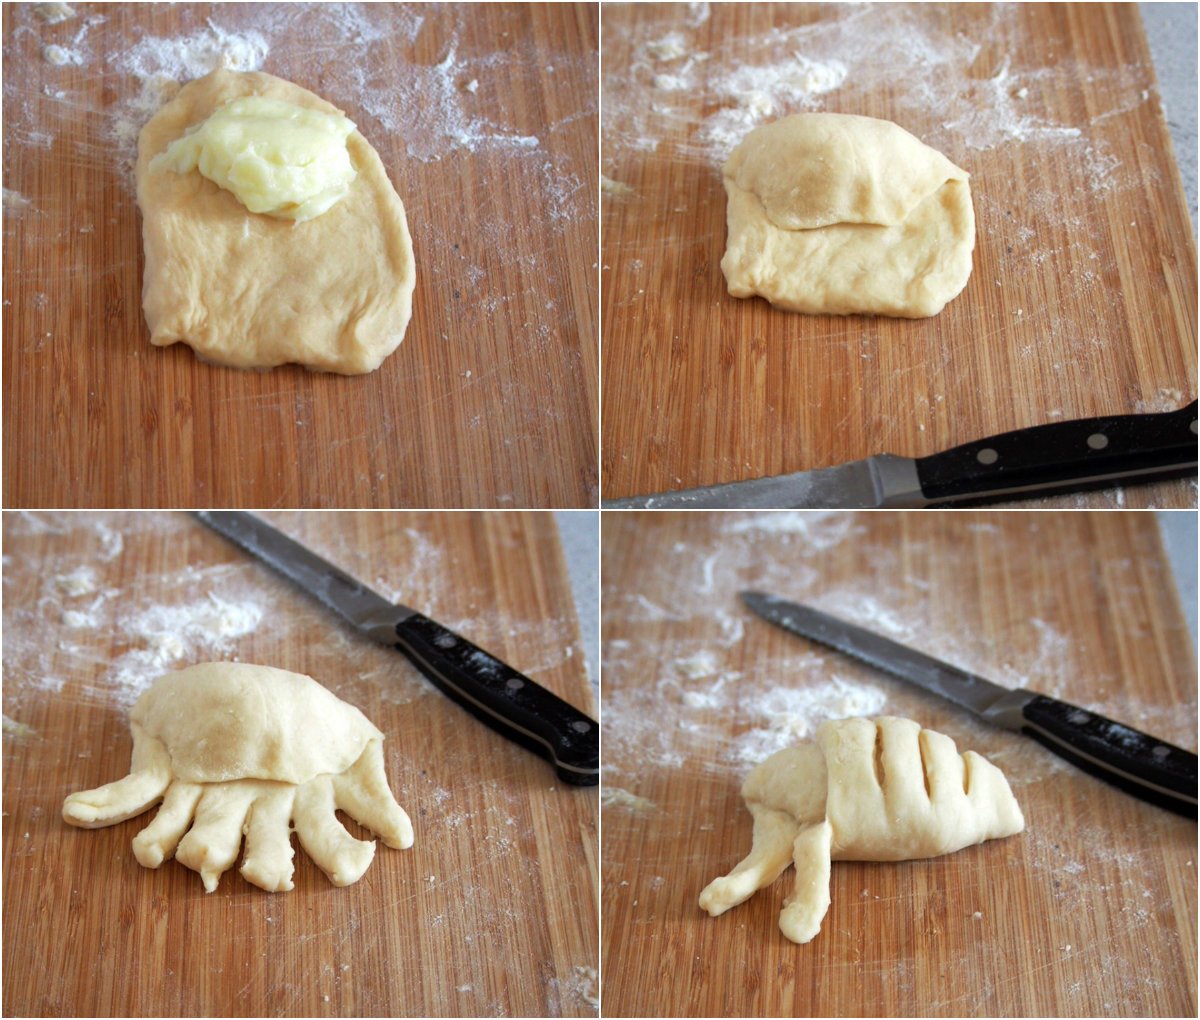
- Flatten a dough portion into an oval that is about the same size as your hands. Spoon about a tablespoon of milk filling into the upper third portion of the oval (slightly off-center).
- Fold the upper part of the oval over to the center to cover the filling. Pinch the edges.
- Now, to the lower portion of the oval, make some slits by cutting the dough into several 1/2 inch strips using a knife.
- Wrap each strip over to the filling bump in the center. Done!
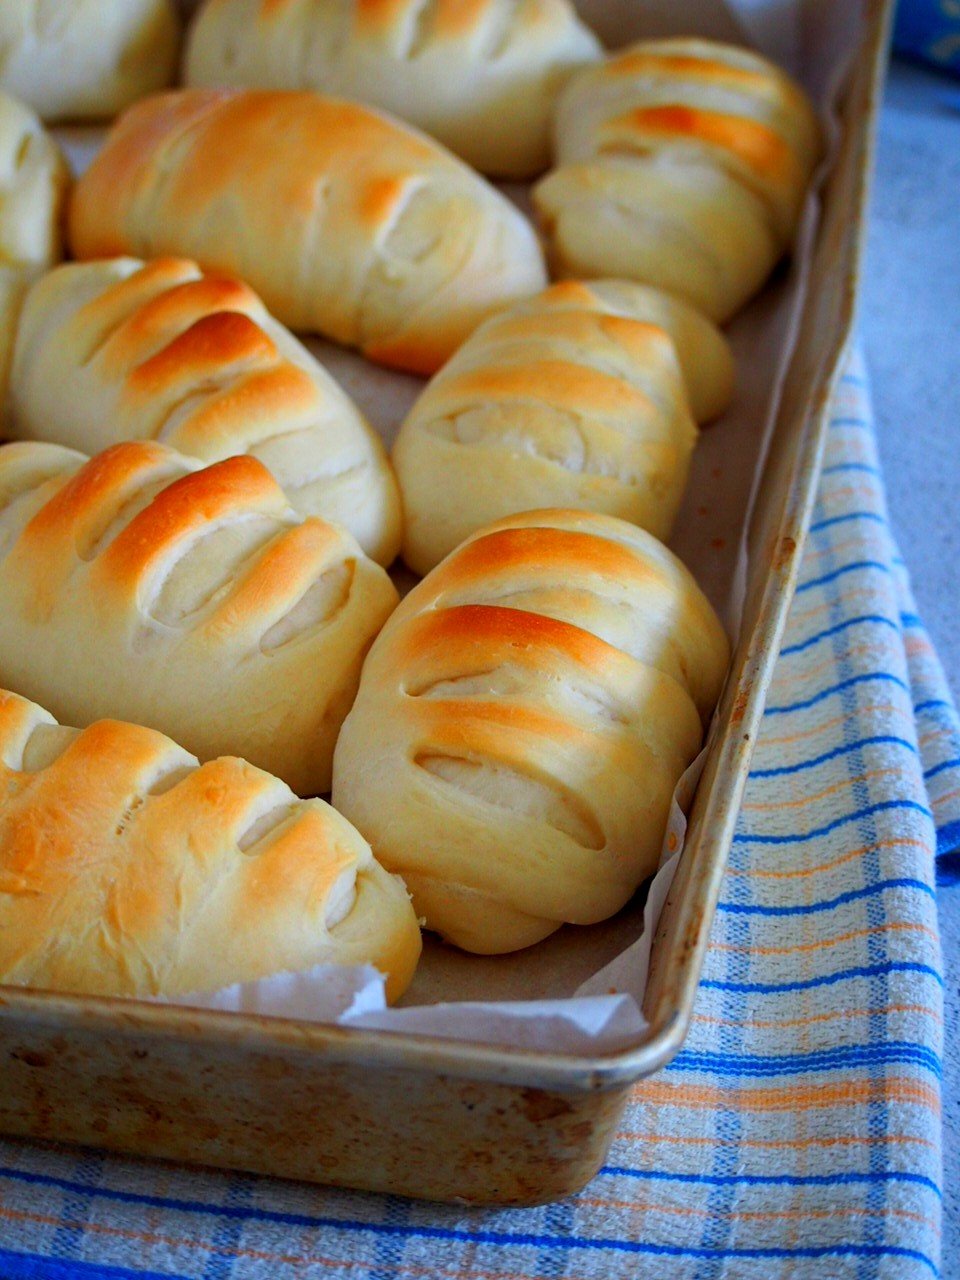
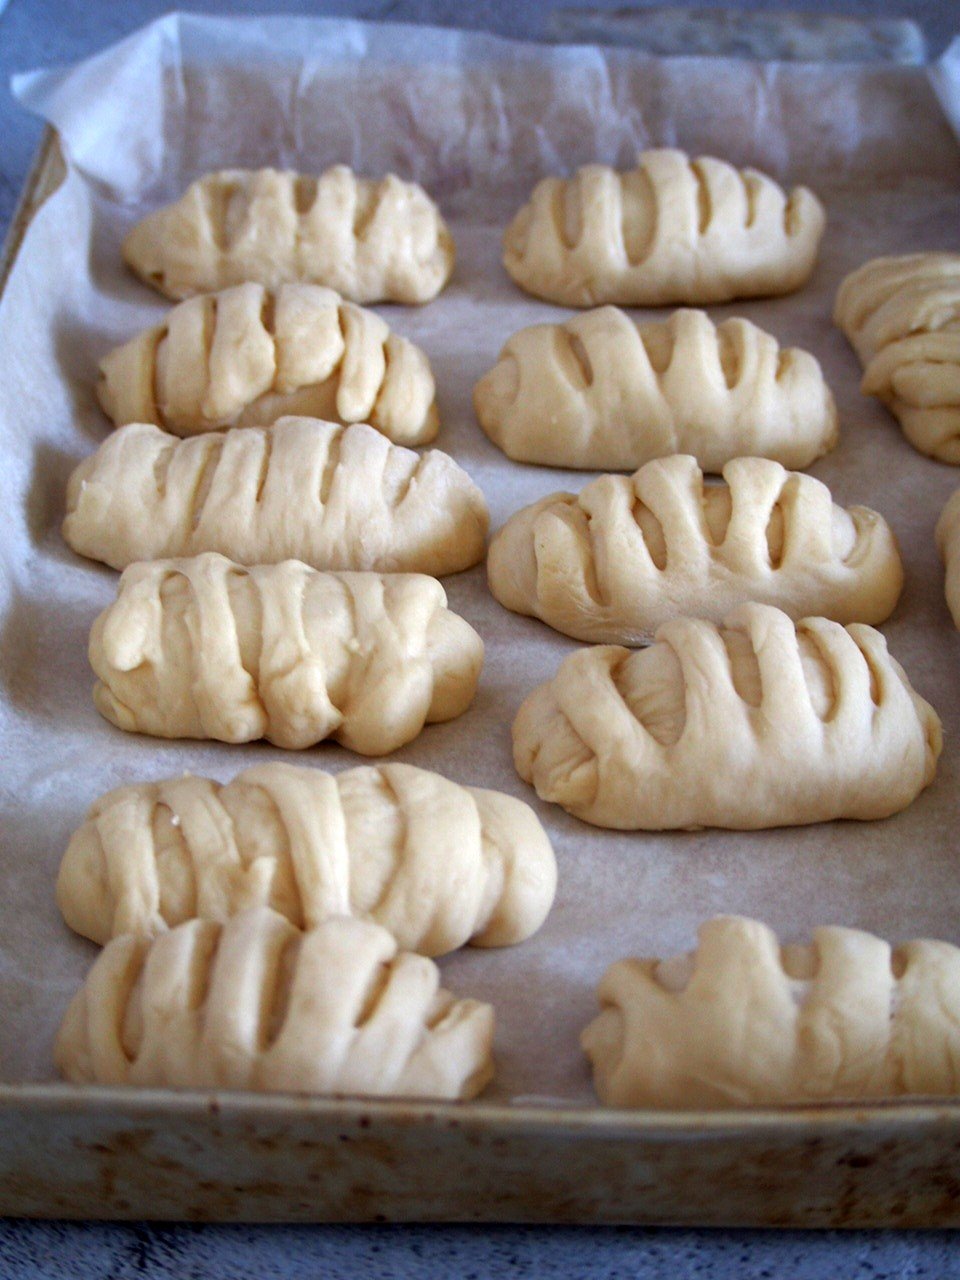
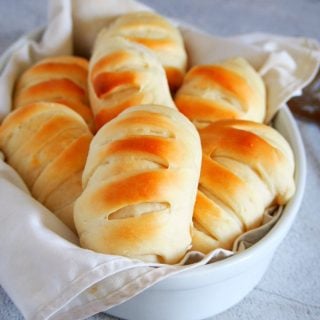
Arrange the formed buns on a large baking tray that is lined with parchment paper. Cover the pan loosely and let the buns rise again for about 1 hour until they are puffy and doubled in size.
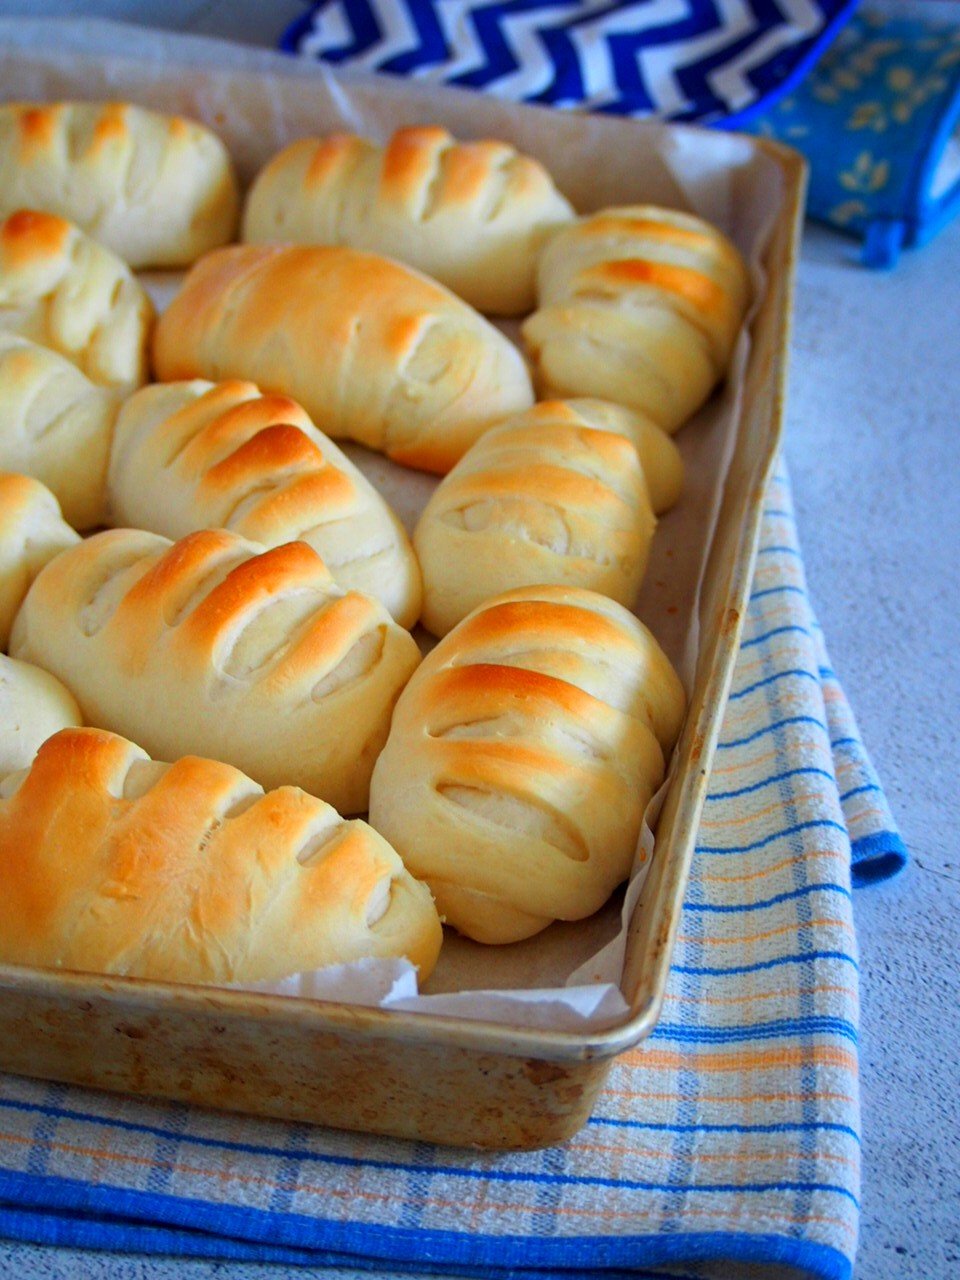
Preheat the oven to 350 F. Brush the buns with milk and bake them for 18-22 minutes, or until they are lightly golden.
Lastly, self-control. These buns are amazing fresh from the oven but wait a while, because the filling will be hot. I can’t blame you though. The smell and the look of these Pan de Leche are so tempting.
Storing Pan de Leche:
Store leftover pan de leche on a tightly covered container at room temperature for up to two days.
Pointers and Tips:
- The milk should be within the range of 105-115 F. Too hot, and you may kill the yeast. If you don’t have a thermometer, test the temperature by dipping a finger into the liquid. It should be a little hotter than lukewarm water to the point that you can’t dip your finger in there for long.
- Measurements for the oval need not be accurate. Your aim is for each flattened dough to be about the size of your outstretched hands. When you divide the dough into portions, they will not be exactly equally portioned out, unless you weigh them. So it is okay for the formed buns to vary in sizes slightly.
More Delightful Bread Recipes:
- Strawberry Cream Buns
- Sweet Beehive Buns
- Chelsea Buns
- Salted Butter Rolls
- Sweet Cheese Rolls
- Mini Cinnamon Rolls with Coffee Icing
- Whole Wheat Cinnamon Rolls with Easy Caramel Glaze
- Japanese Condensed Milk Bread
Pan de Leche
Ingredients
- 2 and 1/4 tsp active dry yeast
- 1 and 1/4 cup warm milk 105-115 F
- 4 and 1/2 cup all-purpose flour
- 1 tsp salt
- 1/3 cup vegetable oil
- 2 large eggs lightly beaten
- 1/2 cup sugar
- 2 tbsp milk for brushing the buns
For the Milk Cream Filling
- 1/4 cup cornstarch
- 1 cup milk
- 300 ml or 1 can condensed milk
- 1 tsp vanilla extract
Instructions
- In a large mixing bowl, sprinkle yeast over the warm milk. Let this stand for about 5 minutes, or until the mixture is foamy. Add the eggs, sugar, oil and the salt to the bowl. Stir everything together using a wooden spoon.
- Add 4 cups of flour, one cup at a time. Stir well after each addition until the mixture is starting to come together. Add just enough of the remaining 1/4 cup of flour and keep stirring until the dough gathers into a soft, shaggy mass in the center of the bowl.
- Turn the dough over on a lightly floured board. Knead it until the dough is smooth and elastic, adding a little bit of flour to help when the dough is sticking too much. Shape the dough into a ball. Place it in a bowl and cover it with a kitchen towel. Let it rise for 1 to 1 and 1/2 hours or until doubled in size.
- Meanwhile, make the filling: Stir together cornstarch and 1 cup of milk in a medium saucepan until the mixture is smooth. Add condensed milk and stir. Cook the mixture over medium heat while stirring constantly. The mixture will start to bubble and thicken. Cook it for 3-4 minutes more, still stirring, until the mixture is thick and falls back in dollops when you lift a spoon. Stir in vanilla extract. Set aside filling while you finish the dough.
- Gently deflate the risen dough. Divide it into 14 equal portions. Flatten each dough portion into an oval that is around the same size as your hands. Spoon about a tablespoon of the filling into the upper third section of the oval.
- Fold the upper part of the dough over to the center to cover the filling. Seal the edges. Now, use a knife to make slits or strips to the remaining lower portion of the oval. Fold each cut strip over to the center to cover the filling bump yo have made. Repeat with the rest of the dough portions.
- Arrange the assembled dough on a large baking pan that is lined with parchment paper. Cover loosely with a towel and let rise once more for about an hour, or until puffy and doubled in size.
- Preheat oven to 350 F. Using a pastry brush, brush milk on the buns. Bake at 350 F for 18-22 minutes, or until the buns are lightly golden.
Notes
Nutrition
If you make this, or any other recipes from Woman Scribbles, don’t forget to tag me on Instagram or use hashtag #womanscribbles. I would like to see your creations!
Also, if you would like to see my hands in action, follow Woman Scribbles on YouTube to watch my baking videos. See you around, guys!


Well how are you a pastry chef if you don’t know if it is sweetened condensed milk? I see that you don’t add any sweetener to the filling so apparently it is sweetened condensed milk but it could be confusing to some people.
It looks so yummy. Thanks and good luck
Is the condensed milk for the filling sweetened or unsweetened?
Hi Gayle! I use one that says just condensed milk in it. I guess in some region or country, regular condensed milk and sweetened condensed milk are different. But the one I always use and does not say sweetened in the label is the thick, viscous sweet liquid. I hope that helps. 🙂
I love these. They remind me of these Japanese cream buns a friend would buy. I am making them for a second time today.
Hello! I’m about to try this recipe. Can I use half and half instead of milk if I don’t have milk?
Hello! It may change the texture of the dough in some way but you can sub half and half.
It looks so yummy po i wanna try this soon i hope i can perfect it
Good luck, Rj! Keep me posted!
Hello Sanna, I baked these today. Bread bun texture was great per recipe but I found the milk filling a bit too sweet for me. Overall, I would still give this a thumbs up as bread bun is soft and easy to make and I can always change to another filling. Thanks!
Hi Grace! I am happy you enjoyed the bread. Thanks for your feedback 🙂
Just tried it today and it was really goooood! I may have set the temperature a little higher so it’s a bit darker than yours but not bad for a first timer! Thank you so much for all these amazing recipes and I can’t wait to try them all out! God bless you!
Thank you so much, Sandee! God bless you too!
Hi
Can these be frozen either before or after baking?
Hello there Stephen! I am not sure of freezing them because the milk filling may not thaw well 🙂
These turned out beautifully, what a tasty treat for my husband and kids.
Thanks, Jessica! I am so happy to know that!
I love you Sana thank you for sharing you amazing bread recipes i love it
Hello Hannah! It gives me so much joy knowing you guys love the recipes. Thank you so much! Love and hugs-Sanna
Hello Sanna, just two questions: can I make the filling ahead and refrigerate it? And, can I make the pan de leche at night and refrigerate to bake in the morning?
Thanks!
Hello Cristal. Yes to both 🙂 You can make and refrigerate the filling, and you can shape the buns amd refigerate them overnight to bake in the morning 🙂 Good luck!
Hi,
If I use instant yeast (which it says it does not need to be activated), do I still need 1 and 1/4 cup of milk? Still follow the process in making a dough except for activating the yeast?
Thanks!
Hello Haeyon! Thanks for reaching out. If you are using instant yeast, I still recommend that you proof it using the recipe as is. Although it is instant yeast, I find that dough is much softer and nice to knead if the yeast is proofed first instead of being added directly. Thanks!!
hello po! can i use bread machine to knead the dough? Thank you!
Hello Tess! Sorry, I have not tried using a bread machine so I cannot really tell. It is one project that I am going to work on soon 🙂
Easy recipe – buns turned out perfect. Proof time, baking time etc. were right on the mark. My sweetened condensed milk was the caramelized one (which I didn’t realize until opening). However, the taste was great and the best part was the filling didn’t leak out but kept it’s shape. Mine came out a little darker than yours did but not overly brown at all. I baked at 325 convection.
Family loved them. Thank you.
Hello Linda! Thank you so much for trying out the recipe. I am so glad you liked them. Thank you for your feedback! I appreciate it so much!
Hi,
Can I use my mixer to knead the dough?
Thanks.
Hi Emilie! Yes you use your stand mixer to knead the dough. Add the flour gradually and knead until the dough is smooth and elastic. 🙂
Thank you very Much Sanna!