
Coffee Buns
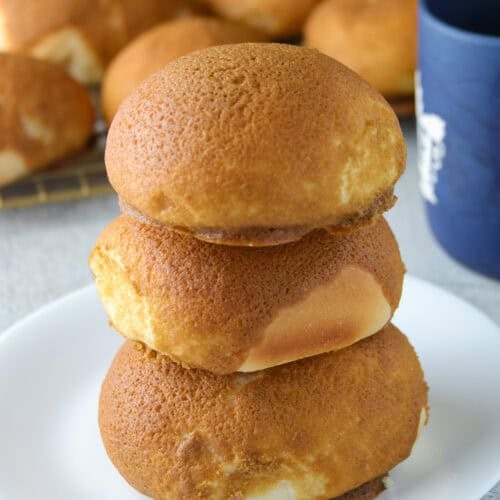
Coffee Buns are pillowy soft bread with a chewy-crisp coffee coating, and a buttery crumb inside. You will love every bite! The lovely coffee crust adds a touch of decadence to this ultra special bread. If you love special breads, check out my 20 Sweet Breads!.
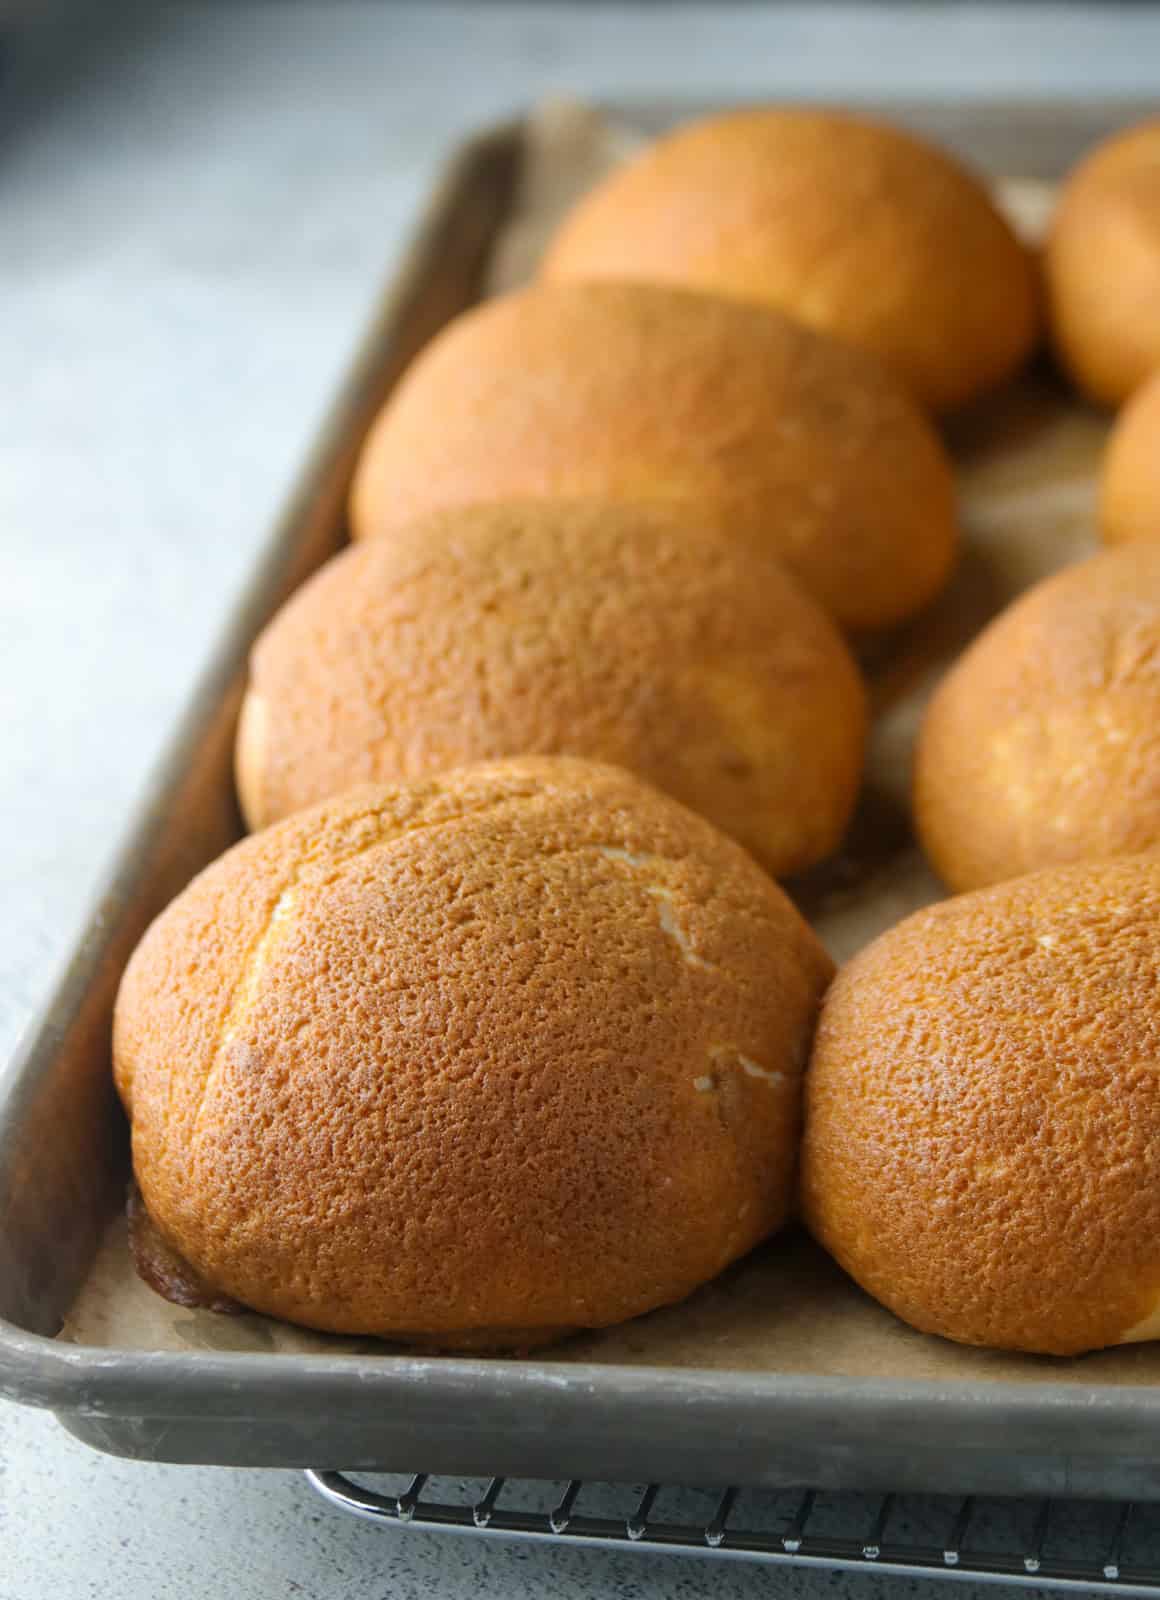
Here is a recipe you would be making over and over again- Coffee Buns. Imagine sweet, buttery and soft bread that has a coffee crust coating on top, not too sweet, but with a hint of richness all over!
These Coffee Buns will definitely be your new favorite. The coffee crust is such a sophisticated touch. You will be so joyful to make something as pretty as these at home. It is quite a fulfilling achievement!
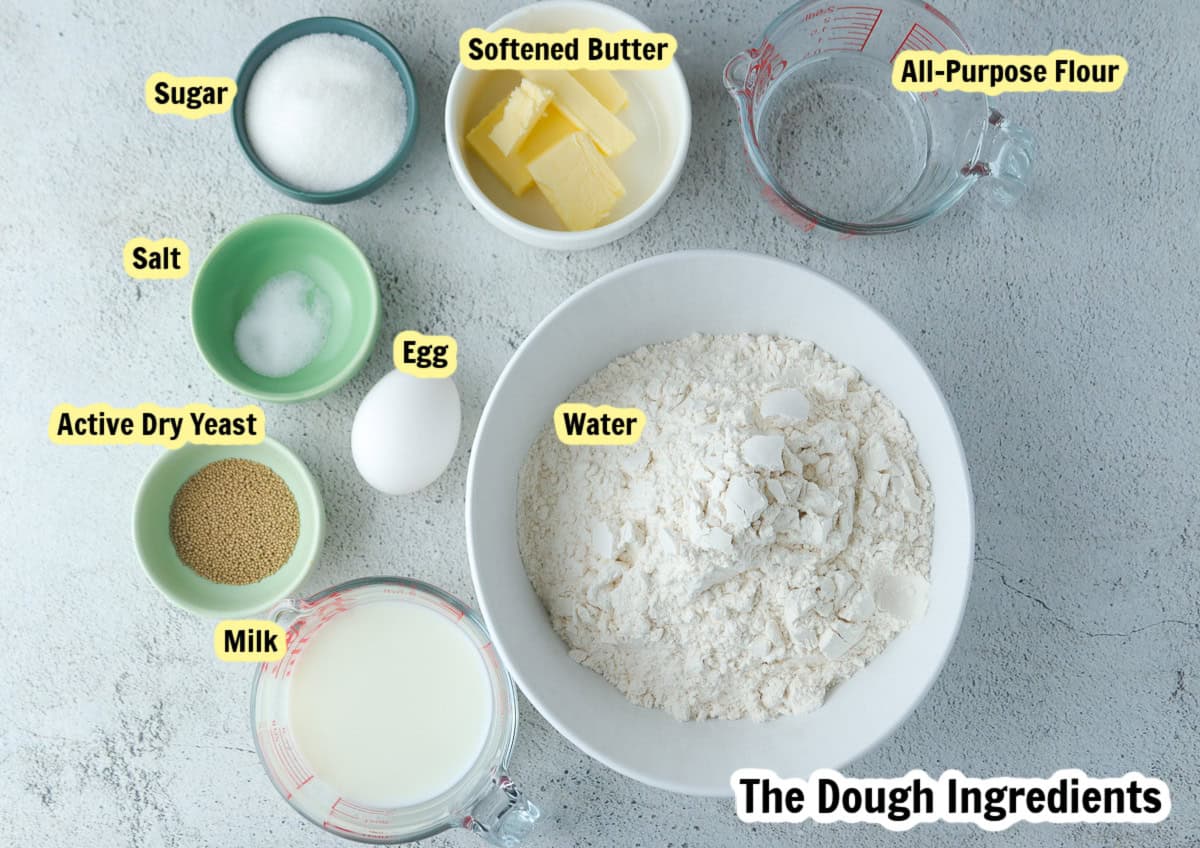
Coffee Buns Ingredients
For the dough, this only calls for basic bread dough ingredients. Nothing fancy here. If you are new to making bread check out my How to Knead Bread Dough post. However, I would like to talk a little bit about the coffee coating.
See that lovely brown top exterior on the bread? That is the coffee crust/ coating.

The Coffee Crust/ Coating
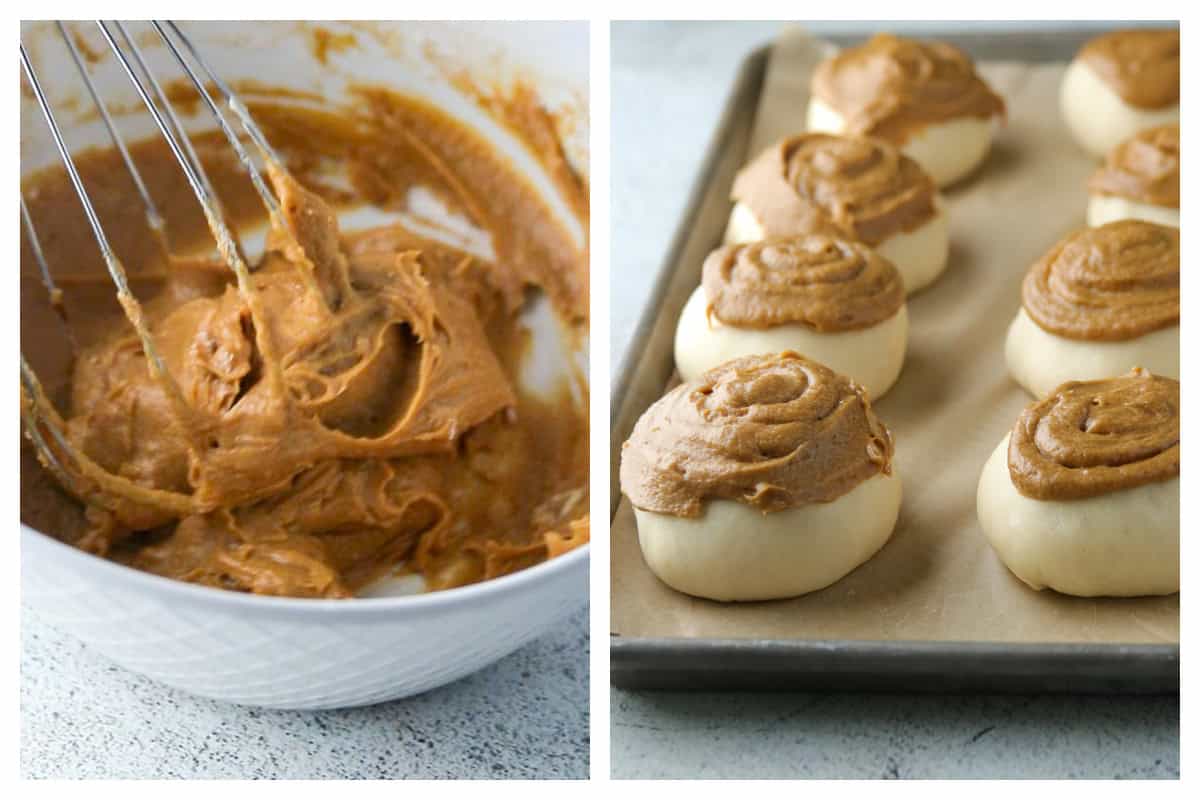
This is a batter-like mixture that is flavored with coffee. The consistency is like a soft icing: kind of flowy, but not actually pourable. This is piped in a spiral pattern on top of each bun before baking. After baking, this will turn into a beautiful brown, buttery coffee crust that coats the top of each bun.
How to Make the Coffee Crust?
Stir together coffee granules and hot water until the coffee is completely dissolved. Set this aside to cool. In a medium bowl, use a hand whisk to beat together butter and sugar until creamy. Add the egg and whisk to incorporate. Add the cooled coffee mixture and stir to distribute. Beat in the flour until you have a coffee-colored batter that is soft but not actually pourable.
Piping the Coffee Batter
Transfer the batter into a piping bag fitted with a medium to large round tip. You can also use a Ziploc bag, then snip one corner to be the piping tip.
If your piping tip is small, it is likely that you will have leftover batter. Please come back and pipe the remaining batter equally again over the 12 buns. The batter is enough to coat all 12 portions to yield perfectly crusted coffee buns.
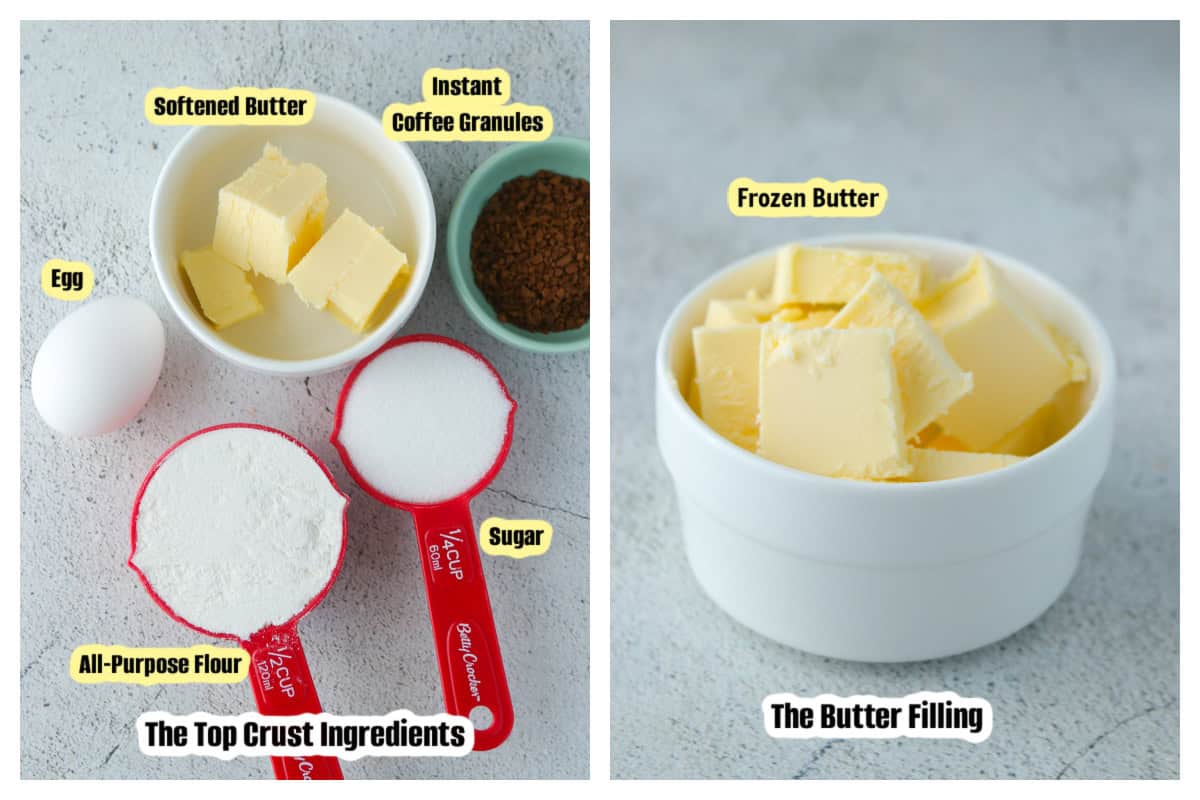
The Butter Filling
This is simply frozen cubes of butter that are enclosed inside the dough. The butter does not really remain intact after baking. Instead, it will melt and infuse the dough with a rich, buttery flavor, and some will seep out at the bottom to make a kind of buttery crust underneath.
The Coffee Buns Process
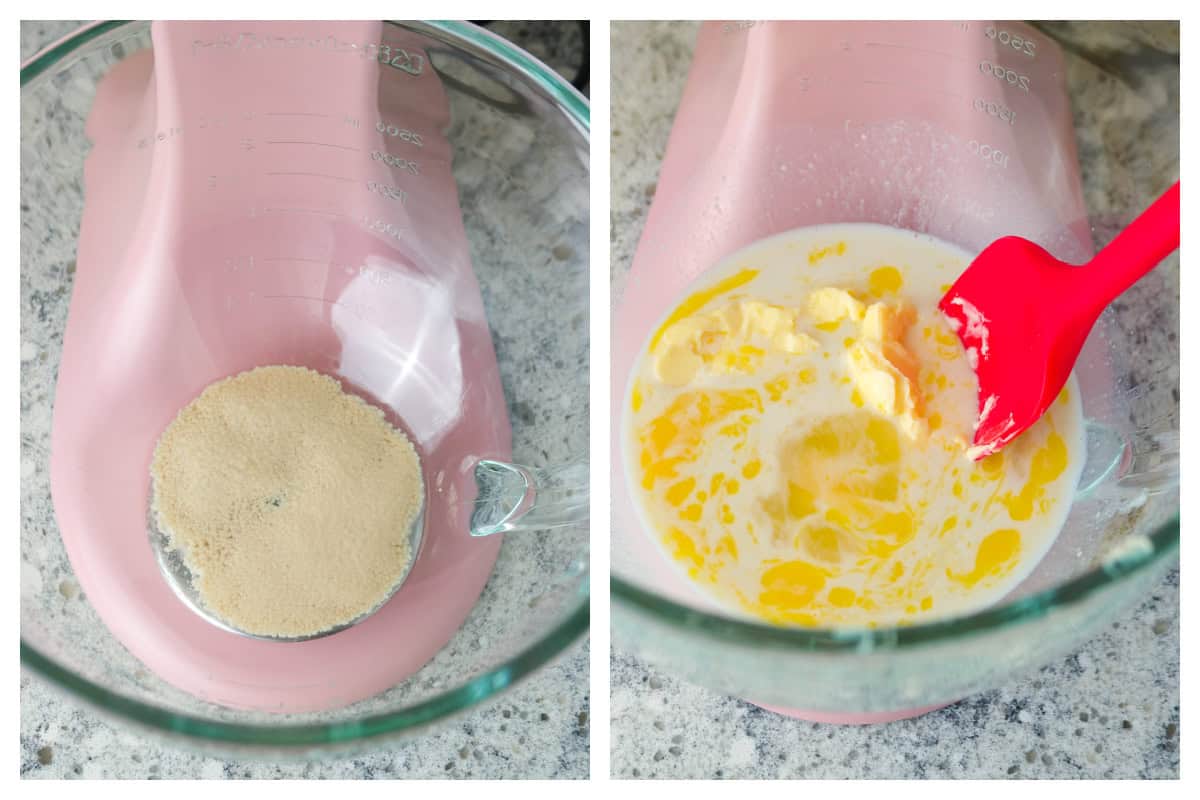
Make the Dough. Proof the yeast, then add warm milk, sugar, softened butter, egg and salt. Stir everything with a wooden spoon to incorporate the ingredients. Then, add half of the flour. Stir this in until the flour is all moistened. Add the remaining flour and stir with the spoon until a shaggy dough is formed.
Knead the Dough. Attach the dough hook and knead, starting from low then gradually speeding up to medium high. Your aim here is for the dough to be smooth, and to start cleaning the sides of the bowl. If the dough remains sticky and kind of wet after, like say, 5 minutes of running the mixer, sprinkle up to 1/4 cup of flour gradually. Continue to knead until the dough is ready.
Not sure if your dough is ready? Check out how to do the windowpane test.
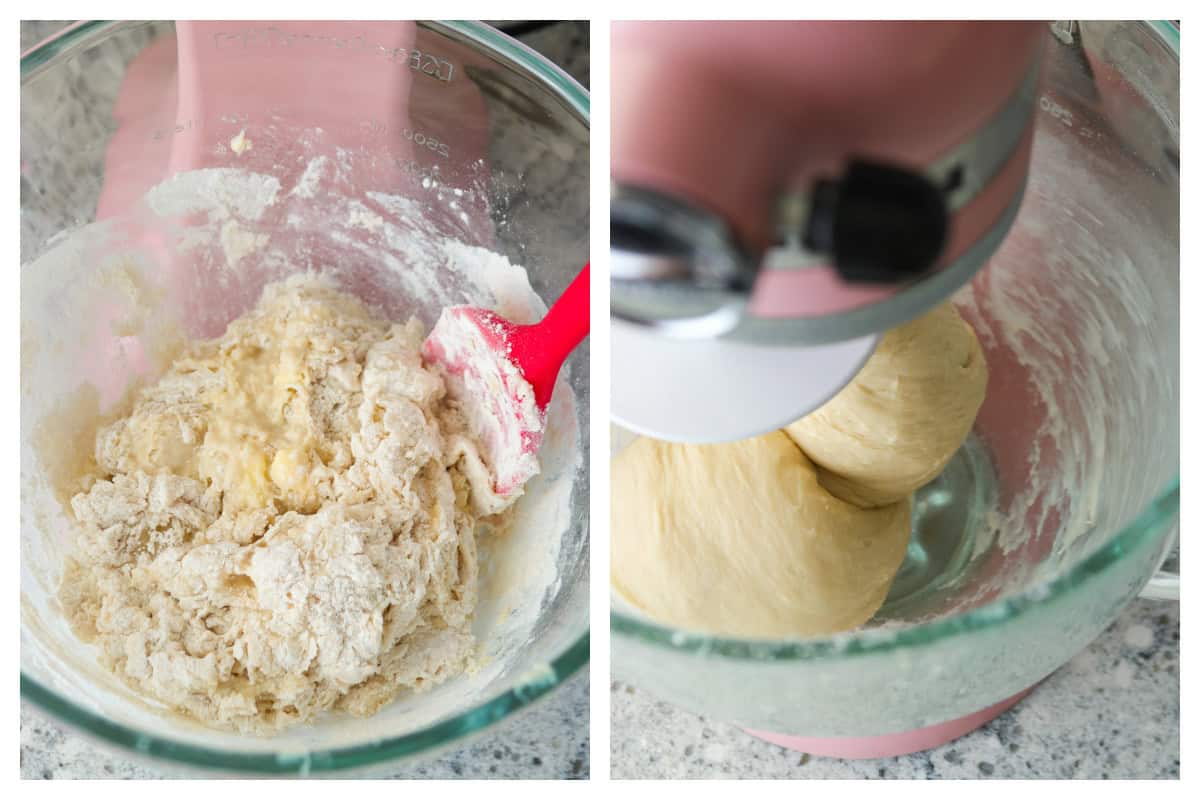
First Rise and Filling of the Dough. Shape the kneaded dough into a ball. Place it in a bowl and cover with a plastic film or kitchen towel. Allow it to rise for an hour or more, until doubled in bulk. After the first rise, deflate and divide the dough into 12 equal portions. Shape a portion into a ball, then flatten to a disc. Place a cubed butter at the center, then enclose and seal.
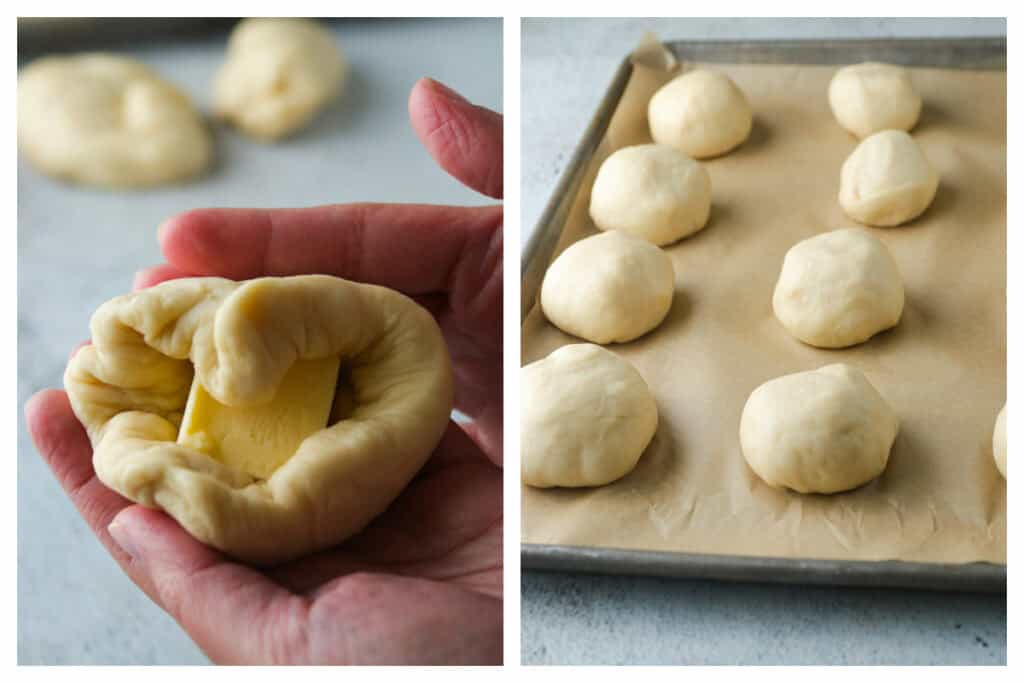
Second Rise and Piping the Coating. Shape the filled dough into a smooth ball. Repeat the process with the rest of the dough balls, then arrange all of them on a parchment lined baking pan. Allow these shaped dough to rise once more, loosely covered with a clean kitchen towel or plastic film for about an hour or so. After rising, pipe the coffee batter on top of the buns, leaving no gap in the pipings. Use up all the batter by distributing it evenly on all 12 buns.
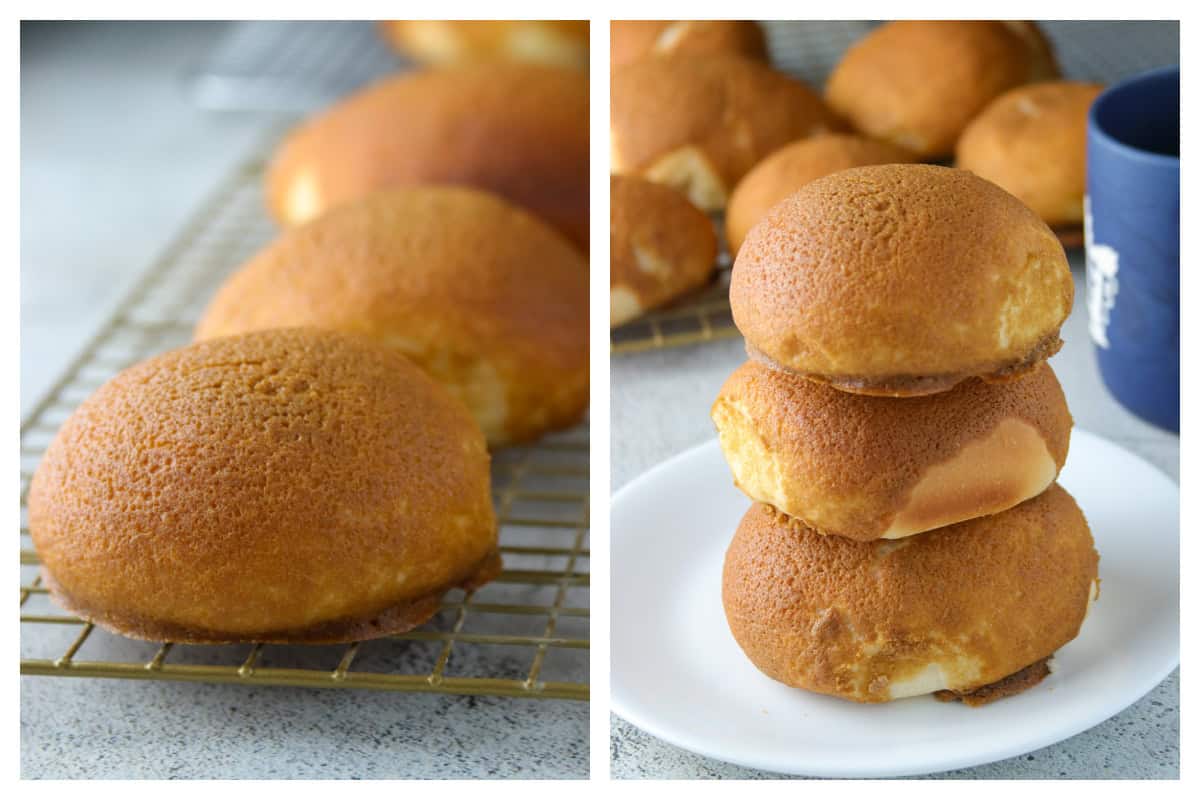
Bake the Coffee Buns. Bake the buns at 350 F for 18-20 minutes. The coffee coating will feel dry to the touch. and you will see the sides of the buns are lightly browned.
Cooling the Coffee Buns
After baking, transfer each bun on colling wire rack. This is to allow the steam to escape freely to prevent the crust from being soggy as the buns cool down. Also, make sure not to cover the buns while they are still warm. Allow the rest of the buns that you have not eaten yet to fully cool down.
Storage and Reheating the Leftover Buns
Store the buns at room temperature, covered well. Microwave the buns for a quick 5-8 seconds. If you heat them too much, the coffee crust will start to soften or weep.
Additional Tips
- Use a light colored baking pan to avoid overbrowning at the bottom, especially because the butter filling is expected to melt into the buns. Also make sure to line the pan with parchment paper.
- If you have to use a dark pan, make sure to double or even triple line it with parchment paper.
More Sweet Buns
- Coconut Buns with Milky Sweet Filling
- Pineapple Buns
- Cream Cheese Bread Rolls
- Honey Buns
- Korean Cream Cheese Garlic Bread
Coffee Buns
Equipment
- 1 Pastry bag
- 1 Piping Tip Medium round tip
Ingredients
Bread Dough
- 2¼ teaspoons active dry yeast
- ¼ cup warm water 105-115℉
- 5 tbsp sugar
- ⅔ cup warm milk
- 1 large egg
- ½ tsp salt
- 3 tbsp softened butter
- 3 cups all-purpose flour
The Butter Filling
- ½ cup butter cut 12 into little cubes, then frozen
The Coffee Coating
- 5 tsp instant coffee granules
- 1 tbsp hot water to dissolve the coffee granules
- ¼ cup sugar
- ¼ cup softened butter
- 1 large egg
- ½ cup all-purpose flour
Instructions
- Proof the Yeast and Add the Initial Dough Ingredients. In the bowl of a stand mixer, add the warm/hot water. Sprinkle the yeast and about 1 teaspoon of the sugar. Let this sit for about 5-10 minutes, or until foamy. Add the remaining sugar, milk, the egg, salt, and the softened butter. Stir everything with a rubber spatula or wooden spoon.
- Add the Flour. Add half of the flour, and stir to incorporate. Add the remaining half of the flour and stir until a loose, shaggy ball of dough is formed.
- Knead the Dough. Attach the dough hook to the stand mixer, and knead the dough starting on low speed then speeding up to medium high until the dough starts to gather in the center, and is cleaning the sides of the bowl.
- Window Pane Test. If the dough is still sticky and moist here, sprinkle up to ¼ of flour extra and keep kneading until the dough is smooth, and is cleaning the sides of the bowl. To test, take a little ball of dough in your hand and stretch it out very thinly with your fingers. A translucent film should form in the center. If it doesn't and if the dough tears easily, knead it some more.
- First Rise. Shape the dough into a big ball, place it back on the bowl and cover with a clean kitchen towel or plastic film. Let this rise for 1 hour or so, until doubled in size.
- Fill the Dough with Butter. Gently deflate the dough. Divide into 12 equal portions. Roll a portion into a ball, then flatten with your palm (or a rolling pin) into a ¼ inch thick disc. Place one cube of butter in the center and enclosed the butter in the dough. Pinch the seams to seal, then shape into a smooth ball. Repeat with the rest of the dough portions. Arrange the dough balls on a parchment lined baking pan(s), living about an 1-2 inch of spaces in between. Cover the pan loosely with a clean kitchen towel, or plastic film. Allow to rise once more, about 45 minutes to 1 hour, or until soft and puffed.
- Meanwhile, make the coffee coating. In a small bowl, stir together coffee granules and hot water until the coffee is completely dissolved. Set this aside to cool. In a medium bowl, use a hand whisk to stir together butter and sugar until creamy and combined (It is important that the butter is really soft here to the point that it is easy to stir). Add the egg and whisk to incorporate. Add the cooled coffee mixture and stir to distribute. Then, beat in the flour until you have a coffee-colored cream that is soft and creamy but not actually pourable. Set this aside for now.
- Pipe the Coffee Batter over the Top of the Buns. After the second rise, preheat the oven to 350 ℉. Transfer the coffee batter into a piping bag fitted with a medium or large plain circle piping tip. You can also use a Ziploc bag and snip one corner. Pipe the coffee batter on top of each bun in a spiral pattern, starting from the middle then outwards. Try your best not to leave any space uncoated. This batter is perfectly enough for the 12 buns. If you have leftover batter, go back and pipe more over each bun. If your piping tip is too small, it is likely that you will have leftover. But use it all up to get the proper coating for each one.
- Bake the coffee buns at 350℉ for 18- 20 minutes, or until the top crust is set and feels dry to the touch. Take the buns out of the oven, then transfer each bun to a wire rack to cool completely. You can definitely enjoy them while they are warm, but make sure to transfer them to a wire rack immediately after baking. This will help the steam escape fully from the buns and prevent the top crust, as well as the bottom to become soggy.
- Storage and Serving. Keep leftovers at room temperature, tightly covered. To reheat, pop in the microwave for 5-8 seconds only. If you heat it up too long, the top crust will begin to weep and melt.


My son absolute adore this buns!