
How to Make Homemade Hawaiian Rolls
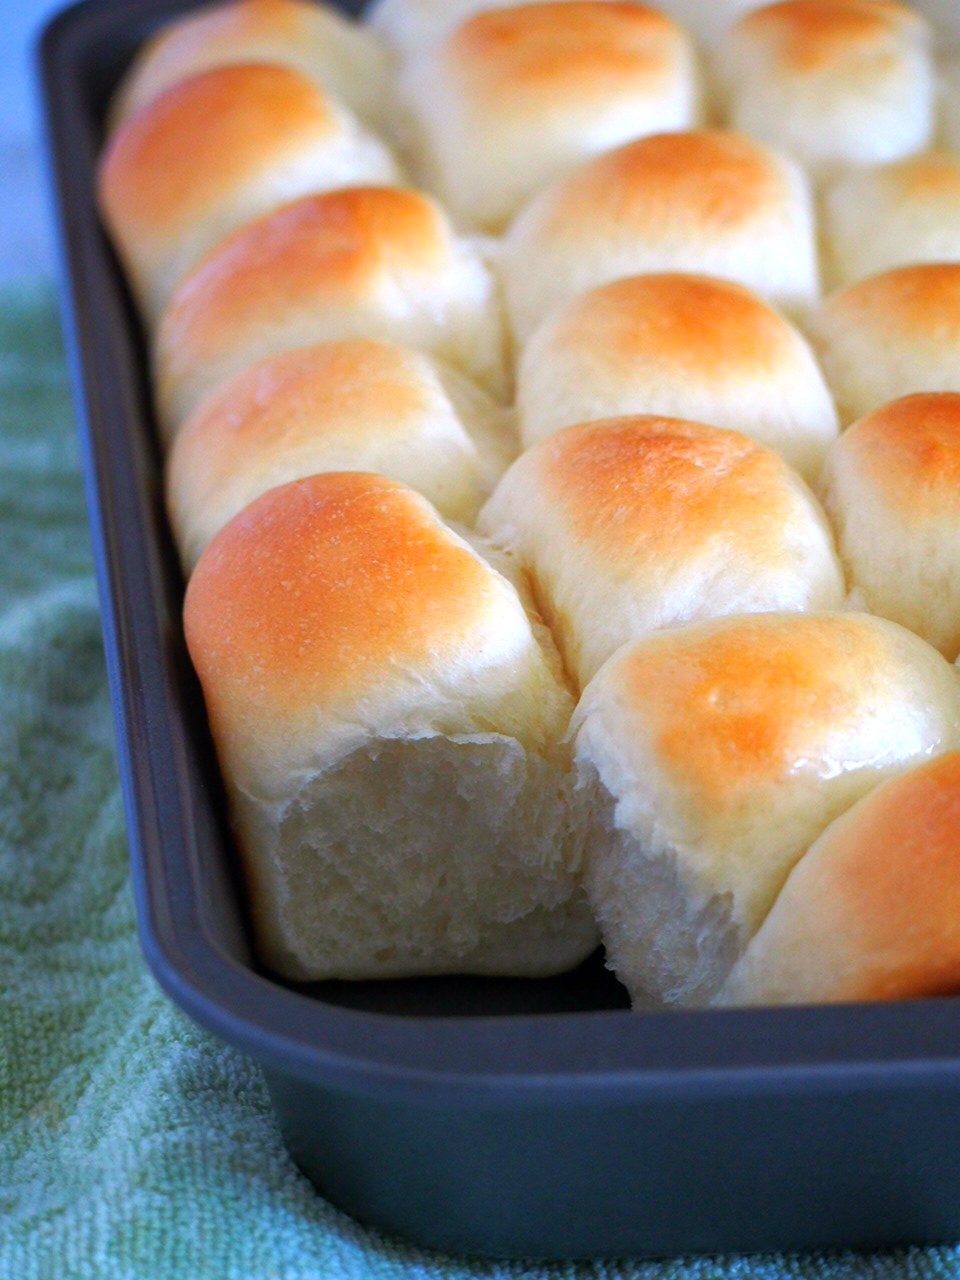
These delicious Hawaiian Rolls are fluffy, slightly sweet and buttery. They are perfect on their own, with a pat of butter or as a side to your meals. Love sweet rolls? Try these sweet Coconut Bread!
Oh, Hawaiian Rolls! How my heart was swept away when I took my very first bite. Those plain-looking sweet breads in orange packages took me by surprise.
Why are King’s Hawaiian Roll so good?
Personally, they are nothing like any dinner rolls I have had before. Soft and buttery with a light sweetness, I was smitten. So naturally, I thought to making homemade Hawaiian rolls as my next baking project.
So after a number of baking fails, and pounds and pounds of dough that went straight to the garbage, my version of these buns has come to the light. And they are delightfully fluffy, a little sweet and ultra-soft. I am in love!
Hawaiian Rolls
- King’s Hawaiian Rolls are widely popular and well-loved. I got my first taste during a visit to the US, and naturally, I hoarded them when I went back to Canada.
- Nowadays, they are now available here in Canada (yay!). I buy them frequently to make Cheeseburger Sliders and for patting on butter for breakfast or snack.
- Hawaiian buns feature a sweet note in the flavor plus a buttery and feathery soft texture inside. These homemade version is sweetened with pineapple juice, and then brushed with butter so that it comes close to the real thing. You have to try them!
Pointers and Tips
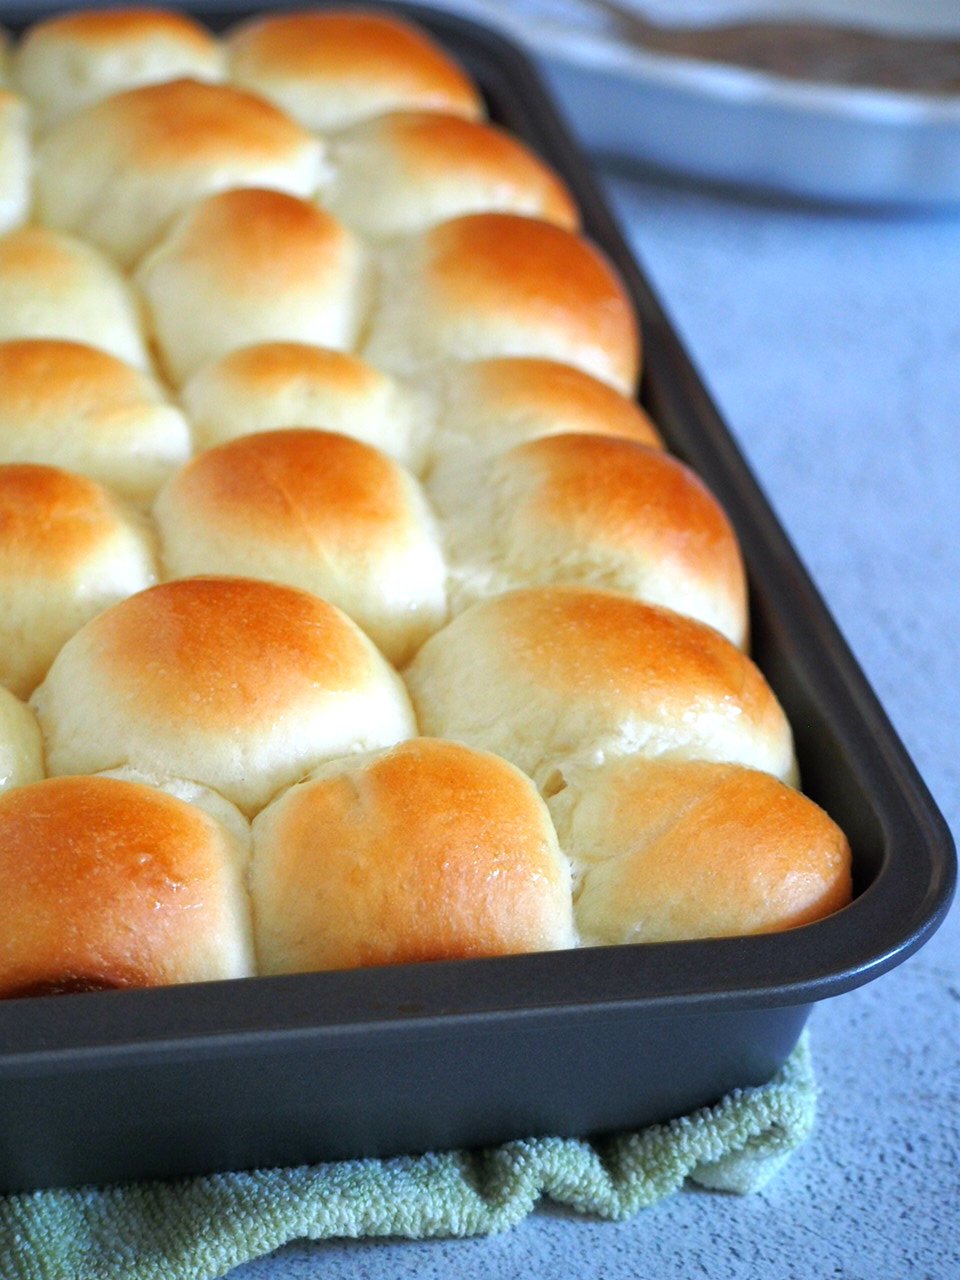
- I baked the buns in a 9×13 pan, yielding 20-23 pieces. You can also bake them in two (or three) 9 inch round pans.
- You can also shape them slightly bigger if you prefer bigger buns. My version is slightly smaller than the store-bought versions, but you can shape them to the size that you prefer.
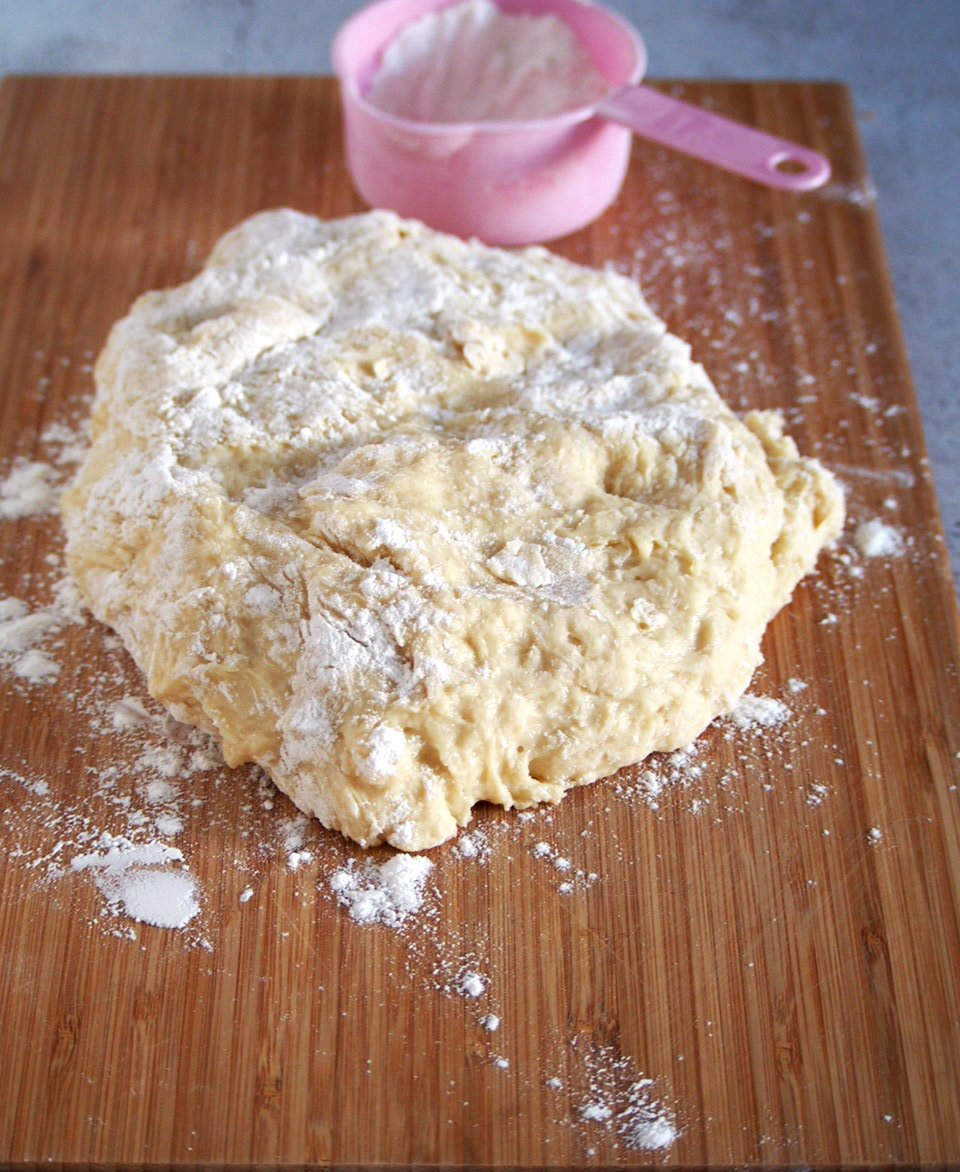
- When making the dough, you may not need all of the reserved flour. Just sprinkle the reserved flour gradually into the dough, just until it gathers into the center of the bowl. The dough should still be soft and shaggy.
- You can use the remaining flour to help with stickiness during kneading. Still, do not add too much flour or you will end up with a dry dough.
Hawaiian Sweet Rolls: The Process
Make the Dough
- In a mixing bowl, combine yeast and warm milk. Let the mixture stand for 5 minutes or so, or until it is foamy or frothy. Add in the pineapple juice, sugar, salt, melted butter and the large eggs. Stir everything with a wooden spoon.
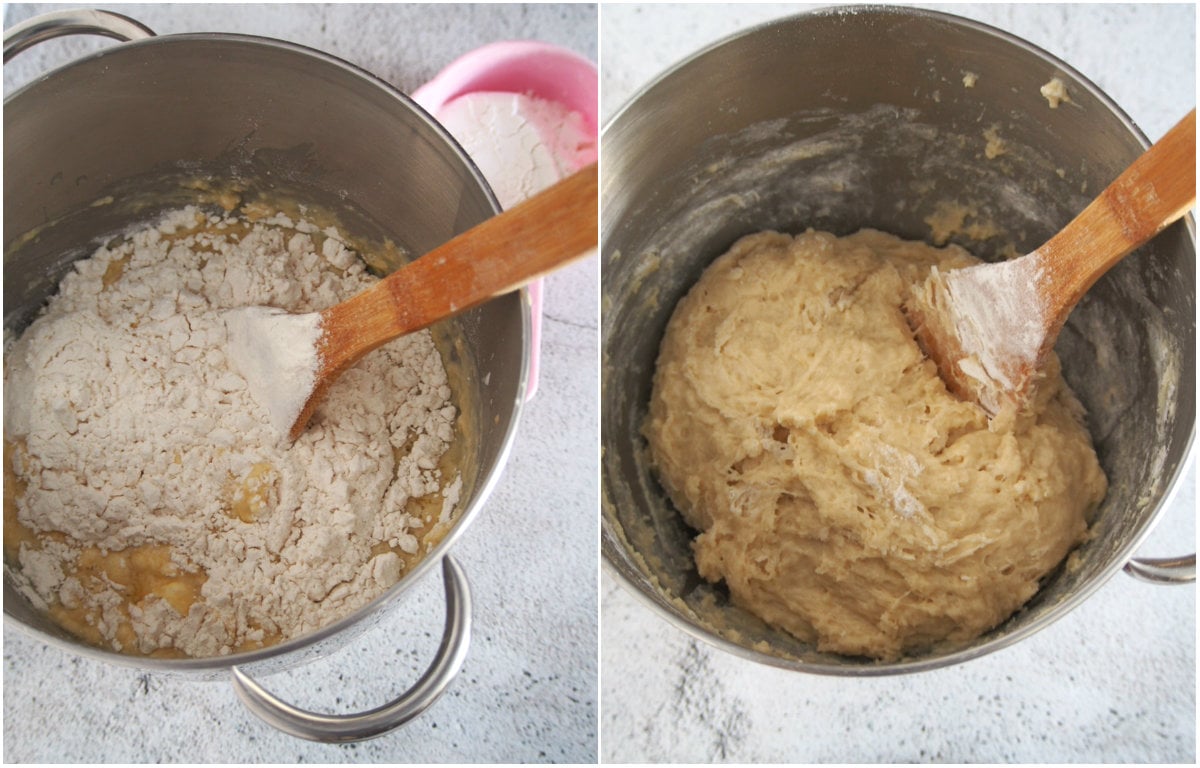
- Now add the 4 cups of flour, one cup at a time, stirring after each addition. This will be a sticky dough at this point. Sprinkle just enough of remaining 1/2 cup of flour, while stirring, until the dough gathers in the center.
Knead the Dough
- Turn the dough onto a floured board (using your remaining flour), and knead the dough for 6-10 minutes or until the dough is smooth and elastic.
- If you are new to kneading, check out my simple guide on how to knead bread dough.
- You can also use a stand mixer to knead the dough using the dough hook attachment. Just note that you may have to add a bit more flour. Knead until the dough cleans the sides of the bowl.
Let the Dough Rise
- Shape the dough into a ball and place it in a bowl. Cover it with a clean towel and let the dough rise for 1 to 1 and 1/2 hours, or until the dough is doubled in size.
- Meanwhile, grease a 9×13 inch baking pan.

Shape the Dough into Balls
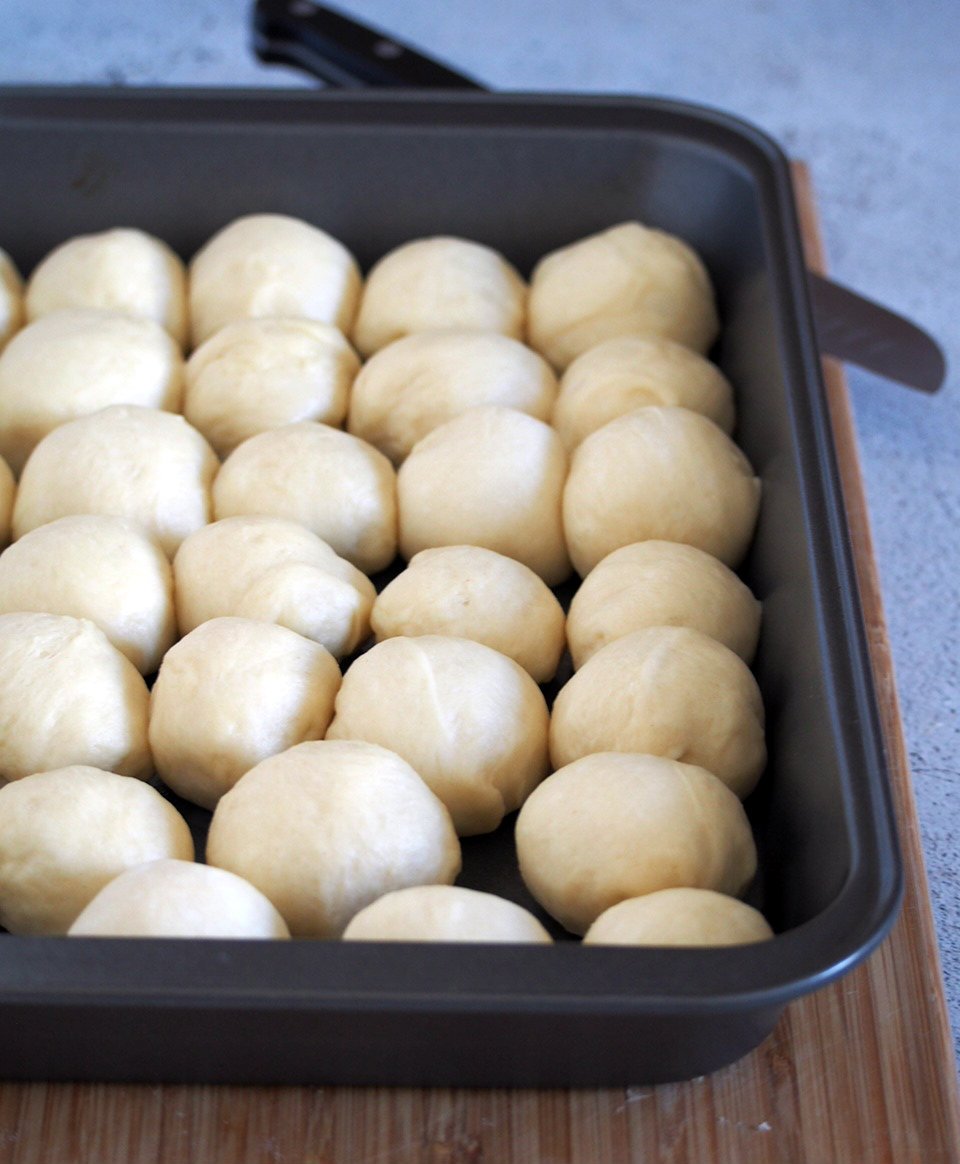
- After rising, gently punch the dough down and divide it into 20-23 equal pieces. Shape each portion into a smooth ball and repeat with the rest of the portions.
- Arrange the shaped dough balls close together in the prepared baking pan.
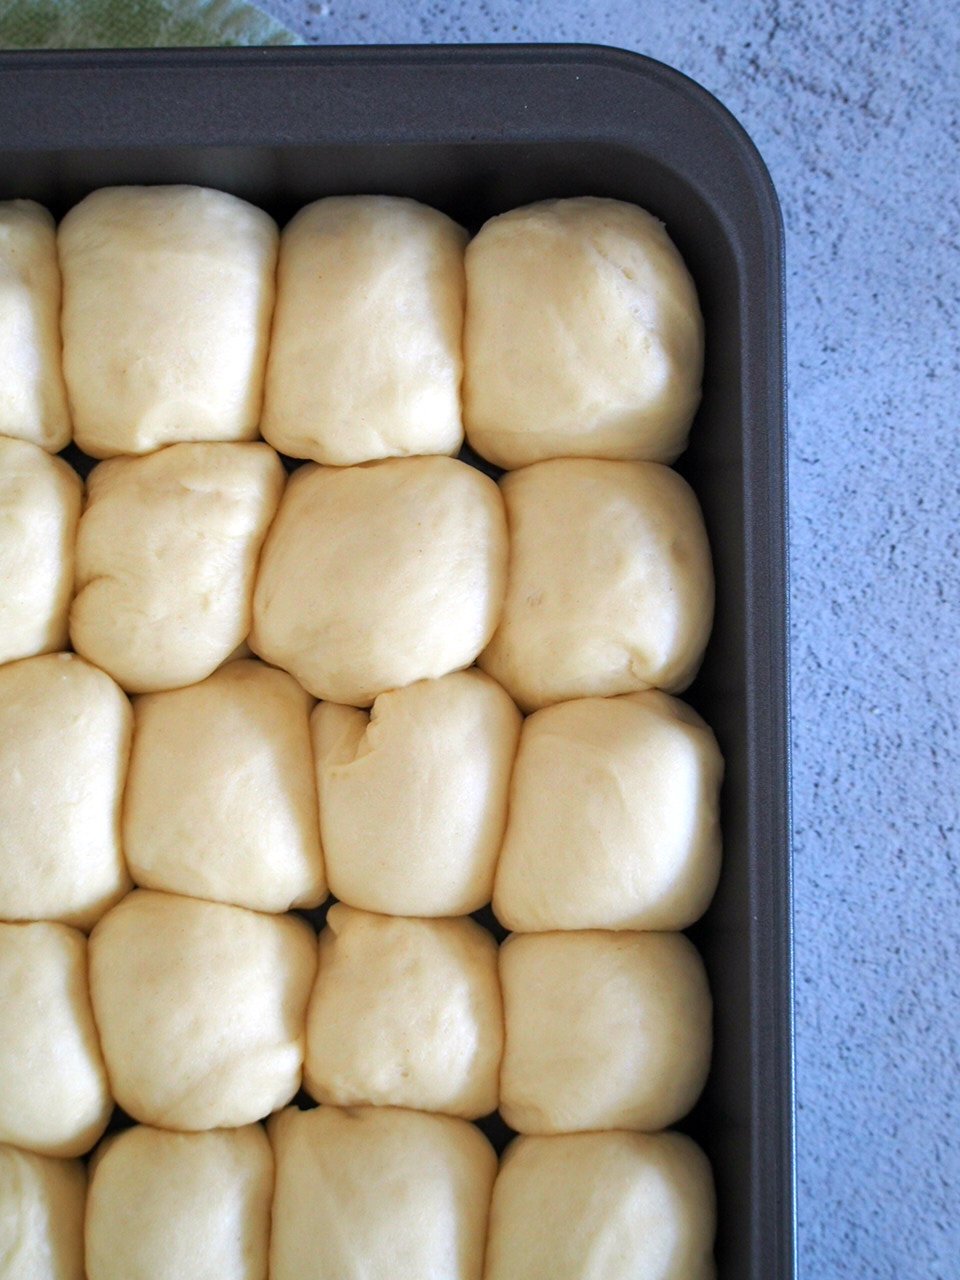
Let the Shaped Dough Rise
Cover the pan loosely with a clean kitchen towel and let them rise again for 1 hour, or until they are puffy and touching each other in the pan.
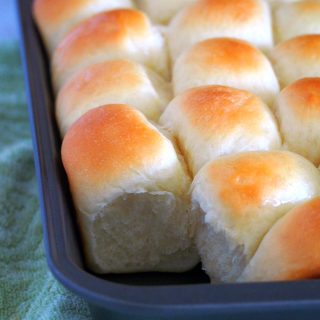
Bake the Buns
Preheat oven to 350 F. Brush the buns with milk. Once the oven is at the 350 F, bake the rolls for 16-20 minutes, or until they are golden. Brush the tops with melted butter while they are warm.
Enjoying Hawaiian Sweet Bread
- I love them in sliders. Check out my Chicken Burger Sliders recipe.
- For breakfast, we enjoy simple ham and egg sandwiches with mayo and ketchup!
- And of course, probably my favorite way, is to heat them up with just a pat of butter.
Frequently Asked Questions
Yes. After the first rise, gently deflate the dough and wrap it well in plastic film, then in foil. Freeze the dough for up to a month. When you are ready to bake, thaw the dough and allow it to come to room temperature. Shape them, let them rise and bake.
Unfortunately, I do not recommend directly using the recipe in a bread machine. Some recipes work well the same way in a bread machine but most of them don’t. Some tweaking needs to be done if you want to make the dough on a bread machine.
Unfortunately, it can be tricky to cut dough recipes in half. If the bread seems to be too much to bake for one time, I would recommend just freezing half the dough and bake it another time.
Yes. I have had readers who made the bread in loaf forms. USe two 9×5 inch loaf pans and bake for 5-7 minutes more.
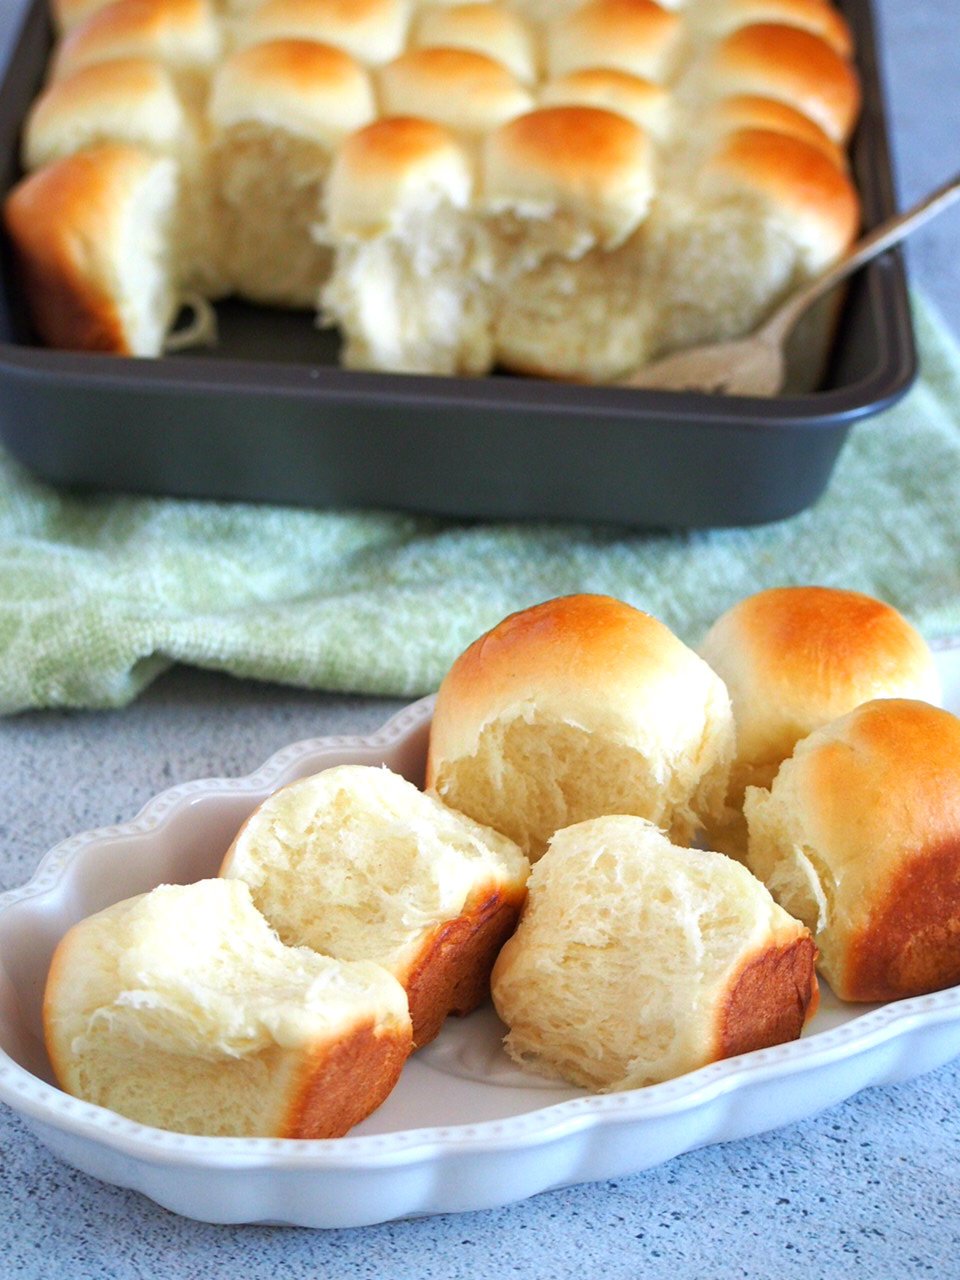
And here you have it- the tray of victory. Pass these buns around while they are warm, fresh and delicious right out of the oven. Freshly baked buns are a luxury! But I know you know that.
So go ahead baking buddy! Roll up your sleeves. We live for that amazing aroma of bread baking in the oven. Happy baking! If you want more recipes like these, check out 20 Everyday Bread Recipes for the Homebaker.
More Bread Recipes:
- Milk Bread
- Spanish Bread
- Japanese Condensed Milk Bread
- Sweet Beehive Buns
- Honey Buns with Honey Cream Filling
- Easy Focaccia Bread
- Pandesal Recipe
- Sweet Cheese Rolls
- Milk and Sugar Mini Buns
Hawaiian Rolls
Ingredients
- 4 and 1/2 cup all purpose flour divided
- 1/4 cup warm milk 105-115 F
- 2 and 1/4 tsp active dry yeast
- 1 cup pineapple juice room temperature
- 1/3 cup melted butter plus 2 tbsp extra
- 1/2 tsp salt
- 1/2 cup sugar
- 2 eggs lightly beaten
- 2 tbsp milk for brushing on the bread
Instructions
- In a mixing bowl, combine yeast and warm milk. Let the mixture stand for 5 minutes, or until it is foamy. Add the pineapple juice, sugar, melted butter, salt and eggs. Stir everything with a wooden spoon.
- Add 4 cups of flour to the bowl, adding 1 cup at a time and stirring with a wooden spoon. Stir until all the ingredients are incorporated. Sprinkle just enough of the remaining 1/2 cup of flour, still stirring, until the dough gathers in the center of the bowl. You won't need all of the remaining 1/2 cup.
- Turn the dough over onto a lightly floured board. Knead the dough until it is smooth and elastic, about 6-10 minutes. Dust your surface and your hands with flour as needed to help with the stickiness while kneading.
- Gather the dough into a smooth ball and place it in a bowl. Cover the bowl with clean kitchen towel and let rise for 1 and 1/2 hours to 2 hours or until the size is doubled. Meanwhile, grease a 9 x 13 inch baking pan.
- Gently deflate the dough and divide to 20-23 equal portions. Roll each portion into a smooth ball and place it in the prepared baking pan. Repeat with the rest of the portions. The rolls should be placed close together in the pan. Cover them loosely with a clean kitchen towel. Let them rise again for 1 hour.
- Preheat oven to 350 F. Brush the tops of the buns with milk and bake for 16-20 minutes, or until tops are golden. Brush melted butter on top of the warm buns.
Notes
- You can also bake them in two (or three) 9 inch round pans.
- You can also shape them slightly bigger if you prefer bigger buns. My version is slightly smaller than the store-bought versions, but you can shape them to the size that you prefer.
- When making the dough, you may not need all of the reserved flour. Just sprinkle the reserved flour gradually into the dough, just until it gathers into the center of the bowl. The dough should still be soft and shaggy.
- Use the remaining flour to help with stickiness during kneading. Still, do not add too much flour or you will end up with a dry dough.
- Store leftovers in a tightly covered container. Re-heat buns in the microwave, if desired.


Such a great dupe!
Thanks a lot, Jami!
So good. My family can’t get enough of them.
I am so happy this was enjoyed, Tina!
Oh my favorite! Perfect for coffee or tea in the am. Love this Hawaiian rolls.